
Determining if a replacement ignition coil is compatible with your vehicle is a critical step in maintaining engine performance and preventing costly electrical damage. To know if the NK400 ignition coil fits your specific vehicle, you must cross-reference your vehicle’s original equipment manufacturer (OEM) part number, match the physical plug and mounting configurations, and verify that the electrical resistance matches your engine control unit (ECU) specifications. In the tropical climate of the Philippines, where high humidity and heavy seasonal rains accelerate electrical wear, ensuring a precise match is vital for reliable ignition and preventing moisture-related short circuits. Never assume compatibility based on a model name alone; instead, follow a systematic verification process before purchasing or attempting installation.
Identify Your Vehicle's OEM Ignition Coil Baseline
Before evaluating any replacement part like the NK400 ignition coil, you must establish a clear baseline using your vehicle’s factory specifications. Start by locating the OEM part number, which is typically stamped or printed directly onto the plastic housing of your current ignition coil. If the number has faded due to engine heat, you can find this specification in your vehicle’s official service manual or parts directory.
It is equally important to document the exact details of your vehicle, including the make, model, precise production year, and specific engine code. Ignition systems often vary significantly even within the same model year due to mid-cycle production updates or regional engine variations. For instance, a motorcycle or vehicle configured for the Philippine market might have subtle electrical differences compared to those built for other regions.
Products mentioned in this guide
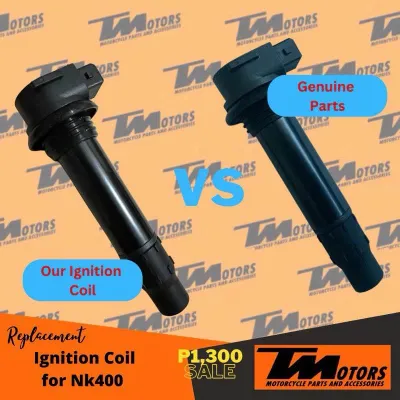
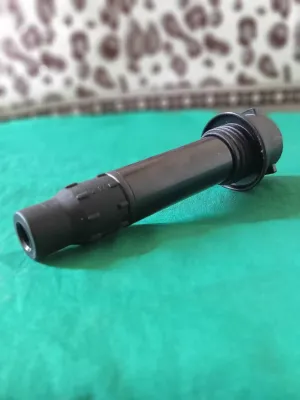
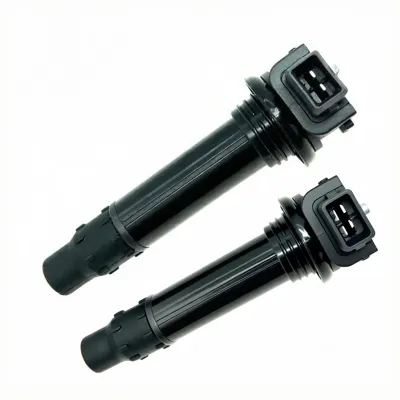
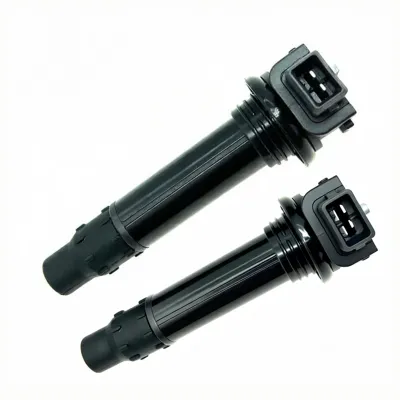
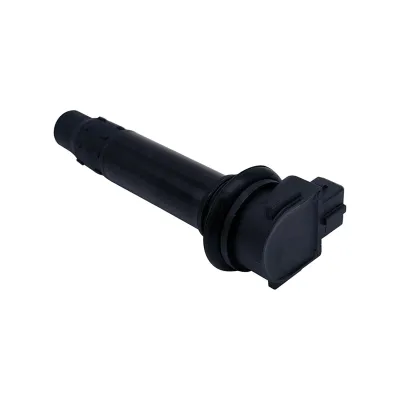
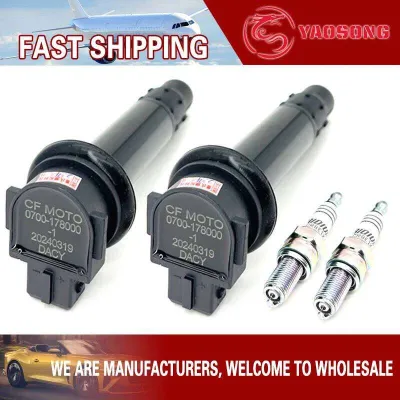
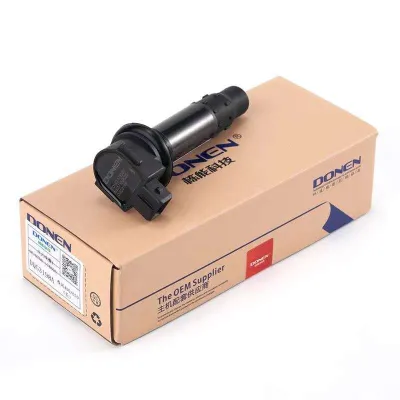
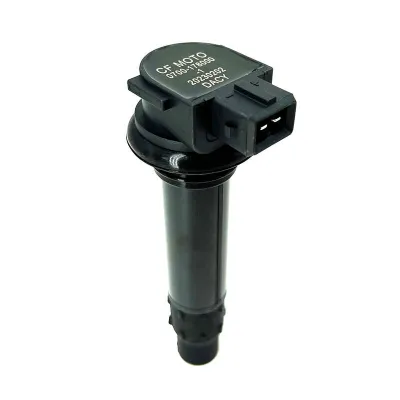
Prices are valid at publication and may change. Please refer to the product page for the latest price.
To eliminate any ambiguity, locate your Vehicle Identification Number (VIN), which is usually stamped on the vehicle’s frame or steering head. You can use this unique identifier to query official parts catalogs or consult an authorized dealer database. This step guarantees that you obtain the exact factory-specified coil requirements, protecting your engine from the risks associated with approximate matches.
Verify NK400 Ignition Coil Specifications and Cross-Reference Numbers
Once you have documented your vehicle’s OEM baseline, the next step is to analyze the technical specifications of the NK400 ignition coil. Begin by checking the manufacturer label or product packaging for a list of OEM cross-reference numbers. Reliable aftermarket manufacturers provide these lists to show which original factory parts their product is designed to replace. If your exact OEM part number is not explicitly listed on the packaging or the manufacturer’s official compatibility sheet, you should not proceed with the purchase.

Next, verify the physical design and ignition architecture of the NK400 to ensure it matches your engine’s layout. For example, you must determine if your vehicle uses a direct coil-on-plug (COP) system, a coil rail, or a distributor-style ignition. The NK400 is typically designed as a compact, direct-fit coil-on-plug component common in modern multi-valve engines, such as those found in popular middleweight street motorcycles. Attempting to adapt a coil designed for a different ignition architecture will result in immediate installation failure.
Finally, examine the electrical specifications of the NK400 coil. You must verify that its operating voltage matches your vehicle’s standard 12V electrical system and that its primary and secondary resistance ranges align with your Engine Control Unit (ECU) driver expectations. An ignition coil with incorrect electrical ratings can overload the ECU drivers or fail to generate a spark strong enough to ignite the fuel-air mixture under combustion chamber pressure.
Conduct Physical and Electrical Compatibility Checks
Before installing the new NK400 ignition coil, perform a meticulous side-by-side comparison with your original factory coil. This physical and electrical verification ensures that the replacement part will function safely and fit securely in the engine bay.
Visual Inspection
Place both coils on a clean, flat surface and compare their overall dimensions. Check the housing shape, the placement of the mounting bracket holes, and the overall length of the unit. Pay close attention to the rubber boot and the internal spring that makes contact with the spark plug terminal. If the boot is too short, it will fail to seal the spark plug well against moisture and debris—a common issue during the Philippine monsoon season. If the boot is too long, the coil will not sit flush, preventing proper mounting.
Connector Verification
Examine the electrical wiring harness plug configuration on both units. Count the number of pins and inspect their layout inside the plastic connector housing. The wiring harness from your vehicle must slide smoothly into the NK400 connector and click locked. If you have to force the connector, or if it sits loosely with visible gaps, the pin alignment is incorrect. A loose connection will introduce electrical resistance, leading to intermittent misfires or complete circuit failure.
Multimeter Testing
Use a digital multimeter to measure the electrical resistance of the NK400 coil before mounting it. To measure the primary resistance, set your multimeter to a low ohm setting and place the probes on the input pins of the connector. To measure the secondary resistance, switch the multimeter to the kilo-ohms (kΩ) range, place one probe on an input pin, and insert the other probe deep into the rubber boot to contact the internal metal spring. Compare these measured values directly against the acceptable ohm thresholds specified in your vehicle’s service manual. If the readings deviate from the factory specifications, the coil is not compatible.
Safety Boundaries: Risks of Installing an Incompatible Coil
Modifying or replacing ignition components carries inherent risks, and forcing an incompatible coil into your vehicle can cause severe mechanical and electrical damage. Before undertaking any electrical work, always refer to your vehicle manufacturer’s original instructions and prioritize safety. If you are unfamiliar with automotive electrical systems, seek the assistance of a qualified professional mechanic to perform the installation.
Electrical Risks
Installing an ignition coil with incorrect internal resistance can have immediate, destructive consequences. If the primary resistance is too low, the coil will draw excessive current from the ignition driver inside the ECU. This overload can overheat the ECU, blow critical fuses, or melt the delicate wiring harness. Replacing a damaged ECU is an incredibly expensive repair that far outweighs the cost of verifying compatibility beforehand.
Performance Risks
If the coil’s specifications do not match your engine’s requirements, the spark generated will be weak or improperly timed. This leads to persistent engine misfires, rough idling, decreased fuel efficiency, and a noticeable loss of power. Over time, unburned fuel resulting from weak sparks will travel down the exhaust system, potentially overheating and destroying your catalytic converter.
When to Stop
You must abort the installation immediately if you encounter any warning signs during your physical or electrical checks. If the physical mounting bracket does not line up perfectly, if the wiring connector does not lock securely with an audible click, or if your multimeter resistance readings fall outside the manufacturer’s specified range, do not attempt to force the installation. Under these conditions, reinstall your original coil if it is still functional, and consult a qualified professional mechanic or the parts manufacturer to resolve the compatibility discrepancy.
Frequently Asked Questions (FAQ)
Can I test the NK400 ignition coil with a multimeter before installing it?
Yes, you can use a digital multimeter to measure both the primary and secondary resistance of the NK400 ignition coil before placing it in your engine. This is a highly recommended diagnostic step to verify that the coil’s internal windings are intact and within safe operating limits. Always compare your measured ohm readings strictly against the specifications listed in your vehicle’s official service manual, as acceptable resistance ranges vary widely depending on the engine design.
Keep in mind, however, that a standard multimeter test has limitations. It uses a very low voltage battery to measure resistance, meaning it cannot simulate the extreme high-voltage conditions (often exceeding 20,000 volts) that occur when the engine is running. If the coil passes the bench resistance test but your engine continues to misfire after installation, the coil may be suffering from internal insulation breakdown under load, which requires professional diagnostic equipment or a verified replacement to resolve.
Community discussion
Share your experience or ask a question. Comments are reviewed before publication.