
Rebuilding a brake master cylinder using a repair kit is a highly sensitive task that directly impacts your vehicle’s stopping power. While a DIY approach using a repair kit for brake master cylinders can restore hydraulic pressure at a lower cost than buying a complete assembly, it is only safe if you possess advanced mechanical skills, specialized tools, and a flawless cylinder bore. Because any error during the rebuild process can lead to sudden brake failure, this task is not suitable for beginners. If you have any doubts about your ability to execute this repair perfectly, you should always opt for a complete replacement assembly or have the work performed by a certified automotive technician.
Assessing Your Readiness for a DIY Master Cylinder Repair
Before purchasing a repair kit for brake master components, you must honestly evaluate your mechanical experience. Performing basic maintenance tasks like changing engine oil, replacing spark plugs, or even swapping out brake pads does not prepare you for the precision required to rebuild a hydraulic master cylinder. This repair involves disassembling delicate internal pistons, replacing fragile rubber cups, and ensuring perfect seals under extreme hydraulic pressure. If you have never successfully bled a hydraulic brake system or diagnosed brake pedal fade, attempting a master cylinder rebuild is a significant safety risk.
Having the correct specialized tools is another non-negotiable requirement before you begin. Standard open-ended wrenches are highly likely to strip the soft metal flare nuts on your brake lines. You will need a set of dedicated line wrenches (also known as flare nut wrenches) to safely loosen and tighten the hydraulic fittings without damaging them. Additionally, you must have a bench bleeding kit, which typically includes plastic fittings and clear hoses, to purge air from the master cylinder before it is mounted back onto the vehicle. Attempting this job with improvised tools increases the risk of component damage and subsequent brake failure.
Products mentioned in this guide
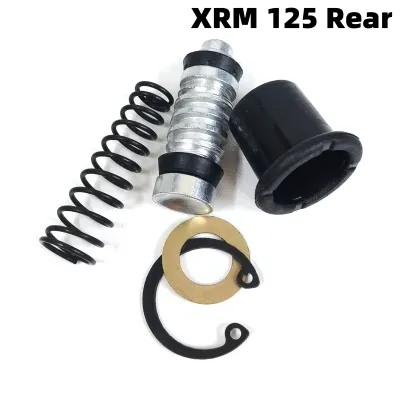
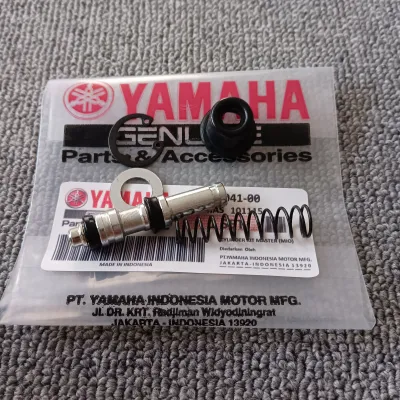
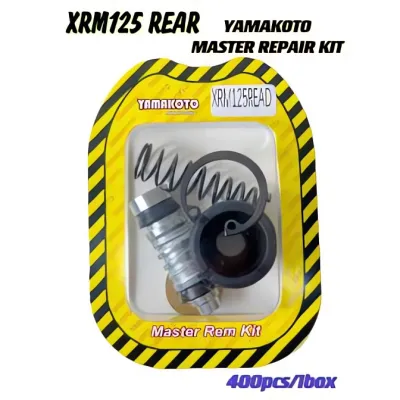
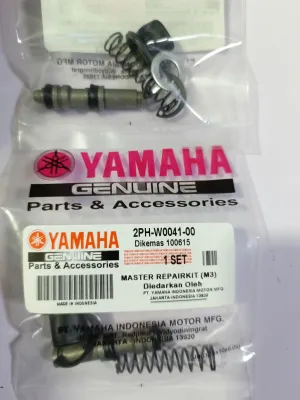
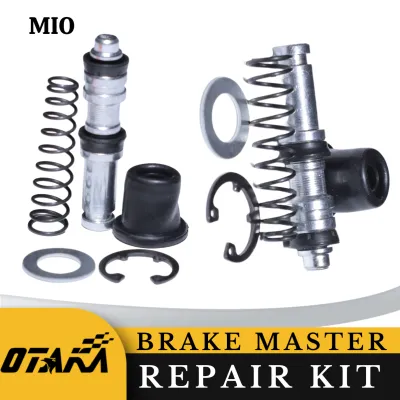
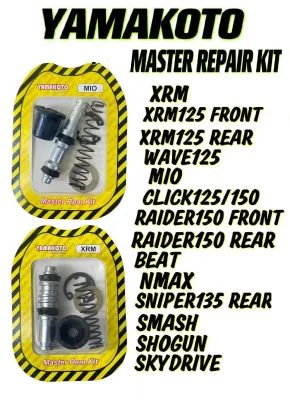
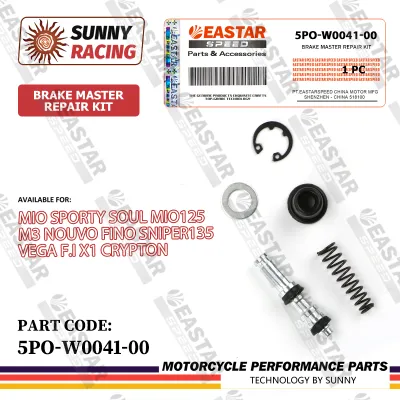
![[DOKI MOTO] KRX MASTER REPAIR KIT](https://img.lazcdn.com/g/p/def593e2fe9f0a7c3076daa65342b44d.jpg_400x400q80.jpg_.webp)
Prices are valid at publication and may change. Please refer to the product page for the latest price.
You must also consult your vehicle’s official service manual before deciding to rebuild the unit. Some manufacturers explicitly state that the master cylinder is a non-serviceable component and must be replaced as a complete assembly. This is often due to tight manufacturing tolerances or specialized internal coatings that cannot be replicated in a home garage. If your vehicle manufacturer mandates a full assembly replacement, attempting to use an aftermarket rebuild kit violates safety guidelines and could compromise your vehicle’s road legality. Always prioritize the manufacturer’s engineering decisions over DIY workarounds.
Furthermore, consider the safety implications of working on your vehicle’s primary stopping mechanism. A mistake during a brake pad installation might cause noise or uneven wear, but a mistake during a master cylinder rebuild can result in a complete loss of hydraulic pressure when you step on the pedal. In the Philippines, where sudden downpours, heavy traffic, and steep terrain are common, having fully functional brakes is absolutely critical. If you are not completely confident in your ability to follow the service manual instructions to the letter, the safest choice is to purchase a brand-new master cylinder assembly and have it installed by a qualified professional.
Critical Safety Checks Before Starting the Repair
If you have determined that you have the skills and tools to proceed, your first step is to verify the exact compatibility of your repair kit. You cannot rely solely on the vehicle’s make and model, as manufacturers often change brake system suppliers mid-year or use different cylinder bore diameters for vehicles equipped with Anti-lock Braking Systems (ABS) versus non-ABS models. To ensure a precise match, cross-reference the repair kit part numbers with your vehicle’s unique Vehicle Identification Number (VIN) using an official manufacturer catalog or a trusted automotive parts database. Installing seals that are even a fraction of a millimeter off will cause immediate fluid bypass and brake failure.

Once you have disassembled the master cylinder, you must perform a meticulous inspection of the internal cylinder bore. Use a bright light to examine the metal walls inside the cylinder where the rubber seals slide. If you detect any scoring, pitting, deep scratches, or corrosion, the master cylinder housing is ruined and cannot be safely rebuilt. In the high-humidity tropical climate of the Philippines, moisture easily enters the brake fluid over time, leading to internal rust and pitting along the bore. If you install new rubber seals over a pitted or rough bore, the sharp edges of the corrosion will slice the new seals within a few miles of driving, leading to sudden hydraulic failure.
In addition to the bore, you must inspect the entire surrounding hydraulic system for secondary failure points. Check the brake booster—the large vacuum drum mounted behind the master cylinder—for signs of brake fluid leakage. If the rear seal of the master cylinder has been leaking, brake fluid may have seeped into the booster, damaging its internal rubber diaphragm and requiring a booster replacement as well. Inspect all metal brake lines for rust, kinks, or wet spots, and examine the flexible rubber brake hoses for cracking or swelling. Replacing the master cylinder seals will not restore your braking performance if there are underlying leaks or weak points elsewhere in the system.
Essential Precautions During the Rebuild Process
Cleanliness is the single most critical factor during the actual rebuild process. Even a microscopic speck of dust, lint, or road grit can get trapped under a rubber seal, creating a tiny pathway for high-pressure brake fluid to escape. Before opening your repair kit, thoroughly clean your workbench and lay down a clean, lint-free microfiber towel or a sheet of clean paper. Wash your hands thoroughly and wear clean, powder-free nitrile gloves to prevent skin oils and contaminants from transferring to the new rubber components. Any dirt introduced during assembly can cause premature seal wear and eventual brake system failure.
When lubricating the new rubber cups and pistons during assembly, use only clean, fresh brake fluid of the exact type specified on your reservoir cap or in your owner’s manual. Never use petroleum-based lubricants, engine oil, WD-40, or grease, as these chemicals will cause the rubber seals to swell, soften, and disintegrate within hours. In the Philippines, DOT 3 and DOT 4 fluids are the most common standards, but they are not always interchangeable, and mixing them can sometimes lead to chemical compatibility issues depending on the vehicle’s specifications. Always pour a small amount of fresh fluid from a sealed container into a clean cup to lubricate the parts, and discard any leftover fluid, as opened bottles quickly absorb moisture from the humid air.
Never use abrasive tools, wire brushes, or harsh unapproved solvents to clean the inside of the master cylinder bore. Abrasive materials like sandpaper or steel wool will destroy the precision-honed finish of the bore, making it impossible for the new seals to hold pressure. Instead, use only approved aerosol brake cleaners to wash out old fluid and debris, and verify that the cleaner is safe for the specific metal of your cylinder housing. After spraying, allow the cylinder to air-dry completely or blow it out with clean, dry compressed air. Never use shop rags that leave lint behind, as these fibers will clog the tiny compensating ports inside the cylinder.
Post-Repair Testing and When to Seek Professional Help
Before mounting the rebuilt master cylinder back onto your vehicle, you must perform a bench bleeding procedure. This process involves mounting the cylinder in a vise, filling the reservoir with fresh brake fluid, and using a tool to manually stroke the piston while routing the fluid back into the reservoir via temporary tubes. Bench bleeding is essential because it forces all trapped air out of the cylinder’s internal passages and ports. If you skip this step and attempt to bleed the brakes only after mounting the cylinder, you will likely trap air pockets that are incredibly difficult to purge, resulting in a dangerously soft and unresponsive brake pedal.
Once the master cylinder is installed and the entire brake system has been thoroughly bled to remove all air, you must conduct a series of stationary safety tests. With the vehicle parked and the engine running, press down firmly on the brake pedal and hold it for at least one full minute. The pedal should feel firm and must not sink toward the floorboard. If the pedal slowly creeps downward, it indicates that fluid is bypassing the new internal seals or leaking externally, meaning the rebuild was unsuccessful. You must also visually inspect all hydraulic fittings and the back of the cylinder where it meets the booster to ensure there are absolutely no wet spots or active leaks.
If the stationary test is successful, proceed to a low-speed test in a highly controlled, enclosed environment, such as a private driveway or a completely empty parking lot. Accelerate slowly to no more than 10 km/h and gently apply the brakes to verify stopping power and pedal response. Never take a newly repaired vehicle directly onto public roads or busy highways for a test drive. If at any point during these tests the pedal feels spongy, sinks to the floor, or if you observe any fluid loss, stop immediately. Do not attempt to drive the vehicle; instead, have it towed to a professional automotive repair shop where a certified mechanic can diagnose and correct the issue safely.
Frequently Asked Questions (FAQ)
Can I drive the car on public roads to test the brakes after a DIY repair?
No, you must never drive a vehicle on public roads to test a newly repaired brake system. Initial testing must be conducted entirely while the vehicle is stationary, followed by low-speed trials in a secure, enclosed area like a private driveway or an empty lot. Public roads present unpredictable hazards, and a sudden hydraulic failure could prevent you from stopping, putting your life and the lives of others at extreme risk. Only after the system has passed all stationary and low-speed tests without any signs of fluid loss or pedal fade should you consider driving in normal traffic.
How do I verify the repair kit matches my specific vehicle?
To verify that a repair kit for brake master cylinders is compatible with your vehicle, you must cross-reference the kit’s part number with your vehicle’s unique 17-digit Vehicle Identification Number (VIN). Do not rely on generic online compatibility checkers or visual comparisons of the parts. Manufacturers often use different master cylinder designs, bore sizes, and seal configurations for the same model year depending on whether the vehicle has ABS, traction control, or specific trim packages. Checking the official manufacturer parts catalog or consulting a professional parts specialist is the only way to guarantee a safe match.
What are the immediate signs of a failing master cylinder rebuild?
The most common immediate signs of a failed rebuild include a spongy or soft brake pedal, a pedal that slowly sinks to the floor when constant pressure is applied, and visible brake fluid leaks around the master cylinder body or the brake booster connection. Additionally, if your vehicle’s brake warning light or ABS light illuminates on the dashboard, it indicates a loss of hydraulic pressure or an uneven fluid level in the reservoir. If you experience any of these symptoms, the rebuild has failed, and you must not drive the vehicle until it has been inspected and repaired by a qualified professional.
Community discussion
Share your experience or ask a question. Comments are reviewed before publication.