
A motorcycle fuel pump that fails to deliver fuel can leave you stranded on the side of the road, but the issue does not always require an expensive replacement. Often, the root cause is a simple electrical interruption, such as a blown fuse or a faulty relay, rather than a completely dead pump motor. In other cases, a severely clogged fuel filter or a pinched hose blocks the flow of fuel to the engine. By systematically testing the electrical connections, listening for the pump’s operation, and checking physical fuel delivery, you can isolate the exact point of failure. This guide provides a step-by-step diagnostic process to help you determine whether you can resolve the issue with a quick fix or if you need to install a new fuel pump.
Recognizing the Symptoms of a Failing Fuel Pump
Before dismantling your motorcycle, you must confirm whether the fuel pump is the likely source of your starting or running issues. A primary indicator of a failing pump is an engine that cranks vigorously but refuses to start, suggesting that spark and compression are present but fuel is missing. You might also experience severe sputtering or hesitation when accelerating at high speeds, which occurs when the pump cannot supply enough volume to meet the engine’s increased demand.
Another common symptom is a sudden loss of power under load, such as when climbing steep inclines or carrying a passenger. Intermittent stalling that worsens as the engine heats up and then temporarily resolves after the bike cools down is a classic sign of a failing pump motor. These symptoms can sometimes mimic other issues like a bad spark plug, an empty tank, or a clogged carburetor, making a structured diagnostic process essential.
Products mentioned in this guide
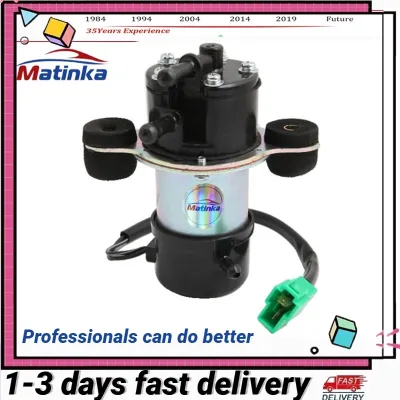
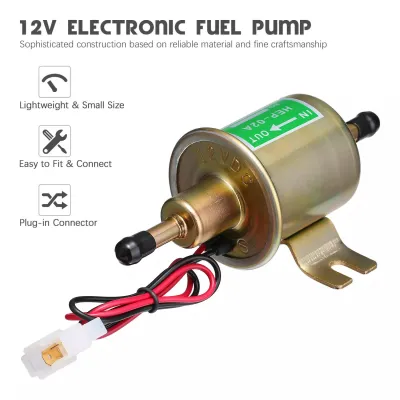
Prices are valid at publication and may change. Please refer to the product page for the latest price.
Safety Precautions Before Inspecting the Fuel System
Working on a motorcycle fuel system carries inherent risks due to the highly flammable nature of gasoline. Always perform your diagnostic checks in a well-ventilated outdoor area or an open garage to prevent the accumulation of dangerous fuel vapors. Keep a working fire extinguisher nearby and ensure there are no open flames, lit cigarettes, or spark-producing tools in your immediate workspace.

Before touching any electrical connectors or fuel lines, disconnect the negative battery terminal to eliminate the risk of accidental sparks. Relieving the fuel system pressure is also critical, especially on electronic fuel injection (EFI) models where fuel remains under high pressure even when the engine is off. Consult your motorcycle’s official service manual for the specific procedure to safely relieve this pressure before disconnecting any hoses to avoid spraying fuel onto hot engine components or into your eyes.
Step-by-Step Diagnostic Checks for the Fuel Pump
Isolating a fuel delivery issue requires a logical sequence of low-risk tests that move from simple electrical verifications to physical flow checks. This systematic approach ensures you do not replace expensive parts when a simple fuse or wire is at fault. Keep your motorcycle’s service manual on hand to locate specific components, wire colors, and routing paths.
Checking the Fuel Pump Relay and Fuses
The electrical circuit must be fully functional for the fuel pump to receive the signal to operate. Begin by locating your motorcycle’s fuse box, which is typically positioned under the seat or behind a side cover as detailed in your owner’s manual. Inspect the specific fuel pump fuse for a broken internal filament, and check the metal contacts for signs of corrosion or heat damage.
If the fuse is intact, the next suspect is the fuel pump relay, which switches the high-current power to the pump. You can test this by locating an identical, known-good relay in the fuse box—such as the one used for the horn or headlights—and temporarily swapping it with the fuel pump relay. If the motorcycle starts or the pump begins to prime after the swap, the original relay is faulty and must be replaced.
Listening for the Fuel Pump Prime
On modern fuel-injected motorcycles, the fuel pump should run for a few seconds when you first turn the key to the “ON” position to prime the system. Sit on the bike in a quiet environment, turn the ignition key, and flip the engine kill switch to the “RUN” position. Listen closely near the fuel tank for a distinct, high-pitched humming or buzzing sound that lasts for two to three seconds.
If you hear absolute silence, the pump is not receiving power, the pump motor is completely dead, or a safety switch—such as the bank angle sensor or kickstand switch—is actively cutting the circuit. Conversely, if you hear a loud, straining hum that continues without stopping, the pump may be struggling against a pinched fuel line or a completely blocked internal filter.
Testing Fuel Flow Safely
If the pump hums but the engine still will not start, you must verify if fuel is physically moving through the lines. Locate the fuel delivery hose where it connects to the fuel injector rail or the carburetor inlet. Carefully disconnect this line, keeping a clean rag handy to catch any residual drips, and direct the open end into an approved, grounded fuel container.
Briefly turn the ignition key to the “ON” position or crank the engine for a couple of seconds to see if a steady stream of fuel exits the hose. If only a few drops emerge or the flow is weak and bubbly, the pump is failing to build sufficient volume. Note that while this test confirms basic flow, verifying the exact operating pressure requires a professional fuel pressure gauge connected according to manufacturer specifications.
Matching Symptoms to Likely Causes and Actions
To help you quickly interpret your diagnostic findings, use the following reference table to map observed behaviors to their most probable causes and the next logical steps.
| Observed Symptom | Probable Cause | Next Diagnostic Step |
|---|---|---|
| No priming sound when key is turned | Blown fuse, bad relay, or tripped safety switch | Check the fuse box and swap the relay with a known-good unit. |
| Loud, straining hum but no fuel flow | Pinched fuel line or severely clogged fuel filter | Inspect the hose routing and check the inline filter for blockages. |
| Weak, sputtering fuel flow during test | Failing pump motor or low battery voltage | Measure voltage at the pump connector and check battery charge. |
| Intermittent stalling after engine warms up | Thermal failure of the internal pump motor | Test for power at the pump connector immediately after a stall occurs. |
This matrix serves as an initial troubleshooting guide and does not guarantee that a specific component is defective without further electrical testing.
When to Replace the Fuel Pump vs. Seek Professional Help
If your diagnostics reveal that the fuel pump connector receives full battery voltage when the key is turned, but the pump remains completely silent and does not deliver fuel, the internal motor has failed and the assembly must be replaced. A distinct burnt electrical smell coming from the fuel tank area also points to a compromised pump motor.
Before purchasing a replacement, verify your motorcycle’s model year, electrical interface, physical dimensions, and mounting position against the original equipment manufacturer (OEM) documentation. Installing an incompatible pump can compromise fuel system pressure, affect road legality, and create severe safety hazards.
While replacing an external inline fuel pump is a straightforward task for many DIY enthusiasts, in-tank pumps on modern EFI motorcycles present greater complexity. These systems require working with high-pressure lines, delicate plastic fuel sender units, and specialized rubber seals that must be seated perfectly to prevent leaks. If your motorcycle’s service manual specifies the use of proprietary diagnostic tools, or if you are uncomfortable working around open fuel tanks, it is best to have a qualified mechanic perform the replacement.
Preventive Maintenance to Extend Fuel Pump Life
Taking care of your fuel system can prevent premature pump failures and save you from expensive repairs down the road. In tropical climates like the Philippines, high humidity can lead to moisture condensation inside the fuel tank, which rusts the tank walls and damages the pump. Keeping your fuel tank relatively full prevents condensation from forming and ensures the pump remains submerged, using the fuel itself as a coolant to prevent overheating.
Additionally, make it a habit to replace your inline fuel filter at the intervals recommended by your motorcycle manufacturer. A clean filter reduces the workload on the pump motor, preventing it from drawing excessive current and burning out prematurely. Finally, avoid using stale or contaminated fuel from unreliable roadside sources, as dirt particles and water can quickly score the tight tolerances of the internal pump gears.
Frequently Asked Questions (FAQ)
Can a clogged fuel filter mimic a bad fuel pump?
Yes, a severely restricted fuel filter restricts the volume of fuel reaching the engine, producing symptoms identical to a failing pump. You may experience engine sputtering at high speeds, hesitation during acceleration, or hard starting. Because a fuel filter costing around ₱200 to ₱500 is significantly cheaper and easier to replace than a complete fuel pump assembly, you should always inspect and replace a suspect filter before deciding to purchase a new pump.
Is it safe to bypass the fuel pump relay for testing?
Bypassing the fuel pump relay by jumping the electrical terminals with a wire is highly discouraged due to severe safety risks. Relays act as safety switches that cut power to the fuel pump in the event of an accident or engine stall to prevent fuel from spraying onto a hot engine. Overriding these circuits can cause electrical shorts, damage your motorcycle’s main wiring harness, or create a fire hazard; swapping the relay with an identical, functional one is a much safer diagnostic method.
Community discussion
Share your experience or ask a question. Comments are reviewed before publication.