
A motorcycle fuel transfer pump is the heart of your bike’s fuel delivery system, moving fuel from the tank to the engine at a consistent pressure. When this component fails, your motorcycle may refuse to start, sputter during acceleration, or stall unexpectedly. Diagnosing a faulty pump involves checking for electrical supply issues, clogged filters, fuel contamination, or mechanical wear within the pump assembly itself.
Resolving the issue does not always require a costly trip to the repair shop. By systematically testing electrical connections, inspecting fuel lines, and verifying physical output, you can isolate the root cause of the failure. This guide provides a practical, step-by-step approach to troubleshooting your motorcycle’s fuel delivery system, helping you determine whether a simple maintenance fix will solve the problem or if a complete pump replacement is necessary.
Safety First and Initial System Checks
Working on a motorcycle’s fuel system carries inherent risks due to the volatile nature of gasoline. Work in a well-ventilated outdoor area or an open garage to prevent toxic, flammable fumes from accumulating. Disconnect the negative battery terminal to eliminate spark risks, and keep a Class B fire extinguisher nearby.
Products mentioned in this guide
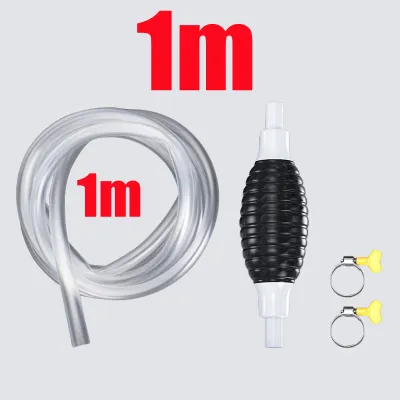
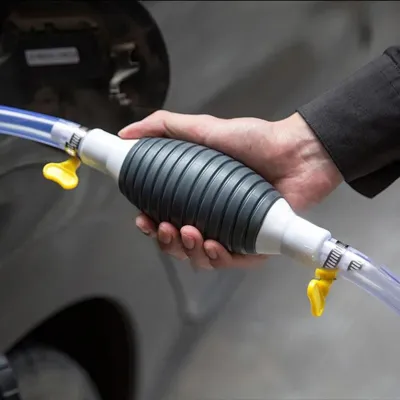
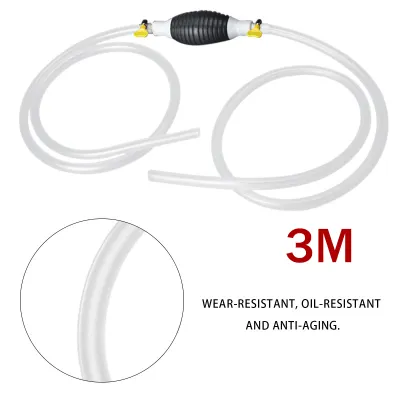
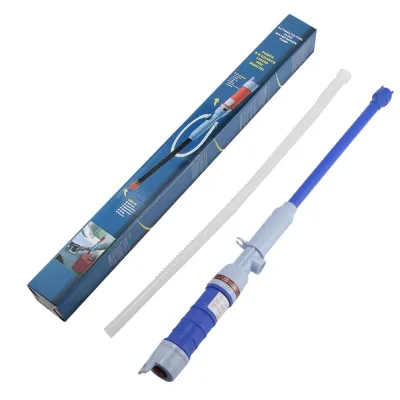
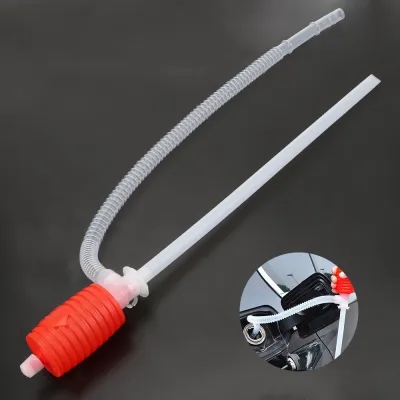
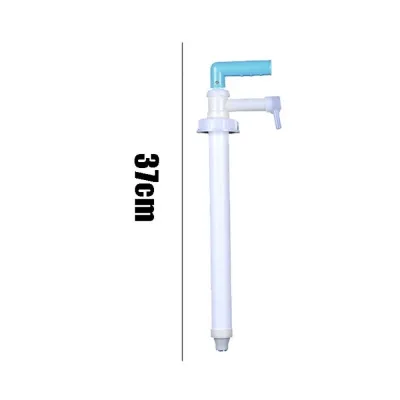
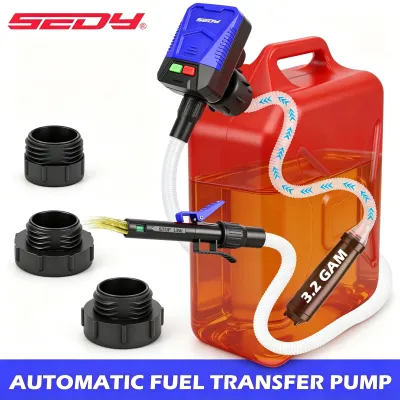
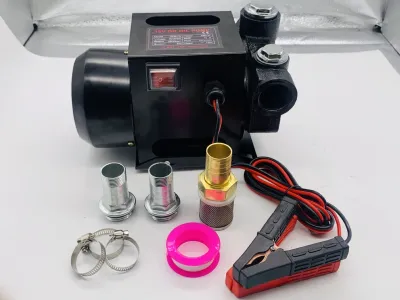
Prices are valid at publication and may change. Please refer to the product page for the latest price.
Before disassembling any components, perform basic physical checks to rule out simple, non-pump issues. Verify that there is actually adequate fuel in the tank, as faulty fuel gauges or trip meters can easily mislead you. Inspect the exterior of the tank and fuel lines for obvious physical leaks, kinked hoses, or a blocked tank breather vent, which can create a vacuum that prevents fuel flow.
Next, inspect the electrical basics of the fuel system. Locate the main fuel pump fuse and relay, which are typically housed in a fuse box under the seat or side fairings. Check the fuse for a broken filament or signs of scorching, and inspect the relay terminals for corrosion or loose connections. A blown fuse or a faulty relay will prevent electrical current from reaching the pump, mimicking a complete mechanical failure.
Recognizing Symptoms of Fuel Transfer Pump Failure
Identifying how your motorcycle behaves when the fuel delivery system struggles can help you pinpoint the exact nature of the failure. The most common symptom of a completely failed fuel transfer pump is an engine that cranks vigorously but refuses to start. Because the fuel injectors or carburetor are deprived of pressurized fuel, the combustion chamber cannot ignite, leaving you stranded despite a healthy battery and starter motor.

When a pump is failing gradually rather than stopping completely, it often produces weak pressure or intermittent fuel flow. You may notice the motorcycle hesitating or sputtering during acceleration, particularly when climbing hills or carrying a passenger. The engine might also experience a sudden loss of power at high RPMs or run lean, which can cause the engine temperature to rise dangerously in tropical climates.
Unusual noises coming from the fuel tank area are another clear warning sign of impending pump failure. When you turn the ignition key to the “on” position, you should normally hear a brief, smooth hum or buzz for a few seconds as the pump primes the system. If you hear a loud, high-pitched whining, rapid clicking, or grinding sound instead, the internal bearings or gears of the pump motor are likely worn out or struggling against a severe restriction.
Step-by-Step Troubleshooting for Fuel Delivery Issues
To isolate the root cause of a fuel transfer pump failure without unnecessary disassembly, follow a logical, low-risk troubleshooting sequence.
Electrical Testing with a Multimeter Begin by verifying that the pump is receiving the correct operating voltage. Locate the electrical connector leading to the fuel pump assembly and set your digital multimeter to the DC voltage scale. With the ignition turned on and the engine run switch set to “start,” measure the voltage across the positive and ground terminals of the connector. If the reading is significantly below your battery’s resting voltage, or if there is no voltage at all, inspect the wiring harness for frayed wires, loose ground connections, or corroded pins.
Fuel Filter and Strainer Inspection If the electrical supply is healthy, the restriction is likely mechanical. Inspect any inline fuel filters and the in-tank strainer, often referred to as the fuel sock. In humid environments, moisture can mix with fuel, leading to rust particles, varnish, or gelatinous debris that quickly clogs these fine mesh screens. A heavily clogged strainer starves the pump of fuel, causing it to overheat and fail prematurely.
Line and Connection Checks Examine the entire length of the fuel lines from the tank to the throttle body or carburetor. Ensure there are no sharp bends, pinches, or cracks that could restrict flow or draw air into the system. Additionally, verify that the fuel cap vent is functioning correctly; a clogged vent prevents air from replacing the consumed fuel, creating a vacuum inside the tank that eventually overpowers the pump’s ability to draw fuel.
Pump Output and Flow Test If the lines and filters are clear, perform a physical flow test to observe the pump’s output. Disconnect the fuel outlet line from the pump and direct it into a clean, calibrated, fire-safe container. Briefly cycle the ignition to run the pump for a set number of seconds, observing the volume and consistency of the fuel stream. If the flow is weak, erratic, or non-existent despite a solid electrical supply, the internal pump mechanism is defective and requires replacement.
When to Replace the Pump or Call a Mechanic
If your diagnostic tests confirm a healthy electrical supply, clean filters, and unobstructed lines, but the pump still fails to produce adequate pressure or flow, the internal motor or impeller has failed. Because modern fuel pumps are sealed units, they cannot be internally repaired and must be replaced as a complete assembly.
Some motorcycle models present complex disassembly challenges that may exceed basic DIY tools and experience. Accessing the fuel pump often requires removing specialized fairings, dropping the fuel tank, or dealing with high-pressure quick-connect fittings that require dedicated release tools. If you feel uncomfortable handling pressurized fuel lines or working around sensitive electronic sensors, it is best to take your motorcycle to a qualified mechanic.
When sourcing a replacement fuel transfer pump, always prioritize original equipment manufacturer (OEM) parts or reputable, verified aftermarket brands. Verify the exact compatibility of the replacement part using your motorcycle’s specific make, model, and production year. Avoid unverified, low-cost components from online marketplaces, as substandard fuel pumps can suffer from premature failure, incorrect pressure regulation, or poor seal fitment, leading to dangerous fuel leaks.
Preventive Maintenance to Extend Pump Life
Taking proactive steps to maintain your motorcycle’s fuel system can significantly extend the lifespan of your fuel transfer pump and prevent unexpected breakdowns.
Fuel Quality and Storage Always use fresh fuel from reputable stations. In tropical, humid climates, fuel left sitting in a tank quickly absorbs moisture, leading to phase separation and internal corrosion. If storing your motorcycle for more than a few weeks, add a fuel stabilizer and run the engine briefly to distribute it.
Tank Hygiene Keep your fuel tank relatively full, especially during periods of inactivity, to minimize the empty space where humid air can condense into water. Periodically inspect the rubber seal on your fuel cap for cracks or dry rot, as a compromised seal can allow rainwater or wash water to seep directly into the fuel supply, leading to rust formation that will ruin the pump’s internal components.
Filter Replacement Schedules Adhere strictly to the manufacturer’s recommended service intervals for replacing inline fuel filters and cleaning the in-tank strainer. Regularly replacing these inexpensive components prevents debris from reaching the pump motor, reducing operating strain and ensuring a consistent, unrestricted flow of clean fuel to your engine.
Frequently Asked Questions (FAQ)
Can a bad battery cause the fuel transfer pump to stop working?
Yes, a weak or failing battery can directly prevent the fuel transfer pump from operating correctly. Electric fuel pumps require a stable, high-voltage supply to spin the internal motor fast enough to build the necessary fuel pressure. If your battery’s voltage drops significantly during cranking, the pump may fail to prime the system or deliver sufficient fuel to start the engine. Always test your battery’s state of charge, clean the terminal connections, and verify that the motorcycle’s charging system is functioning properly before assuming the fuel pump itself is faulty.
Is it safe to clean a motorcycle fuel pump instead of replacing it?
While you can safely clean or replace external components like the fuel strainer, inline filters, and the fuel tank itself, you cannot safely clean the internal motor of a sealed fuel pump. Attempting to disassemble or spray harsh chemical solvents inside a sealed pump motor can dissolve internal plastic components, damage delicate electrical windings, or ruin critical rubber seals. If debris or varnish has bypassed the filters and contaminated the internal pump mechanism, the entire pump assembly must be replaced to ensure safe and reliable operation.
Community discussion
Share your experience or ask a question. Comments are reviewed before publication.