
A motorcycle’s fuel system relies on a steady, pressurized flow of gasoline to keep the engine running smoothly. When your bike begins to sputter, stall, or refuse to start, a failing fuel transfer pump is often the prime suspect. Diagnosing these fuel delivery issues early can prevent you from being stranded on the road and save you from the unnecessary expense of replacing functional components. By understanding how to isolate electrical faults, physical blockages, and mechanical wear, you can determine whether a simple fix will solve the issue or if a complete replacement is required.
Recognizing the Symptoms of a Failing Fuel Pump
Identifying a failing fuel pump early requires paying close attention to how your engine behaves under different riding conditions. The most common sign of fuel starvation is sputtering or hesitation when you twist the throttle. When the engine demands more fuel for acceleration, a weak pump cannot maintain the necessary volume, causing the air-fuel mixture to run lean and the engine to bog down. You might also experience a sudden, frustrating loss of power at high RPMs or when climbing steep inclines, as these scenarios place the highest demand on your fuel delivery system.
Hard starting is another classic symptom of fuel pump trouble. An electric pump should prime the fuel lines with high pressure the moment you turn the key to the “ON” position. If the pump is weak, it will take several seconds of prolonged cranking before the engine finally fires up. In severe cases, the engine may start normally but stall unexpectedly after running for a few minutes, particularly as the pump motor heats up and its internal electrical resistance increases.
Products mentioned in this guide
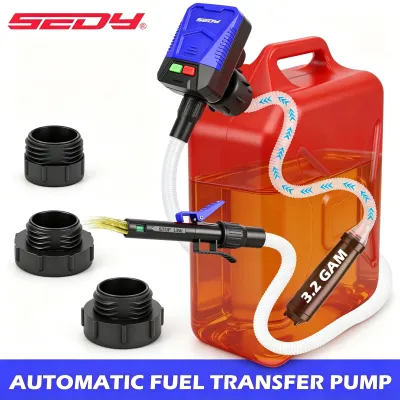
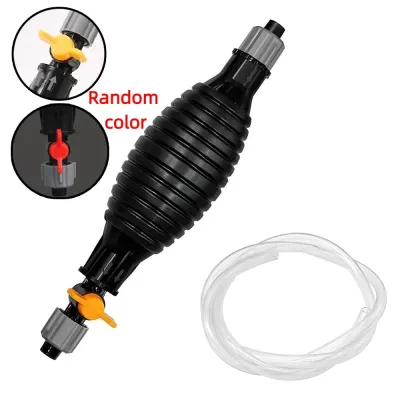
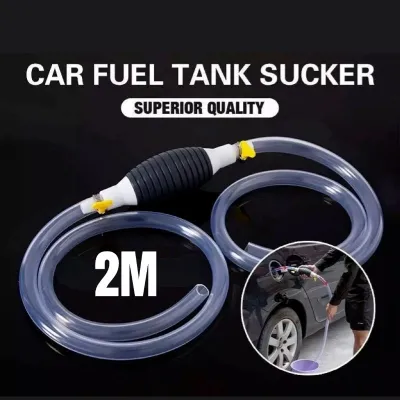
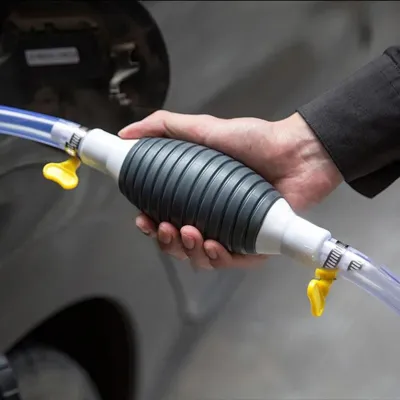
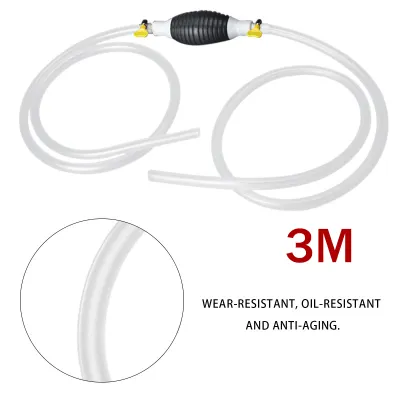
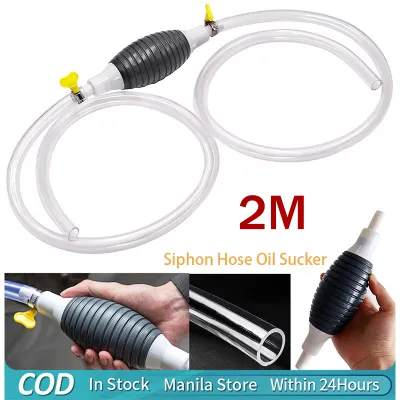
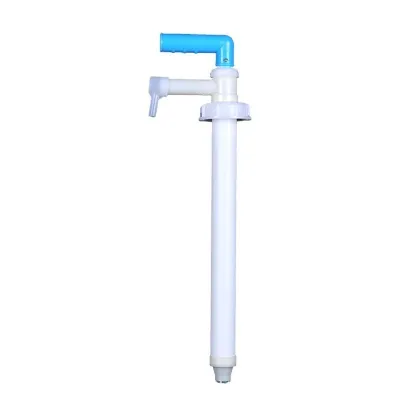
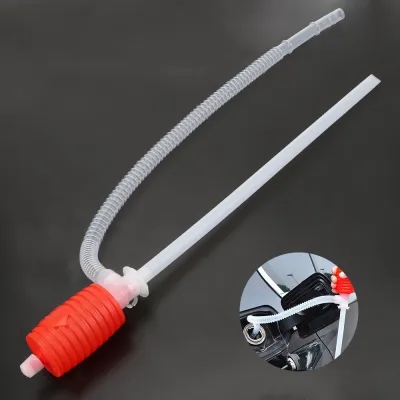
Prices are valid at publication and may change. Please refer to the product page for the latest price.
Paying attention to the acoustic feedback from your fuel tank can also provide valuable clues. Electric fuel pumps normally produce a quiet, consistent hum for a few seconds when the ignition is first switched on. If you hear an unusually loud, high-pitched whining, buzzing, or metallic clicking sound coming from inside the tank, it is a strong indicator of worn pump bearings, a severely clogged intake strainer, or fuel cavitation.
It is important to note that these symptoms can easily overlap with other common motorcycle issues. For instance, a dirty carburetor, clogged fuel injectors, or a failing spark plug can also cause sputtering and power loss. However, spark plug issues typically cause a consistent misfire across all engine speeds, whereas fuel pump issues are highly sensitive to engine load and fuel levels. Systematically ruling out these overlapping variables is the key to an accurate diagnosis.
Essential Safety Rules Before Inspecting the Fuel System
Working on any part of a motorcycle’s fuel system carries inherent risks of fire, explosion, and personal injury. Before you begin inspecting or disconnecting any components, you must establish a safe working environment. Always work in a well-ventilated outdoor area or an open garage, strictly away from open flames, pilot lights, spark sources, or hot engine components like exhaust pipes.

Before touching any electrical connections or fuel lines, disconnect the negative terminal of your motorcycle’s battery. This simple step eliminates the risk of accidental electrical sparks that could ignite gasoline vapors. Additionally, keep a Class B fire extinguisher within arm’s reach and use only approved, fuel-safe containers to catch any fuel that may drain during your diagnostic checks.
For fuel-injected motorcycles, relieving the fuel system’s residual pressure is a critical safety step. Fuel injection systems operate under high pressure, often between 30 and 50 PSI. Disconnecting a fuel line while it is still pressurized will cause highly flammable gasoline to spray forcefully onto your face, skin, or hot engine parts. To relieve this pressure safely, locate the fuel pump fuse or relay in your main fuse box, remove it, and crank the engine until it stalls. This safely depletes the pressurized fuel remaining in the lines. Always check your motorcycle’s original manufacturer service manual for model-specific safety guidelines before proceeding.
Step-by-Step Diagnostic Checks for Your Fuel Transfer Pump
Isolating the root cause of a fuel delivery problem requires a systematic approach. By performing these low-risk, reversible diagnostic steps at home, you can rule out minor issues before concluding that the pump itself has failed.
Inspecting the Fuel Filter, Lines, and Tank Vent
Before focusing on the pump motor, you must ensure that the physical pathway of the fuel is completely clear. Start by locating your motorcycle’s inline fuel filter or the internal filter sock attached to the pump assembly inside the tank. A clogged filter restricts fuel flow, forcing the pump to work much harder and draw more electrical current. Inspect the filter for dark discoloration, sediment, or debris, and replace it if it has exceeded the manufacturer’s recommended service interval, which is typically every 10,000 to 20,000 kilometers.
Next, carefully trace the fuel lines from the tank all the way to the throttle body or carburetor. Look closely for any kinks, sharp bends, cracks, or pinch points. These physical restrictions are common on motorcycles, often occurring after reinstalling the fuel tank following routine maintenance or after routing aftermarket wiring and accessories through tight spaces under the seat.
Finally, inspect the fuel tank breather hose and the cap vent. As fuel is drawn out of the tank, air must enter to equalize the pressure. If the breather hose or cap vent is blocked by dirt or pinched against the frame, a strong vacuum will form inside the tank. This vacuum fights against the pump, eventually starving it of fuel and causing the engine to stall. You can easily test for this by opening the gas cap immediately after the engine stalls; if you hear a distinct “whoosh” of rushing air and the engine starts right back up, your tank vent is clogged and needs to be cleared.
Testing Electrical Connections: Fuses and Relays
If your fuel pump does not make any sound when you turn the key, the issue may be electrical rather than mechanical. Begin by locating the main fuse box and identifying the fuel pump fuse. Inspect the fuse filament visually for any breaks, or use a digital multimeter set to continuity to confirm whether the fuse is blown. If the fuse is blown, replace it with one of the exact same amperage rating; a higher-amperage fuse can damage the wiring harness.
If the fuse is intact, check the fuel pump relay. When you turn the ignition key to “ON,” you should hear a faint, distinct click from the relay as it energizes the pump. If you do not hear this click, you can test the relay by temporarily swapping it with an identical, known-working relay from the same fuse block, such as the horn or headlight relay. If the pump primes with the swapped relay, the original relay is faulty and must be replaced.
Do not overlook the wiring harness connector at the fuel tank. Unplug the connector and inspect the metal pins for signs of corrosion, loose connections, or melted plastic. In hot, highly humid tropical climates like the Philippines, moisture and road grime easily penetrate these connectors, leading to corrosion that blocks the electrical current from reaching the pump motor.
Performing a Basic Fuel Flow Test
If the electrical system is sending power but you suspect the pump is weak, you can perform a basic fuel flow test to observe its output. Disconnect the main fuel delivery line at the engine side (the injector fuel rail or the carburetor inlet) and route the open end of the hose safely into a graduated, fuel-safe measuring container.
With the battery reconnected, cycle the ignition key to the “ON” position to run the priming cycle, or briefly crank the engine for a few seconds. Observe the fuel stream exiting the line. It should flow in a strong, steady, and continuous stream. If the fuel merely trickles out, sputters, or contains excessive air bubbles, the pump is failing to deliver adequate volume.
Keep in mind the limitations of this DIY test. While a flow test confirms that the pump can move fuel, it cannot measure the precise pressure required for proper fuel injection. A pump might move enough volume at atmospheric pressure but fail completely under the high-pressure demands of a running engine. To measure actual fuel pressure, you must connect a specialized fuel pressure gauge with the correct adapter to the fuel rail.
Quick Diagnostic Matrix: Symptoms, Causes, and Fixes
Use this quick-reference matrix to match your motorcycle’s symptoms to the most likely cause and determine your next step.
| Symptom Observed | Most Likely Cause | DIY Fix / Next Step |
|---|---|---|
| Engine cranks but will not start; no priming hum from tank | Blown fuel pump fuse, bad relay, or dead pump motor | Check and replace the fuse or relay; verify power at the wiring harness; replace the pump if it receives power but won't run. |
| Engine starts but sputters and dies under acceleration | Clogged fuel filter, pinched fuel line, or weak fuel flow | Inspect and replace the fuel filter; check fuel lines for kinks; perform a basic fuel flow test. |
| Loud, high-pitched whining or buzzing from the fuel tank | Low fuel level, clogged pickup screen, or worn pump bearings | Refuel immediately; clean the pump's intake strainer sock; replace the pump assembly if the noise persists. |
| Intermittent engine stalling, especially when the bike is hot | Vapor lock, failing pump motor overheating, or blocked tank vent | Clear the tank breather hose; check for vacuum lock by opening the gas cap; replace the pump if it overheats. |
When to Replace the Fuel Transfer Pump or See a Mechanic
Modern motorcycle fuel pumps are typically engineered as sealed, integrated assemblies. The internal electric motor, impeller, and integrated fuel pressure regulator cannot be disassembled, repaired, or rebuilt safely by a consumer. If your diagnostic checks confirm that the internal motor is burnt out or that the integrated pressure regulator is failing, the entire fuel transfer pump assembly must be replaced.
There are clear boundaries where you should step aside and seek the help of a professional mechanic. If your diagnostics point to complex electrical issues involving the Engine Control Unit (ECU), or if your motorcycle has a complex frame and fuel tank design that requires specialized lifting equipment and safety stands to access, professional intervention is highly recommended.
Additionally, if your motorcycle continues to suffer from poor performance and persistent low fuel pressure despite a brand-new fuel filter and clean fuel lines, a professional mechanic should perform a precise pressure gauge test. This will verify whether the internal pressure regulator or the pump itself is worn out before you invest in a costly replacement assembly.
Preventive Maintenance to Protect Your Fuel System
Taking proactive care of your motorcycle’s fuel system is the most effective way to extend the lifespan of your fuel pump and prevent unexpected breakdowns on the road. By adopting a few simple maintenance habits, you can protect these sensitive components from premature wear.
First, understand that in-tank fuel pumps rely on the surrounding gasoline to act as both a coolant and a lubricant. When you consistently ride your motorcycle with a nearly empty tank, the pump is exposed to air, causing it to run significantly hotter. Over time, this thermal stress degrades the motor’s internal windings and leads to premature failure. Try to make it a habit to keep your fuel tank at least one-quarter full.
Second, adhere strictly to your motorcycle manufacturer’s fuel filter replacement schedule. Forcing a fuel pump to push gasoline through a dirty, restricted filter strains the electric motor, drawing higher current and accelerating wear on the internal bearings. Replacing a fuel filter is a low-cost maintenance task that can save you from a much more expensive pump replacement later.
Finally, manage fuel stability carefully, especially in hot and humid tropical environments like the Philippines. High humidity introduces moisture into the fuel tank through condensation, while warm temperatures accelerate fuel degradation, leading to the formation of sticky varnish and gum. If you plan to park your motorcycle for more than a few weeks, add a high-quality fuel stabilizer to the tank to protect the system, or drain the fuel system completely if storing the bike for several months.
Frequently Asked Questions (FAQ)
Can I clean a motorcycle fuel pump instead of replacing it?
While you can easily clean the external fuel filter, the inside of the fuel tank, and the pump’s pickup strainer sock, you cannot clean or rebuild the internal electric motor or impeller of a sealed fuel pump. If the internal components of the pump motor are worn, damaged, or burnt out, replacing the complete fuel transfer pump assembly is the only reliable and safe solution.
Why does my fuel pump whine loudly when the tank is low?
Gasoline surrounding an in-tank fuel pump acts as a natural sound dampener. When the fuel level drops below the pump housing, this acoustic barrier is lost, making the mechanical hum of the pump sound much louder. More importantly, low fuel levels mean the pump cannot dissipate heat effectively. If you regularly hear a loud whining noise, it is a warning sign that your pump is running hot, and you should refuel immediately to prevent premature motor burnout.
Community discussion
Share your experience or ask a question. Comments are reviewed before publication.