
Choosing the right brake pads for your Yamaha Mio i125 is one of the most critical decisions you can make for your daily ride. As one of the most popular automatic scooters in the Philippines, the Mio i125 navigating dense urban traffic, heavy monsoon rains, and sudden stops requires a braking system that performs predictably every single time. Because the front disc brake provides the vast majority of your scooter’s stopping power, the compound gripping that disc directly dictates your safety, lever feel, and long-term maintenance costs.
The ideal brake pad for your Mio i125 depends entirely on your daily riding environment, budget, and performance expectations. Yamaha Genuine Parts (YGP) OEM brake pads are engineered to deliver a highly balanced, quiet, and predictable performance that maximizes the lifespan of your brake rotor, making them the superior choice for standard city commuting. On the other hand, high-quality aftermarket brake pads utilizing semi-metallic or sintered compounds offer significantly stronger initial bite and superior heat resistance, which is highly beneficial for aggressive riders, heavy delivery loads, or steep hilly routes, though they introduce trade-offs like increased brake noise and accelerated disc wear.
Understanding the physical and material differences between these options allows you to make an informed decision that matches your specific riding profile. By analyzing how different friction materials interact with your scooter’s braking system, you can choose a pad that ensures maximum safety and value on the road.
Products mentioned in this guide
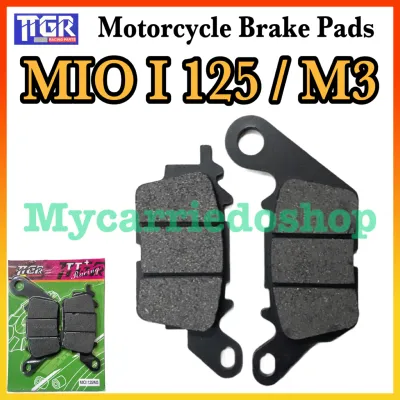
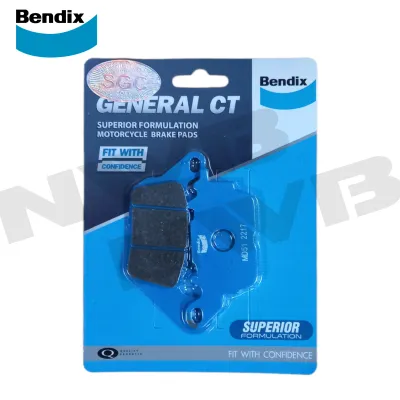
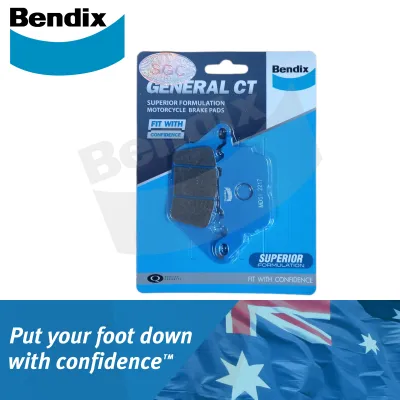
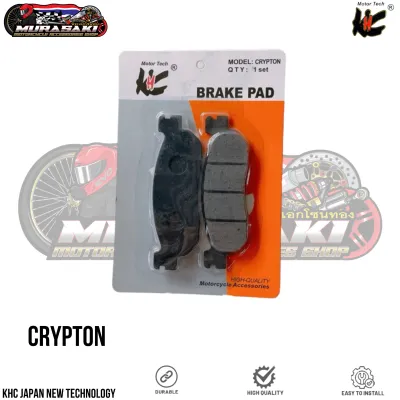
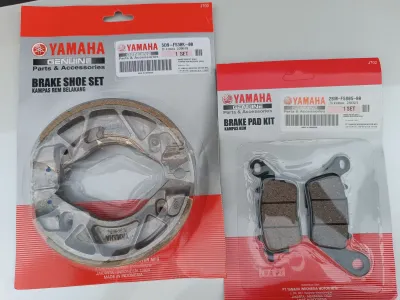
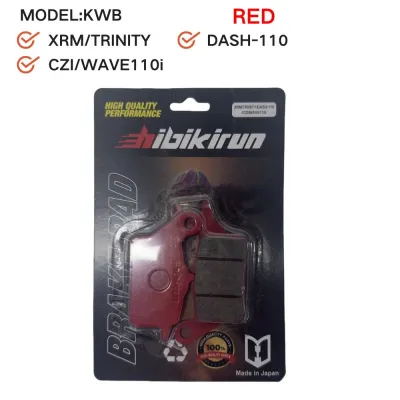
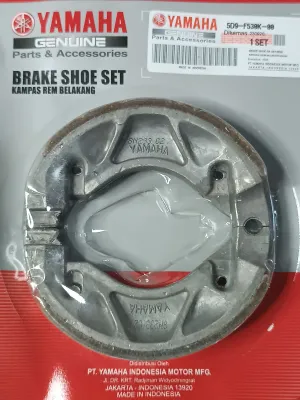
Prices are valid at publication and may change. Please refer to the product page for the latest price.
Brake Pad Materials: What Actually Determines Stopping Power?
To understand the performance differences between OEM and aftermarket brake pads, you must look at the science of friction materials. When you squeeze your Mio i125’s brake lever, the caliper presses the brake pads against the spinning steel rotor, converting kinetic energy into thermal energy. The chemical composition of the pad’s friction material determines how efficiently this energy transfer occurs, how well the system manages extreme heat, and how quickly the components wear down.
Different riding conditions demand different material properties. A material that performs exceptionally well under high-speed racing conditions may perform poorly or even dangerously during a cold, wet morning commute in Manila. Conversely, a pad designed for gentle city cruising can quickly fail if subjected to the intense heat of a long mountain descent.
Organic (Non-Asbestos Organic) Compounds
Organic brake pads, which are standard for many OEM scooter applications, are constructed from a blend of non-asbestos fibers, such as glass, rubber, carbon, and high-temperature resins. These materials are compressed and bonded together to create a relatively soft friction compound that operates exceptionally well at lower temperatures.
Because the material is soft, organic pads offer a very smooth, progressive lever feel that makes it easy to modulate your braking force in stop-and-go traffic. They generate minimal noise, virtually eliminating the high-pitched squeal often associated with high-performance brakes, and they are incredibly gentle on your brake rotor, preserving its thickness over tens of thousands of kilometers.
However, organic compounds have a relatively low thermal threshold. Under sustained, heavy braking, the resin binders inside the pad can begin to overheat and outgas, creating a microscopic layer of hot gas between the pad and the rotor. This phenomenon, known as brake fade, causes the brake lever to feel spongy and drastically reduces your stopping power until the system cools down.
Semi-Metallic and Sintered Compounds
Semi-Metallic and sintered brake pads are common performance-oriented aftermarket upgrades designed to overcome the thermal limitations of organic materials. Semi-metallic pads combine synthetic fibers with metallic elements like iron, steel, or copper, while sintered pads are made by fusing metallic powders together under extreme heat and pressure without melting them completely.
These metallic compounds boast a significantly higher coefficient of friction and outstanding thermal conductivity. They dissipate heat rapidly, allowing them to maintain consistent stopping power and resist brake fade even under extreme operating temperatures, such as carrying a heavy pillion passenger down steep mountain roads.
Despite their superior stopping power, metallic compounds come with distinct compromises. They are highly abrasive, which accelerates the wear of your steel brake rotor and requires more frequent disc replacements. They also tend to produce more brake dust and can be prone to squealing, particularly in highly humid or wet tropical conditions.
OEM Yamaha Brake Pads: The Baseline for Daily Riding
Yamaha Genuine Parts (YGP) brake pads are designed with a specific philosophy: to provide dependable, hassle-free performance for the average commuter. Because the Mio i125 is engineered primarily as an efficient, lightweight urban runabout, Yamaha equips it with organic brake pads that prioritize comfort, longevity, and predictable handling over aggressive racing performance.

One of the greatest advantages of choosing OEM pads is the guarantee of exact physical fitment and material compatibility. The backing plate dimensions, mounting pin holes, and overall thickness are manufactured to precise factory specifications, ensuring they slide perfectly into your single-piston front caliper without any modification or uneven pad wear.
Furthermore, the hardness of the OEM pad compound is perfectly matched to the metallurgy of the factory Yamaha brake rotor. This precise engineering balance ensures that the pad wears down as intended while preserving the integrity of the more expensive brake disc, saving you from premature rotor replacement costs.
For the vast majority of riders navigating daily city traffic at moderate speeds, OEM pads offer more than enough stopping power. However, if you frequently ride with heavy cargo, navigate steep bypass roads in Rizal or Cavite, or ride aggressively in wet weather, you may find the progressive bite of OEM pads lacking the immediate, sharp response needed for sudden emergency stops.
Aftermarket Brake Pads: Performance Upgrades and Trade-offs
The aftermarket sector offers a wide array of friction compounds designed to cater to riders seeking specialized performance characteristics. Reputable brands available in the local market engineer pads that can transform the braking dynamics of your Mio i125, offering a much sharper initial bite and firmer lever feedback.
However, upgrading to high-performance aftermarket pads requires an understanding of the “cold bite” phenomenon. Sintered and heavily metallic pads often require a brief warm-up period to reach their optimal operating temperature; when completely cold and wet during a sudden tropical downpour, they may initially feel stiff or unresponsive for the first fraction of a second before the friction heat builds up.
Safety is a paramount concern when shopping for aftermarket parts in the Philippines, as the market is flooded with counterfeit or substandard components. Cheap, unbranded brake pads or counterfeit replicas of major brands often use inferior binding resins that can fail catastrophically, leading to the friction material completely delaminating from the steel backing plate under thermal stress. To prevent life-threatening brake failure, you must purchase aftermarket parts exclusively from authorized dealers or official brand stores.
Additionally, prepare for the daily compromises of performance pads. The increased metal content in upgraded compounds often results in a fine layer of dark brake dust accumulating on your front wheel and caliper assembly. You must also expect a higher likelihood of brake squeal during humid mornings or after riding through puddles, as well as the need to inspect your brake disc thickness much more frequently.
Decision Framework: Which Brake Pad Should You Buy?
To determine the best brake pad for your Mio i125, evaluate your typical riding habits, payload, and regional geography. There is no single compound that excels in every category, so your choice should align with your primary operating conditions.
Choose OEM Yamaha if:
- You use your Mio i125 primarily for daily city commuting, office runs, or casual riding in flat urban areas.
- You prioritize a quiet, smooth ride and want to avoid high-pitched brake squealing.
- You want a guaranteed, drop-in factory fit without worrying about caliper compatibility or modifications.
- You prefer to maximize the lifespan of your stock brake disc and minimize overall long-term maintenance expenses.
Choose Aftermarket (Sintered/Semi-Metallic) if:
- You operate your scooter for commercial deliveries, frequently carrying heavy cargo, or regularly ride with a pillion passenger.
- Your daily routes involve navigating steep, hilly terrains, such as the mountain passes of Antipolo, Tagaytay, or Baguio, where brake fade is a constant risk.
- You demand a highly responsive, immediate initial bite and are willing to accept firmer lever pressure.
- You are comfortable with shorter brake disc lifespans and potential brake noise as acceptable trade-offs for maximum stopping power.
Verify first if: Before purchasing any new brake pads, you must inspect the current condition of your front brake disc. Installing aggressive, high-friction aftermarket pads onto a worn, scored, or thin rotor is an extreme safety hazard that can lead to disc warping, severe vibration, or complete braking system failure.
Locate the minimum thickness limit stamped directly on the hub of your Mio i125’s brake rotor (typically marked as “MIN. TH. 3.0mm” or similar). Use a micrometer or vernier caliper to measure the actual thickness of the disc at multiple points; if the measurement is at or below the stamped limit, or if you can feel deep, distinct grooves running along the surface of the metal, you must replace the brake disc alongside your new pads.
Installation, Bedding-In, and Safety Boundaries
Installing new brake pads is only the first step in restoring your scooter’s stopping power; proper preparation and a dedicated bedding-in process are mandatory to ensure the system functions safely and effectively. Skipping these steps can lead to poor braking performance, severe vibration, or permanent glazing of the new pad material.
Before installing the new pads, perform a thorough preparation check of the entire caliper assembly. Use a dedicated motorcycle brake cleaner to wash away accumulated road grime and brake dust from the caliper piston and slide pins, ensuring you only use cleaners formulated specifically for automotive brake components to avoid damaging the sensitive rubber piston seals. Verify that the caliper slide pins move freely and lubricate them with a thin coat of high-temperature silicone grease to prevent the caliper from binding or sticking.
Once the new pads are installed, you must perform the bedding-in (or break-in) procedure to transfer an even, microscopic layer of friction material from the pad onto the surface of the brake disc. Find a safe, flat, and traffic-free stretch of road and follow these steps:
- Accelerate your scooter to approximately 40 km/h.
- Apply the front brake firmly and progressively to slow down to about 10 km/h, taking care not to lock up the front wheel or bring the scooter to a complete stop.
- Release the brake and ride for a short distance to allow the system to cool down slightly.
- Repeat this controlled deceleration process 20 to 30 times.
This process ensures optimal surface contact between the pad and the rotor, maximizing stopping power and preventing the pads from glazing, which occurs when localized overheating hardens the friction material and makes it permanently slick.
Because your motorcycle’s braking system is a critical, life-saving assembly, you must respect strict safety boundaries. If you do not possess the proper tools, such as a calibrated torque wrench, a caliper piston compression tool, or high-quality brake cleaner, or if you feel unsure about any step of the process, do not attempt a DIY installation. Always consult a qualified motorcycle mechanic to perform the replacement. When performing any maintenance, refer to the official Yamaha Mio i125 service manual for the exact torque specifications for the caliper mounting bolts and slide pins, as over-tightening can strip the threads while under-tightening can cause the caliper to detach while riding.
Community discussion
Share your experience or ask a question. Comments are reviewed before publication.