
Deciding between an Original Equipment Manufacturer (OEM) brake rod and an aftermarket alternative for your Honda XRM 125 comes down to balancing immediate cost against long-term safety and installation convenience. For most riders navigating the busy streets and varied terrain of the Philippines, the OEM brake rod is the default recommendation. Genuine parts guarantee an exact fit, correct material strength, and a hassle-free installation process that aligns perfectly with factory specifications.
However, high-quality aftermarket brake rods can serve as a viable alternative if you are working within a tight budget or need an immediate replacement from a local auto supply shop. Choosing this route requires a strict physical verification of the replacement part’s dimensions, thread pitch, and material integrity before installation. This guide focuses specifically on the mechanical rear drum brake systems typical of the XRM 125 series, helping you make an informed, safety-first decision for your motorcycle.
Why the Brake Rod Matters for Your XRM 125's Safety
The rear brake rod on your XRM 125 is a simple yet critical mechanical link in your motorcycle’s braking system. When you press down on the rear brake pedal, this metal rod transmits that physical force directly to the rear brake cam, which rotates to expand the brake shoes against the drum. Because this system relies entirely on mechanical leverage, any flex, bend, or failure in the rod directly reduces your stopping power, posing an immediate safety risk on the road.
Products mentioned in this guide
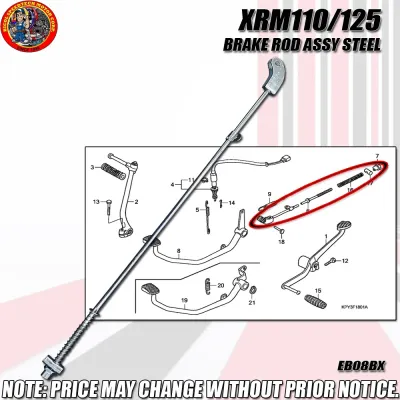
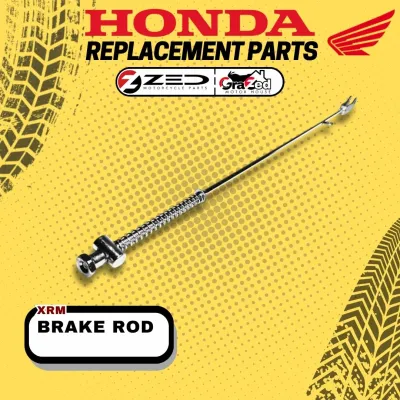
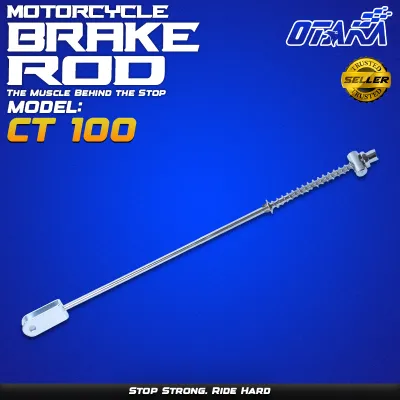
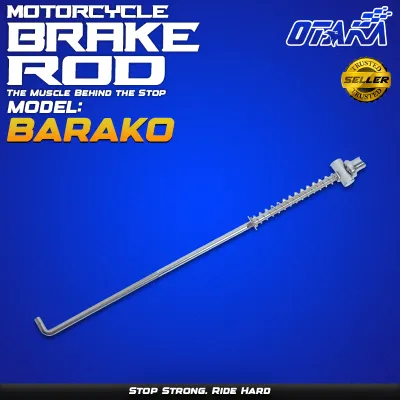
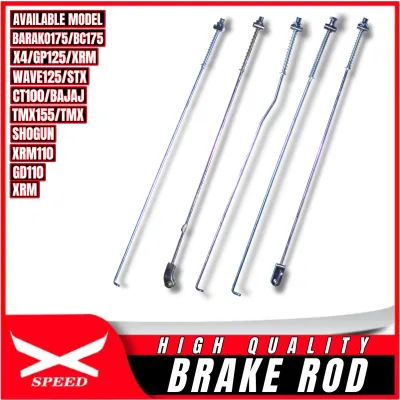
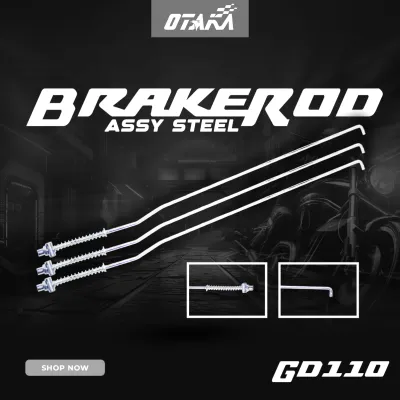
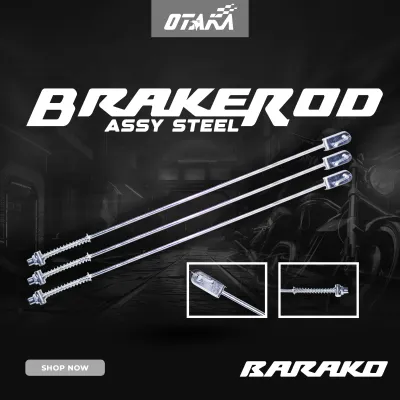
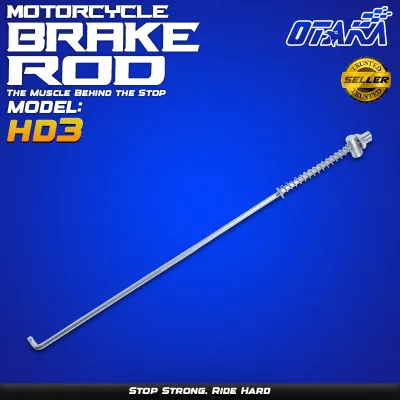
Prices are valid at publication and may change. Please refer to the product page for the latest price.
Over time, exposure to road debris, moisture, and heavy foot pressure can degrade the brake rod. Common signs of wear or impending failure include visible bending along the shaft, stripped threads at the adjustment end, or excessive play at the clevis pin joint where the rod connects to the brake pedal arm.
Because brakes are a primary safety-critical system, maintaining structural integrity is non-negotiable. Any compromise on material strength or dimensional accuracy can lead to sudden brake failure. Before undertaking any disassembly or replacement, always consult your original vehicle owner’s manual for specific instructions, and ensure you have the tools and knowledge required, or seek the assistance of a qualified professional mechanic.
OEM Brake Rods: Factory Fit and Predictable Quality
Opting for a genuine OEM brake rod for your XRM 125 ensures that you are installing a component designed specifically for your motorcycle’s exact weight, geometry, and braking dynamics. Genuine Honda parts are manufactured to strict factory tolerances, meaning the rod will have the precise length, diameter, and thread pitch required to interface seamlessly with your existing brake pedal and rear hub assembly. This eliminates the need for tedious physical measurements or modifications during installation.

In the tropical climate of the Philippines, where high humidity, heavy seasonal rains, and muddy road conditions are common, material quality is a major consideration. OEM brake rods feature standardized steel alloys and protective surface coatings designed to resist rust and corrosion over years of daily use. This predictable material quality translates directly to a reliable lifespan and consistent performance under heavy loads.
The primary trade-offs when choosing OEM parts are cost and availability. Genuine components carry a higher upfront price in ₱ compared to generic alternatives. Additionally, finding genuine parts may require a trip to an authorized dealership or a wait for shipping if local service centers do not have the specific part number in stock, which can be inconvenient if your motorcycle is your primary daily transport.
Aftermarket Brake Rods: Budget-Friendly but Variable
Aftermarket brake rods are widely available across local motorcycle parts shops and online marketplaces, offering a highly accessible solution when you need a quick replacement. The most significant advantage of aftermarket options is their lower cost in ₱, making them highly attractive for budget-conscious riders or those performing emergency roadside repairs. Because multiple third-party manufacturers produce these parts, you can often find them in stock immediately without waiting for dealership backorders.
However, the aftermarket landscape is highly variable, ranging from reputable third-party brands to unbranded, generic replacements. The primary risk of choosing low-cost, unbranded rods is inconsistent quality control. You may encounter rods made from softer metals that can bend under the high tension of emergency braking, or parts with poorly cut threads that strip easily when you tighten the adjusting nut.
To navigate these risks, riders must learn to distinguish between low-grade generic parts and reputable aftermarket brands. Look for manufacturers that specialize in motorcycle control linkages, provide clear packaging with compatibility labels, and offer verifiable specifications. Avoid buying completely unbranded, loose metal rods that lack any manufacturer markings or quality indicators, as these rarely meet the structural demands of daily riding.
Critical Dimensions to Verify Before You Buy
Before purchasing or installing any aftermarket brake rod, you must perform a detailed physical comparison against your original OEM rod or factory specifications. Even minor discrepancies in dimensions can lead to poor brake response, binding, or complete mechanical failure.
First, inspect the thread pitch and diameter at the rear end of the rod. The threads must match your original adjusting nut perfectly. If the thread pitch is slightly off, forcing the nut onto the rod will cross-thread and strip the metal, making future brake adjustments impossible and risking a sudden release of brake tension while riding.
Second, measure the overall length of the rod and check the fit of the clevis joint at the front end. A rod that is too short will prevent the brake shoes from fully engaging or force the brake arm into an inefficient angle. Conversely, a rod that is too long may prevent you from tightening the adjusting nut sufficiently to take up slack as the brake shoes wear down. The clevis pin must fit snugly into the brake pedal arm without excessive lateral play.
Third, evaluate the material thickness and surface finish. Use a caliper to verify that the aftermarket rod’s diameter matches the OEM baseline. A thinner rod is highly susceptible to flexing under load. Additionally, inspect the plating or coating; a poor finish will quickly rust in humid conditions, leading to binding and structural weakening.
Use the following verification checklist to compare any candidate aftermarket brake rod against the OEM baseline before finalizing your purchase:
| Verification Checkpoint | OEM Baseline Standard | Aftermarket Verification Method |
|---|---|---|
| Thread Pitch & Diameter | Standard factory thread matching the OEM adjusting nut | Test-fit the original adjusting nut by hand; it should spin smoothly without binding or play. |
| Overall Rod Length | Exact factory length specified for the XRM 125 model year | Lay the old and new rods side-by-side to verify identical length from clevis center to thread end. |
| Clevis Pin Fitment | Snug fit with minimal lateral movement in the brake pedal arm | Insert the clevis pin into the pedal arm; check for excessive wobbling or tight binding. |
| Rod Diameter & Thickness | Standard heavy-duty steel gauge designed for mechanical leverage | Measure the shaft diameter with a caliper; ensure it is not thinner than the original rod. |
| Corrosion Protection | High-grade zinc plating or weather-resistant coating | Inspect the surface finish for uniform coating, smooth welds, and absence of raw, exposed steel. |
Which Option Should You Choose?
Your final decision should align with your budget, mechanical confidence, and how you use your motorcycle. If you rely on your XRM 125 for daily commuting, heavy cargo transport, or long-distance riding, choosing an OEM brake rod is highly recommended. The peace of mind that comes with guaranteed material strength, perfect fitment, and factory-tested durability far outweighs the higher initial cost in ₱. It is the safest choice for riders who prefer a straightforward, drop-in installation without the need for precise measuring or troubleshooting.
On the other hand, an aftermarket brake rod is a practical choice if you are on a strict budget, need to get your motorcycle back on the road immediately, and have the tools to verify the part’s dimensions. If you choose this path, stick to established aftermarket brands sold by reputable local shops or verified sellers on online marketplaces.
Always verify the part first if the aftermarket rod lacks clear branding, specification labels, or a clear return policy. If you cannot physically compare the replacement rod to your old one before buying, or if the seller cannot confirm compatibility with your specific XRM 125 model year, do not take the risk. A mismatched or weak brake rod is a hazard that can compromise your safety on the road.
Post-Installation Safety Checks and Adjustments
Once you have selected and installed your new brake rod, you must perform a series of safety checks before taking your XRM 125 out onto public roads. Start by adjusting the rear brake pedal free play. Refer to your motorcycle’s owner’s manual for the exact free play measurement, which is typically the distance the pedal travels before the brake shoes begin to engage the drum. Adjust the rear nut until the pedal movement falls strictly within this recommended range.
Next, spin the rear wheel by hand while the motorcycle is on its center stand. The wheel should rotate freely without any dragging, scraping, or binding. Press the brake pedal down firmly several times to ensure the mechanism operates smoothly and returns fully to its resting position when released. The brake light switch must also activate correctly when the pedal is depressed.
There are several critical stop conditions where you must halt the installation and consult a qualified professional mechanic. If you notice that the rod bends or flexes when you apply pressure to the pedal, if the threads on the rod strip while tightening the adjusting nut, or if the brake pedal does not return smoothly, do not ride the motorcycle. These issues indicate a material defect or installation error that requires professional diagnosis.
Finally, establish a routine inspection schedule. Check the tightness of the adjusting nut and the condition of the clevis pin cotter pin after your first 100 kilometers of riding, and inspect the entire linkage during your regular chain maintenance or oil changes to ensure no bending or corrosion has occurred.
Frequently Asked Questions (FAQ)
Can I use a brake rod from a different motorcycle model on my XRM 125?
No, you should avoid using a brake rod designed for a different motorcycle model unless it is explicitly cataloged as cross-compatible with the XRM 125. Even if another rod looks similar, slight differences in overall length, clevis design, or thread pitch can prevent proper brake shoe engagement or cause the rod to bind. Using an ill-fitting rod can lead to sudden brake failure or lockups, posing a severe safety risk. Always verify compatibility using your vehicle documentation or parts catalog.
How often should I adjust the brake rod on my XRM 125?
You should inspect and adjust your brake rod linkage regularly, typically every 1,000 to 2,000 kilometers, or whenever you notice a change in brake pedal feel. If the rear brake pedal feels soft, travels too far down before engaging, or if you have to press exceptionally hard to slow down, it is time to adjust the rear nut. Additionally, always check and adjust the rod tension after replacing your rear brake shoes or adjusting your drive chain tension, as moving the rear axle alters the distance between the pedal and the brake cam.
Community discussion
Share your experience or ask a question. Comments are reviewed before publication.