
Quick Answer: Should You Buy OEM or Aftermarket Brake Shoes?
When maintaining your Yamaha scooter, finding the right replacement break shoe for mio i125 is essential for daily safety on busy roads. The choice between Original Equipment Manufacturer (OEM) parts and aftermarket alternatives is a common dilemma for riders in the Philippines, where daily commutes involve heavy traffic, sudden tropical downpours, and high humidity. Both options present distinct advantages and trade-offs that affect your scooter’s stopping power, maintenance intervals, and wallet.
Yamaha Genuine Parts (OEM) guarantee factory-tested compatibility, predictable braking performance, and strict safety standards calibrated for the Mio i125. These parts work seamlessly with your scooter’s original rear drum brake system, eliminating guesswork regarding fitment or material safety. For riders prioritizing absolute peace of mind and consistent performance under all weather conditions, OEM remains the gold standard.
Conversely, reputable aftermarket brake shoes can offer cost savings or specialized friction materials. However, the market is flooded with unverified, low-quality counterfeit alternatives that pose severe safety risks, such as sudden brake failure. Navigating the aftermarket landscape requires strict verification of the manufacturer’s credentials.
Products mentioned in this guide
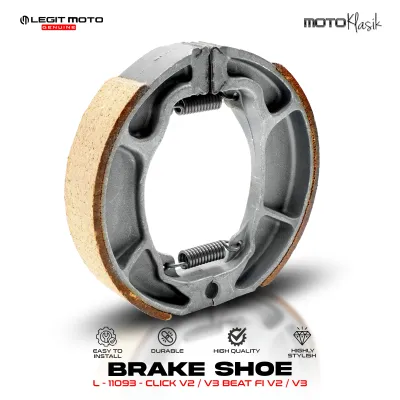
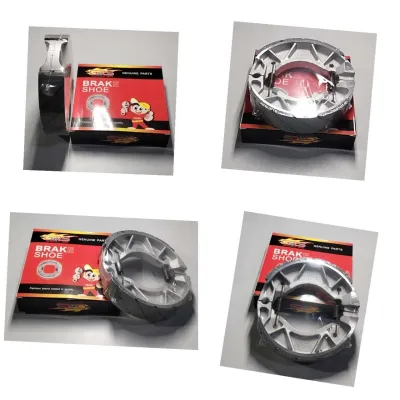
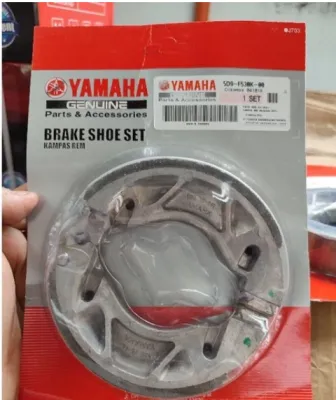
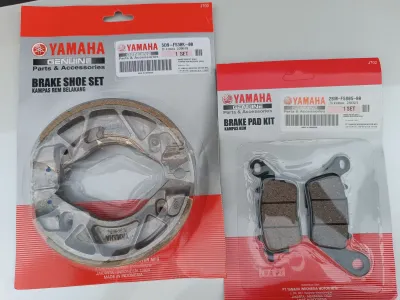
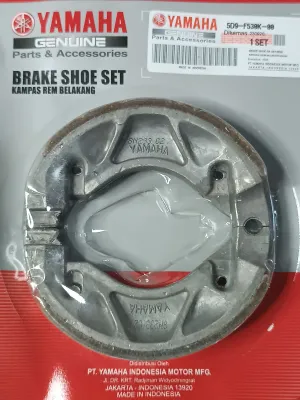
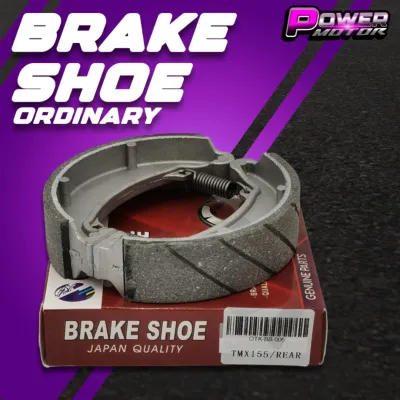
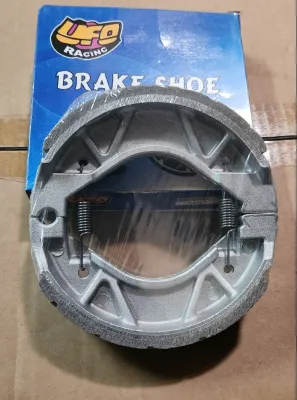
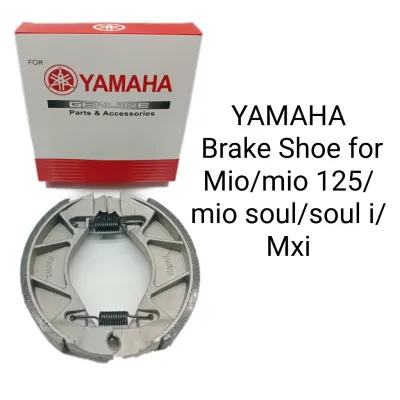
Prices are valid at publication and may change. Please refer to the product page for the latest price.
To summarize: choose OEM brake shoes if you prioritize guaranteed safety, hassle-free installation, and factory-level quality control. Only consider aftermarket options if you are on a tight budget, can reliably verify the brand’s reputation and asbestos-free certifications, and are purchasing from an authorized, highly trusted dealer.
Defining Your Options: OEM vs Aftermarket for Mio i125
What Are OEM Brake Shoes?
OEM stands for Original Equipment Manufacturer, referring to Yamaha Genuine Parts. These brake shoes are manufactured directly by Yamaha or their vetted suppliers to match the exact engineering specifications of the Mio i125. Every OEM brake shoe undergoes rigorous factory testing to ensure it meets precise standards for friction coefficient, heat tolerance, and physical dimensions.

When you buy an OEM part, you purchase the exact component installed on your scooter when it rolled off the assembly line. This means the metal backing plate, return springs, and friction lining are engineered to interact perfectly with the Mio i125’s rear hub. This precise engineering minimizes the risk of uneven wear, brake squeal, or premature drum damage, making it a highly reliable choice for daily commuters.
What Are Aftermarket Brake Shoes?
Aftermarket brake shoes are manufactured by third-party companies independent of Yamaha. These brands design their products to fit a wide range of motorcycle and scooter models, including the Mio i125. Because the aftermarket segment is highly competitive, third-party manufacturers often position their products across a broad spectrum of price points and performance characteristics.
It is crucial to understand that “aftermarket” does not represent a single tier of quality. This category ranges from premium third-party brands that meet or exceed OEM standards to low-cost, unbranded replicas that compromise safety to keep prices low. Because of this wide variance, choosing aftermarket parts requires active research, brand verification, and a clear understanding of the materials used in the friction lining.
Comparing Performance, Lifespan, and Cost
Braking Performance and Safety
The performance of any brake shoe depends heavily on its friction material compound. OEM brake shoes utilize a balanced, non-asbestos organic compound engineered specifically for the weight, power, and typical operating speeds of the Mio i125. This formulation provides a highly predictable, linear braking feel, allowing you to modulate your stopping power smoothly whether navigating tight alleyways or cruising along open highways.
In the tropical climate of the Philippines, brake components must handle intense heat from constant stop-and-go traffic, as well as sudden exposure to water during heavy downpours. OEM friction compounds are tested to maintain their structural integrity and stopping capability across these temperature extremes. They resist brake fade—the temporary loss of braking power caused by excess heat buildup—ensuring dependable stopping power when you need it most.
When evaluating aftermarket alternatives, you must check the manufacturer’s specifications for friction coefficients and temperature ratings on the packaging. Some high-performance aftermarket shoes use semi-metallic or ceramic-infused compounds designed for aggressive riding. While these can offer a stronger initial bite, they can also feel overly “grabby” or require higher operating temperatures to work effectively, which may not be ideal for casual city riding.
Lifespan and Wear Resistance
There is a fundamental engineering trade-off between friction material hardness and the overall lifespan of your braking components. Softer friction compounds, common in OEM and high-quality organic aftermarket shoes, offer excellent initial bite and smooth modulation. However, because the material is more pliable, these shoes naturally wear down faster, requiring more frequent replacement intervals.
Harder friction compounds, often found in budget aftermarket options or semi-metallic shoes, are designed to resist wear and last longer. While a longer-lasting brake shoe sounds appealing, it comes with a major hidden drawback: the harder material is much more abrasive. Over time, these hard compounds can score, groove, or warp the softer cast-iron inner lining of your Mio i125’s aluminum brake drum, leading to an expensive wheel hub replacement.
To evaluate durability before installation, inspect the physical thickness and uniformity of the friction lining. High-quality shoes feature a consistent, even layer of friction material securely bonded to the metal backing plate. Avoid any products that show visible gaps, uneven thickness, or crumbling edges, as these are clear signs of poor manufacturing quality control that will lead to premature failure.
Cost and Value for Money
From a financial perspective, OEM Yamaha Genuine Parts carry a premium price tag, reflecting the extensive quality control, safety testing, and brand assurance behind them. In contrast, generic aftermarket brake shoes are widely available at a fraction of the cost, making them highly attractive to budget-conscious riders looking to minimize immediate maintenance expenses.
However, focusing solely on the initial purchase price can lead to misleading conclusions. Cheap, unverified aftermarket brake shoes often introduce hidden costs that quickly surpass the savings. For instance, low-quality friction materials may wear out in a matter of months, forcing you to pay for replacement parts and mechanic labor far sooner than you would with a durable OEM set.
Furthermore, poorly manufactured shoes can cause severe damage to your scooter’s rear brake drum. Replacing a damaged rear wheel hub or drum assembly on a Mio i125 is a labor-intensive and costly repair that far outweighs the price difference of a premium brake shoe. Investing in a high-quality, verified part—whether OEM or a reputable aftermarket brand—is always the most cost-effective decision in the long run.
How to Spot Quality and Avoid Fake Brake Shoes
Because the Mio i125 is one of the most popular automatic scooters in the Philippines, the market for its replacement parts is highly lucrative, making it a prime target for counterfeiters. Installing a fake or low-quality break shoe for mio i125 can lead to catastrophic brake failure, putting your safety at serious risk. Knowing how to distinguish genuine, high-quality components from dangerous imitations is a critical skill for every rider.
Start by performing a thorough visual inspection of the physical brake shoes. The friction material should be perfectly centered, evenly distributed, and securely bonded to the metal backing plate with no visible gaps or adhesive squeeze-out. The surface of the friction lining must be smooth and uniform, free of large cracks, air bubbles, deep pits, or loose chunks of material. The metal backing plate should also be clean, free of rust, and precisely cast without rough, jagged edges.
Next, look closely at the product packaging and labeling. Reputable manufacturers always print clear safety certifications on their boxes, with “Asbestos-Free” being the most critical. Asbestos is a highly toxic material that was historically used in brake linings but is now banned in modern, high-quality parts due to severe health risks. If a package lacks this label or has vague, poorly translated safety warnings, it is best to avoid it entirely.
Genuine packaging also features high-quality, sharp printing, distinct brand logos, and robust security measures. Look for holographic security stickers, unique QR codes, or batch numbers that can be verified directly on the manufacturer’s official website. Counterfeit packaging often exhibits blurry text, faded colors, thin cardboard, or spelling errors. If the security hologram looks dull or peels off easily, it is highly likely a fake.
Finally, always be highly selective about your purchasing channels. To guarantee authenticity, buy your brake shoes directly from authorized Yamaha dealers, reputable local motorcycle shops, or verified flagship stores on major online marketplaces. Be extremely skeptical of suspiciously cheap listings from unverified online sellers. If the price of a supposedly genuine Yamaha part is significantly lower than the standard retail price at an authorized dealer, it is almost certainly a counterfeit.
Safety First: Installation and Brake Drum Inspection
Your motorcycle’s braking system is its most critical safety component, and installing new brake shoes is only half the equation. Proper installation and system health are mandatory to ensure reliable stopping power. Because brake maintenance directly impacts your safety on the road, we highly recommend having this service performed by a qualified motorcycle mechanic. If you choose to perform the installation yourself, you must possess specific technical expertise, original vehicle instructions, and the proper tools.
Before installing new brake shoes, you must thoroughly inspect the inner surface of the rear wheel’s brake drum. The drum is the metal surface that the brake shoes press against to slow down your scooter. If the drum is deeply scored, warped, or worn beyond the manufacturer’s maximum diameter limit, new brake shoes will not make proper contact. This results in poor braking performance, rapid shoe wear, and potential brake binding. If the drum is worn out, the entire rear wheel hub must be replaced.
During the replacement process, cleaning is absolutely essential. Over months of riding, a significant amount of highly abrasive brake dust, road grime, and debris accumulates inside the brake assembly. This debris must be completely cleaned out using a dedicated, non-petroleum-based brake cleaner. Never use gasoline, kerosene, or other petroleum-based solvents to clean your brakes, as these chemicals leave a slippery residue that can contaminate the new friction material and ruin your braking performance.
Once the new brake shoes are installed, they require a proper “bedding-in” or break-in period. New friction material does not perfectly match the microscopic imperfections of an older brake drum right away. For the first 50 to 100 kilometers of riding, practice gentle, progressive braking to allow the shoes to gradually mate with the drum surface. Avoid hard, sudden emergency braking during this initial period unless it is absolutely necessary for your safety, as excessive heat can glaze the new shoes and permanently reduce their stopping efficiency.
Decision Framework: Which Option Fits Your Riding Needs?
Choosing the right break shoe for mio i125 ultimately depends on your specific riding habits, budget, and willingness to perform quality verification. To help you make the safest and most practical choice for your daily commute, use the following conditional framework:
- Choose OEM if: You prioritize absolute safety and want a direct, hassle-free replacement with zero compatibility guesswork. This is the ideal choice if you ride daily in heavy, unpredictable stop-and-go city traffic, frequently carry a passenger, or simply prefer the peace of mind that comes with Yamaha's strict factory quality control and warranty protection.
- Choose Aftermarket if: You are working within a strict budget but are willing to dedicate time to research and verify your purchase. This option is suitable if you can identify a highly reputable, certified third-party brand, verify the part's authenticity through official security features, and purchase exclusively from an authorized dealer or flagship store.
- Verify first if: You are browsing online marketplaces and encounter listings with unusually low prices, generic packaging that lacks asbestos-free labeling, or physical parts with unevenly bonded friction material. In any of these scenarios, stop immediately and do not proceed with the purchase. Consult a professional mechanic or visit an authorized Yamaha dealer to ensure you are putting a safe, road-legal component on your scooter.
Frequently Asked Questions (FAQ)
How do I know when my Mio i125 brake shoes need replacing?
You can monitor the condition of your Mio i125’s rear brakes through several clear diagnostic signals. First, pay attention to the rear brake lever travel; if you find yourself pulling the lever almost all the way to the handlebar grip even after adjusting the brake cable tension nut, the friction material is likely worn thin. Second, listen for unusual noises, such as a high-pitched squeak or a harsh metallic scraping sound when braking, which indicates the metal backing plate is making contact with the drum. Finally, inspect the wear indicator arrow on the rear brake actuator arm; if the arrow aligns with the wear limit mark on the engine case when the brake is fully applied, it is time for an immediate replacement.
Are Mio i125 brake shoes compatible with other Yamaha scooters?
While several Yamaha automatic scooters share similar drum brake dimensions, you should never assume compatibility based on visual appearance alone. Exact compatibility depends on specific manufacturing part numbers, shoe width, and the placement of the mounting pins and return springs. Installing a brake shoe that is slightly misaligned or has the wrong dimensions can cause the brakes to lock up or fail completely while riding. To prevent dangerous installation errors, always cross-reference the official Yamaha part number for the Mio i125 or consult a professional mechanic before attempting to swap parts between different scooter models.
Community discussion
Share your experience or ask a question. Comments are reviewed before publication.