
Deciding between a genuine Suzuki Original Equipment Manufacturer (OEM) disc plate and an aftermarket alternative for your Suzuki Gixxer is a critical decision that directly impacts your safety, stopping power, and long-term maintenance costs. While the Gixxer is highly regarded for its nimble handling and reliable braking performance on busy city streets and highways, its brake rotors eventually wear down from friction, heat, and environmental exposure. Choosing the right replacement requires balancing the guaranteed fitment of factory-original parts against the potential cost savings or specialized designs of third-party options.
Every time you pull the brake lever or press the rear brake pedal, the brake pads clamp down on the spinning disc plate, converting kinetic energy into thermal energy. Over thousands of kilometers, this intense friction wears away the metal, reducing the rotor’s thickness and structural integrity. When it comes time for a replacement, motorcycle owners in the Philippines face a crowded market filled with genuine Suzuki parts, high-end performance rotors, and budget-friendly aftermarket alternatives. Navigating these choices requires a clear understanding of material standards, physical specifications, and safety boundaries.
Core Differences Between OEM and Aftermarket Brake Rotors
Understanding the fundamental manufacturing, material, and quality control distinctions between genuine Suzuki parts and third-party alternatives is the first step in making an informed decision. Genuine Suzuki OEM disc plates are engineered specifically for the Gixxer platform, meaning they are designed to meet the precise weight, balance, and thermal requirements of the motorcycle’s original braking system. Suzuki utilizes strict manufacturing tolerances to ensure that every rotor fits perfectly onto the wheel hub without any lateral runout or alignment issues with the brake caliper.
Products mentioned in this guide
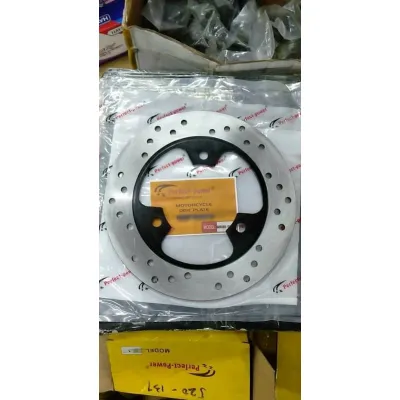
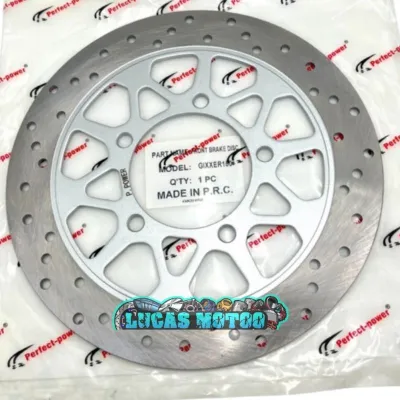
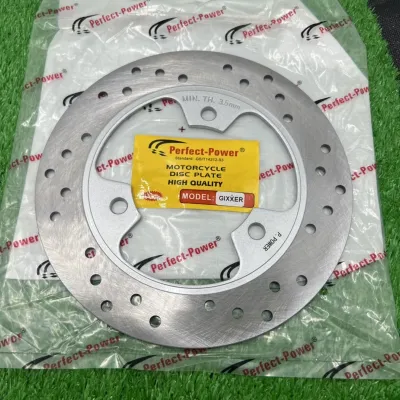
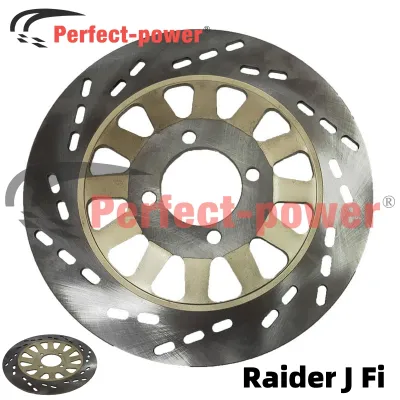
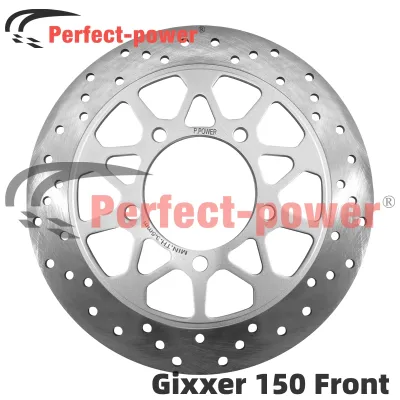
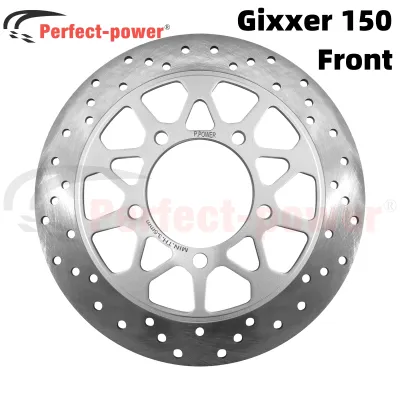
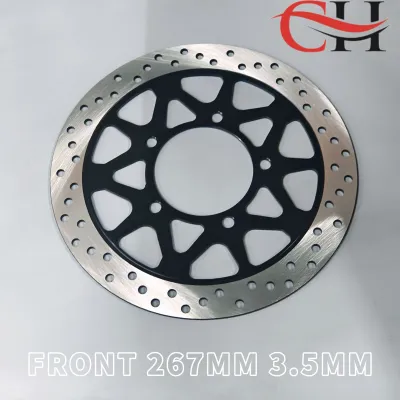
Prices are valid at publication and may change. Please refer to the product page for the latest price.
The material composition of OEM rotors typically consists of a specific stainless steel alloy optimized for daily street riding. This alloy is formulated to provide a consistent coefficient of friction across a wide range of temperatures while resisting corrosion from rain and road grime. The heat treatment process used during manufacturing ensures metallurgical consistency throughout the entire disc, which prevents the formation of hard spots that can cause uneven wear or brake pulsation over time. Additionally, genuine parts undergo rigorous quality control checks to guarantee structural integrity under extreme stress.
In contrast, aftermarket brake rotors span a wide spectrum of quality, materials, and designs. Premium aftermarket brands often use high-carbon stainless steel or specialized alloys designed to improve heat dissipation or reduce unsprung weight through slotted or drilled patterns. High-carbon steel offers excellent friction coefficients and thermal conductivity, but it can be more prone to surface rust if left in humid conditions without regular use. Standard stainless steel, which is common in OEM setups, provides superior rust resistance, making it highly beneficial in humid, tropical climates where motorcycles are frequently parked outdoors or ridden through heavy rain.
Packaging and verification standards also differ significantly between these two categories. Genuine Suzuki parts are distributed in official packaging featuring distinct anti-counterfeit measures, such as holographic labels, unique serial numbers, or QR codes that allow riders to verify authenticity. Many aftermarket manufacturers also provide secure packaging and warranty cards, but the risk of encountering counterfeit products is much higher when purchasing third-party components from unverified sellers on online marketplaces. Always inspect the packaging and purchase from reputable dealers to ensure you are getting a genuine product.
Essential Specifications to Verify Before Purchase
Before purchasing any replacement disc plate, you must verify a concrete checklist of physical and technical parameters to ensure absolute compatibility and safety. The Suzuki Gixxer has been released in several variants over the years, including the Gixxer 150 (both carbureted and fuel-injected models) and the larger Gixxer 250 and Gixxer SF 250. Because these models feature different engine outputs, weights, and wheel designs, their braking systems and disc plate dimensions vary significantly.

First, you must verify the exact outer diameter of the rotor. A front disc plate for a Gixxer 250 is larger than that of a Gixxer 150, and attempting to install the wrong size will prevent the brake caliper from mounting correctly. Next, check the mounting hole pattern, which includes the number of bolt holes (typically three, four, or five) and the bolt circle diameter. Even a millimeter of deviation in the bolt alignment will make it impossible to secure the rotor to the wheel hub.
Another critical dimension is the initial thickness of the rotor and its minimum thickness limit. The minimum thickness limit is a safety-critical specification that is permanently stamped or engraved on the face of the disc plate (for example, “Min. Th. 3.0mm” or “Min. Th. 4.0mm”). This limit indicates the point beyond which the rotor can no longer safely dissipate heat or withstand the clamping force of the caliper without risking structural failure or warping. Always cross-reference these measurements with the specifications listed in your Suzuki Gixxer service manual.
Finally, always cross-reference the exact OEM part number for your specific model year and variant. This is especially important for Gixxer models equipped with an Anti-lock Braking System (ABS). The ABS-equipped variants require a disc plate that can accommodate the speed sensor ring (also known as the tone ring) without interference. Installing a non-ABS rotor on an ABS motorcycle, or vice versa, can disable the safety system entirely and trigger warning lights on your instrument console.
Evaluating Durability and Value for Your Riding Needs
Assessing the long-term value and lifespan of a disc plate requires looking beyond the initial purchase price and considering your specific riding habits, local climate, and road conditions. Riding a motorcycle in the Philippines presents unique challenges, including high ambient temperatures, extreme humidity, heavy monsoon rains, and flooded streets. These environmental factors accelerate wear and corrosion, making material quality a primary factor in durability.
For daily commuters navigating stop-and-go traffic in dense urban areas, the braking system experiences frequent, low-speed cycles that generate moderate heat but high physical wear. In these scenarios, a rotor with excellent wear resistance and consistent wet-weather performance is essential. Genuine Suzuki OEM disc plates are highly optimized for this type of daily utility, offering a predictable lifespan and reliable performance in both dry and wet conditions.
If you use your Gixxer for long-distance touring, weekend rides through mountainous terrain, or occasional track days, your braking system will demand higher thermal capacity. Under continuous, heavy braking down steep descents, rotors can reach extremely high temperatures, leading to brake fade if the heat is not dissipated quickly. Premium aftermarket rotors with advanced ventilation designs, such as wave patterns or specialized drilling, can offer improved cooling efficiency for aggressive riding styles, though they may wear down brake pads more quickly.
When weighing the upfront cost against expected service life, remember that a cheaper aftermarket rotor is not always the most economical choice. While a budget-friendly disc plate might cost significantly less than a genuine Suzuki part (which can range from ₱1,500 to over ₱3,500 depending on the model), it may require replacement much sooner due to rapid wear or warping. Calculating the total cost of ownership should include the price of the rotor, the cost of replacement brake pads, and any labor fees for installation. Furthermore, genuine parts are backed by Suzuki’s official warranty and dealer support, providing a reliable path for resolution if a manufacturing defect occurs.
Safety Boundaries and Professional Installation Requirements
Replacing a brake rotor is a safety-critical procedure that directly affects your ability to stop the motorcycle in an emergency. Because of the high stakes involved, it is vital to understand the safety boundaries of this task. If you do not have the proper tools, a calibrated torque wrench, thread-locking compounds, and a clean working environment, you should have the installation performed by a qualified professional mechanic at an authorized service center.
If you choose to undertake the installation yourself, you must strictly adhere to the torque specifications and bolt-tightening sequences outlined in the Suzuki Gixxer service manual. The mounting bolts that secure the disc plate to the wheel hub must be tightened to the exact Newton-meter (Nm) specification using a torque wrench. Tightening these bolts unevenly or over-tightening them can warp the new rotor instantly or strip the threads in the aluminum wheel hub. Always tighten the bolts in a star or crisscross pattern to ensure even distribution of pressure.
Before mounting the new rotor, it is critical to clean the hub mounting surface thoroughly with a wire brush to remove any rust, dirt, or debris. Even a tiny speck of grit trapped between the rotor and the hub can cause microscopic runout, which translates into noticeable brake pulsation at high speeds. Additionally, you must apply a medium-strength thread-locking compound to the rotor mounting bolts. The constant vibration of the wheels and the thermal expansion of the braking components can cause unsecured bolts to back out over time, which could lead to catastrophic wheel lockup or brake failure.
Once the new disc plate is installed, you must execute a proper bedding-in (or burnishing) procedure before riding at normal speeds. This process involves performing a series of gentle, controlled stops from moderate speeds (around 50 km/h down to 10 km/h) without coming to a complete stop. Doing this transfers a microscopic, even layer of friction material from the new brake pads onto the surface of the new rotor. Avoid sudden, aggressive braking for the first 100 to 200 kilometers to prevent glazing the pads or creating localized hot spots on the new disc.
Finally, be aware of the limits of DIY maintenance. If you encounter any difficulties during installation, such as a misaligned ABS sensor ring, a binding brake caliper, or visible lateral runout (the disc wobbling as the wheel spins), stop immediately. These issues require specialized diagnostic tools, such as a dial indicator to measure hub runout, and must be resolved by a professional to ensure the motorcycle is road-legal and safe to ride.
Decision Framework: Choosing the Right Disc Plate
To make a confident final decision, you can evaluate your options through a structured framework based on your budget, warranty status, and riding requirements. Both OEM and aftermarket disc plates have clear use cases, and selecting the right one depends on aligning these characteristics with your personal priorities.
You should choose a genuine Suzuki OEM disc plate if your Gixxer is still covered by a manufacturer warranty, as installing third-party braking components may void your coverage. OEM is also the ideal choice if you prefer the exact braking feel, lever feedback, and progressive stopping power that the motorcycle had when it rolled off the showroom floor. It offers guaranteed compatibility, high-quality packaging, and the peace of mind that comes with factory-tested safety standards.
You should choose a reputable aftermarket disc plate if you are working within a strict budget and need a cost-effective replacement, provided you can verify that the manufacturer meets or exceeds OEM specifications. Aftermarket options are also suitable if you are looking for specific performance characteristics, such as improved wet-weather clearing from a wave-style rotor, or if the genuine Suzuki part is currently out of stock at your local dealerships and you need to get your motorcycle back on the road quickly.
Before making your final purchase, run through this pre-purchase verification checklist:
- Confirm your Gixxer's exact model year, engine displacement (150cc vs. 250cc), and braking configuration (ABS vs. non-ABS).
- Measure the outer diameter, thickness, and bolt pattern of your existing rotor to verify compatibility.
- Ensure the replacement rotor has its minimum thickness limit clearly stamped on the surface.
- Purchase a set of brand-new brake pads to install alongside the new disc plate.
- Verify that you have access to a calibrated torque wrench and the correct thread-locking compound, or schedule an appointment with a professional mechanic.
Frequently Asked Questions (FAQ)
Can I use a different size disc plate on my Suzuki Gixxer?
No, you should not install a different size disc plate on your Suzuki Gixxer. The motorcycle’s braking system, including the caliper mounting bracket and the ABS sensor alignment, is precisely engineered to work with a specific rotor diameter. Installing a larger or smaller disc plate would require custom caliper adapters, which can compromise structural safety and road legality. Furthermore, on ABS-equipped Gixxer models, altering the rotor diameter or changing the position of the speed sensor ring will disrupt the wheel-speed calculations, causing the ABS to malfunction or fail entirely during emergency braking.
How do I know when my disc plate needs replacement?
You can determine if your disc plate needs replacement through visual inspection, physical measurements, and riding feedback. Visually inspect the rotor for deep scoring, grooves, cracks, or a pronounced lip at the outer edge where the brake pads do not make contact. Use a micrometer or vernier caliper to measure the thickness of the rotor at several points; if the thickness is at or below the minimum limit stamped on the disc, it must be replaced. Tactile signs include a pulsating sensation in the brake lever or pedal when braking, which indicates a warped rotor, or severe vibrations and squealing that persist even after installing new brake pads.
Do I need to change my brake pads when installing a new disc plate?
Yes, you must always install brand-new brake pads when replacing a disc plate. Old brake pads have worn unevenly to match the unique grooves, ridges, and imperfections of your old rotor. If you pair these worn pads with a perfectly flat, new disc plate, they will only make contact at high spots, severely reducing your stopping power and causing immediate, uneven wear or deep scoring on the new rotor. Installing new pads ensures that both components can bed in together correctly, establishing a uniform transfer layer of friction material that maximizes braking efficiency and extends the lifespan of both parts.
Community discussion
Share your experience or ask a question. Comments are reviewed before publication.