
The Short Answer: OEM vs Aftermarket for the NMAX V2
For most Yamaha NMAX V2 owners in the Philippines, deciding between an Original Equipment Manufacturer (OEM) rotor disc and an aftermarket alternative comes down to your daily riding environment, budget, and performance expectations. Genuine Yamaha OEM rotor discs are the most reliable and predictable choice for daily commuting, urban riding, and preserving your motorcycle’s factory warranty. They are engineered to match the exact specifications of your scooter, providing consistent stopping power without requiring additional modifications.
Conversely, reputable aftermarket rotor discs are a valid option if you want to upgrade your braking performance. High-quality aftermarket rotors can offer superior heat dissipation and reduced weight, which is beneficial for aggressive riding, carrying heavy loads, or descending steep mountain roads. However, these performance benefits require investing in verified, premium brands and pairing them with compatible high-performance brake pads.
You should avoid unbranded, suspiciously cheap aftermarket rotor discs sold on general e-commerce platforms. These low-cost replicas pose severe safety risks, including sudden cracking, rapid warping, and catastrophic braking failure under emergency stops.
Products mentioned in this guide
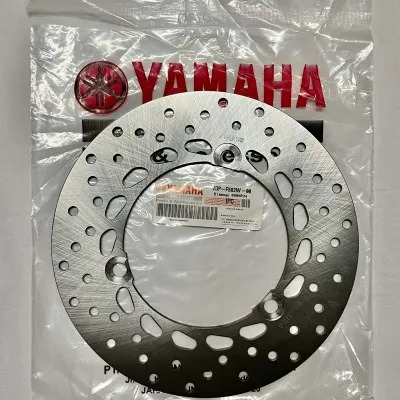
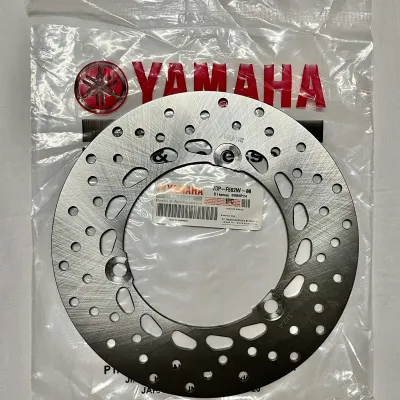
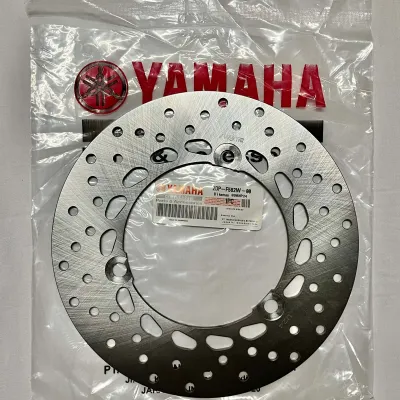
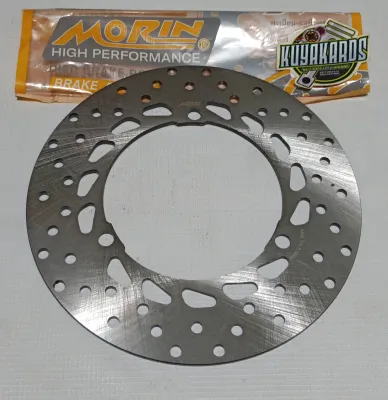
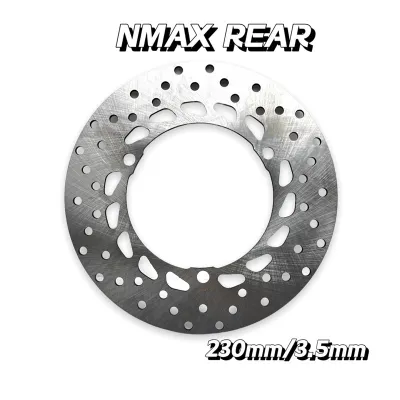
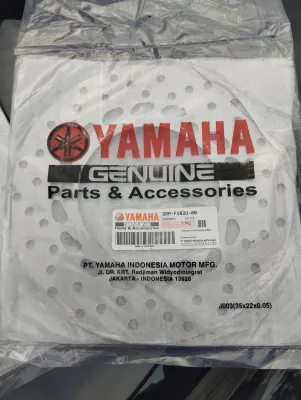
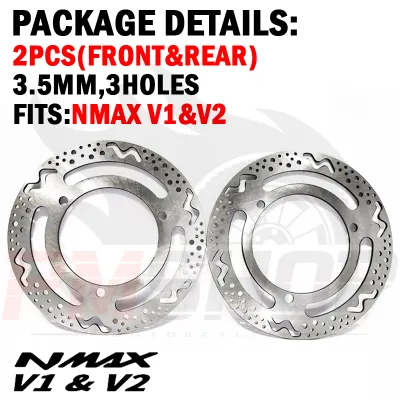
Prices are valid at publication and may change. Please refer to the product page for the latest price.
Why Rotor Disc Choice Matters for Your NMAX V2
The Yamaha NMAX V2 is a highly popular scooter, appreciated for its balance of power, agility, and daily utility. Whether you use it for your daily commute through dense city traffic or for weekend touring, your safety depends heavily on your braking system. The front rotor disc is the single most critical component for stopping power, as the front wheel handles up to 70 percent of the total braking force during deceleration.

The NMAX V2 carries a significant amount of kinetic energy, especially when carrying a pillion passenger or heavy delivery cargo. When you pull the brake lever, the brake pads clamp onto the spinning rotor disc, converting kinetic energy into thermal energy through friction. In stop-and-go urban traffic, such as navigating the congested streets of Metro Manila or Cebu, this process occurs repeatedly over short distances, causing heat to build up rapidly at the caliper and rotor.
In the tropical climate of the Philippines, high ambient temperatures accelerate this heat build-up. Furthermore, sudden downpours can expose hot braking components to cold water, creating severe thermal shock. If a rotor disc is made from low-grade materials, this rapid temperature change can cause the metal to warp or develop micro-cracks.
A compromised rotor disc leads to immediate safety hazards. A warped rotor causes the brake lever to pulsate, reduces the contact area between the pads and the disc, and dramatically increases your stopping distance. Under extreme conditions, excessive heat accumulation leads to brake fade, a dangerous state where the brakes lose their gripping force entirely. Choosing a high-quality rotor disc is not a matter of aesthetics; it is a fundamental safety decision.
Genuine Yamaha OEM Rotors: The Baseline for Reliability
Sticking with genuine Yamaha OEM rotor discs offers a level of safety and predictability that is difficult to replicate with aftermarket parts. These rotors are engineered specifically for the NMAX V2, meaning they have undergone rigorous factory testing to meet strict safety and performance standards.
The primary advantage of OEM rotors is guaranteed fitment and compatibility. The disc is manufactured to the exact dimensions, thickness, and offset required by the NMAX V2’s wheel hub and caliper assembly. This precise engineering ensures that the rotor sits perfectly centered within the brake caliper, preventing uneven pad wear, wheel vibration, or annoying brake drag. You do not need to worry about buying aftermarket adapter brackets or spacers, which can introduce points of failure into your braking system.
Furthermore, the metallurgy of the OEM rotor is carefully matched to the compound of genuine Yamaha brake pads. This pairing is designed to provide a smooth, progressive bite that is easy to modulate, even for less experienced riders. The material composition minimizes brake squeal and ensures a long service life for both the rotor and the pads under normal riding conditions.
From a financial and administrative standpoint, using OEM parts preserves your motorcycle’s factory warranty. Modifying critical safety components like the braking system with non-genuine parts can give manufacturers grounds to void your warranty if related components, such as the Anti-lock Braking System (ABS) sensors or wheel hubs, experience issues.
However, OEM rotors do have practical limitations. The standard solid-disc design is optimized for typical daily commuting and moderate speeds. If you frequently ride through steep, mountainous terrain—such as the scenic routes of Sierra Madre, Tagaytay, or Baguio—the continuous heavy braking required to control your speed down long descents can saturate the solid OEM rotor with heat. Because solid discs have limited surface area compared to ventilated or wave designs, they cannot shed heat as quickly, which may lead to temporary brake fade during prolonged, intense use.
Aftermarket Rotor Discs: Performance Upgrades and Potential Risks
The aftermarket offers a wide variety of rotor designs, promising enhanced performance, sportier styling, and improved heat management. While some of these options provide genuine upgrades, others introduce significant risks.
Reputable aftermarket manufacturers design rotors to overcome the heat-dissipation limits of standard solid discs. One common design is the wave or petal rotor, which features a scalloped outer edge. This shape increases the surface area of the disc, allowing it to cool down faster as it spins through the air. The irregular edge also helps clear away water, mud, and brake dust, maintaining consistent wet-weather performance.
For riders seeking maximum performance, floating rotors represent the pinnacle of aftermarket braking technology. A floating rotor consists of a lightweight aluminum inner carrier and a stainless steel outer braking band, joined together by metal rivets or buttons. When the outer band heats up during heavy braking, it can expand independently of the cool inner carrier. This freedom of movement prevents the thermal expansion from warping the disc, ensuring a consistent lever feel and flat contact surface even under extreme track or mountain riding conditions.
However, upgrading to a high-performance aftermarket rotor requires careful consideration of your entire braking system. You cannot simply install a high-performance rotor and expect optimal results with your old, worn brake pads. Upgraded rotors often require specific brake pad compounds, such as semi-metallic, sintered, or ceramic pads, to achieve their full friction potential. If you pair a hard, high-carbon aftermarket rotor with soft organic pads, the pads will wear down rapidly and may glaze over, reducing your stopping power.
The most critical danger in the aftermarket market is the prevalence of cheap, unbranded replica rotors. These parts are often designed to look like high-end wave or floating rotors but are sold at suspiciously low prices.
These cheap replicas are highly dangerous. They are typically manufactured from low-grade steel alloys that lack the necessary tensile strength and thermal stability. Under the intense heat and pressure of an emergency stop, these sub-standard discs can warp instantly, crack along the ventilation holes, or even shear off at the mounting bolts. Additionally, poor quality control during manufacturing can result in uneven thickness or misaligned mounting holes, leading to severe wheel imbalance and potential damage to your ABS sensors.
OEM vs Aftermarket NMAX V2 Rotors: Feature Comparison
To help you make an informed decision, the table below compares genuine Yamaha OEM rotors with reputable aftermarket performance rotors across several key technical and practical dimensions.
| Feature | Genuine Yamaha OEM | Reputable Aftermarket |
|---|---|---|
| Fitment Precision | Guaranteed exact match; no modifications or brackets needed. | Varies; high-quality brands fit perfectly, but some require specific adapters. |
| Heat Dissipation | Standard; suitable for daily commuting but can fade under prolonged heavy use. | Enhanced; wave, slotted, or floating designs provide superior cooling. |
| Brake Pad Compatibility | Optimized for genuine Yamaha pads; provides quiet, predictable wear. | May require upgrading to specific sintered or ceramic pad compounds. |
| Warranty Impact | Preserves factory warranty; maintains original vehicle specifications. | May void warranty on related braking and ABS components. |
| Cost Profile | Moderate; stable replacement pricing with predictable longevity. | Premium; higher initial investment for rotor and matching pads. |
Note: Before purchasing any replacement rotor, always verify the exact part number and model year compatibility. The Yamaha NMAX V2 has specific wheel hub dimensions and ABS tone ring mounting points that differ from the V1 and other scooter models. Installing an incompatible rotor can disable your ABS and compromise your safety.
Decision Framework: Which Rotor Should You Buy?
Choosing the right rotor disc for your NMAX V2 requires balancing your riding style, typical routes, and willingness to maintain upgraded components. Use the following profiles to determine which option fits your needs.
You should choose a Genuine Yamaha OEM rotor disc if your primary use case is daily commuting through city traffic, running errands, or occasional highway travel. If you value a quiet, smooth, and predictable braking feel and do not want the hassle of matching aftermarket pads or worrying about warranty claims, the OEM route is your best option. It provides a reliable baseline of safety that requires no extra research or tuning.
You should choose a Reputable Aftermarket rotor disc if you are an experienced rider who frequently travels through mountainous regions with steep descents, carries heavy passenger or cargo loads, or participates in track days. If you find yourself experiencing brake fade on your standard setup, upgrading to a high-quality wave or floating rotor from an authorized dealer is a worthwhile investment. However, you must be prepared to buy matching high-performance brake pads and maintain the system diligently.
Regardless of your choice, always verify the seller’s credentials before purchasing. Counterfeit parts are common, especially online. Only buy from authorized distributors or established physical motorcycle shops. When inspecting a rotor, check the manufacturer’s specified minimum thickness, which is usually stamped directly on the disc. A rotor worn below this limit must be replaced immediately, as it can no longer safely withstand the thermal and mechanical stresses of braking.
Critical Safety Checks and Installation Rules
Braking components are life-safety systems. Incorrect installation of a rotor disc can lead to sudden mechanical failure, loss of control, and severe injury. Before performing any maintenance or upgrade, consult the official Yamaha service manual for your NMAX V2 to verify the exact mounting bolt torque specifications and safety procedures.
Always use a calibrated torque wrench to tighten the rotor mounting bolts. Tightening the bolts by hand without a torque wrench can lead to uneven tension, which can warp the rotor or cause the bolts to back out under vibration. Apply a medium-strength threadlocking compound to the bolt threads to secure them against the constant vibrations of riding.
Before mounting the new rotor, thoroughly clean the wheel hub’s mounting surface. Any dirt, rust, or old threadlocker residue can prevent the rotor from seating completely flat, resulting in lateral runout and brake lever pulsation. Use a high-quality brake cleaner to clean the new rotor disc thoroughly, removing any protective oils applied during manufacturing.
After installation, you must perform a proper bed-in (break-in) procedure. Avoid sudden, hard braking for the first 100 kilometers. Instead, perform a series of gentle, controlled stops from moderate speeds to gradually transfer a thin layer of friction material from the brake pads to the new rotor. This process ensures optimal braking performance and prevents the pads from glazing.
If you lack the proper tools, a calibrated torque wrench, or the mechanical experience required to perform this installation safely, do not attempt it yourself. Strongly prioritize your safety and have the rotor installed by a qualified, professional motorcycle mechanic at an authorized service center.
Community discussion
Share your experience or ask a question. Comments are reviewed before publication.