
An oil pump transfer system is a highly convenient tool for vehicle maintenance, but when it stops working or begins to leak, it can disrupt your workflow and create hazardous spills. Troubleshooting a malfunctioning pump requires a systematic approach to isolate whether the issue is electrical, mechanical, or seal-related. By identifying the root cause—whether it is a blown fuse, a clogged inlet filter, or a degraded internal gasket—you can determine if a simple repair is possible or if a complete replacement is necessary.
This guide walks you through immediate safety procedures, diagnostic steps, and repair strategies to restore your fluid transfer setup safely.
Immediate Safety and Containment Steps
Before performing any diagnostic checks or handling a leaking pump, you must prioritize personal safety and environmental containment. Immediately turn off the pump and disconnect it from its power source, whether that means pulling the plug from an electrical outlet, disconnecting alligator clips from a 12-volt battery, or shutting off the air compressor line on pneumatic models. Cutting the power source prevents accidental motor activation, electrical short circuits, and potential sparks near volatile petroleum products.
Products mentioned in this guide
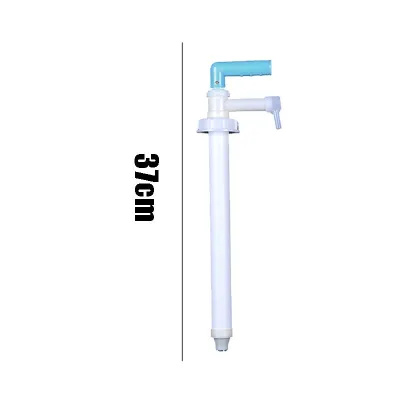
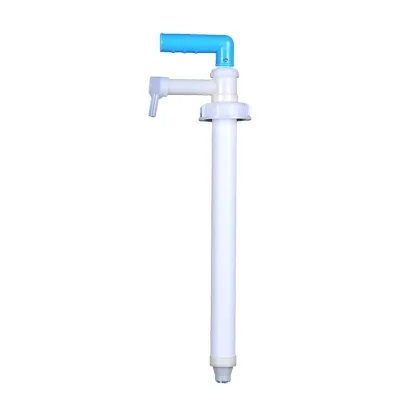
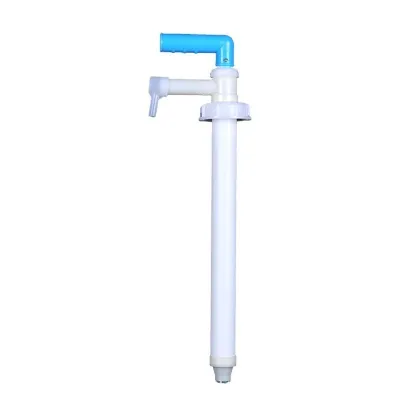
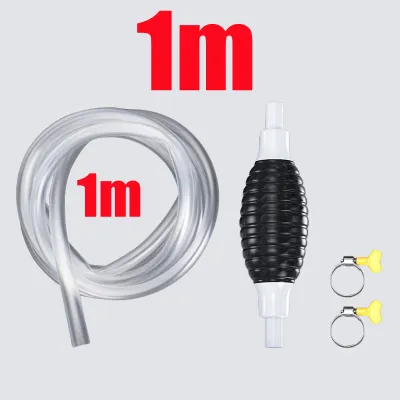
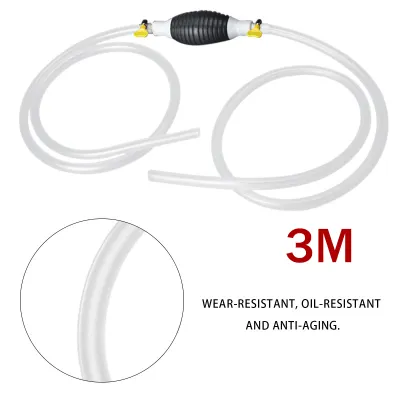
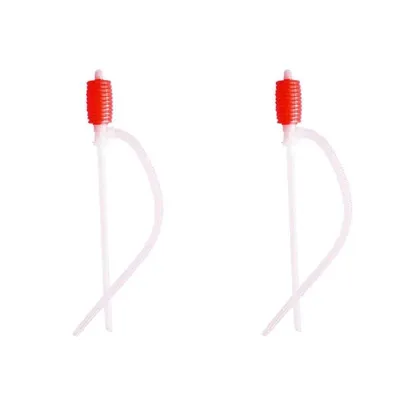
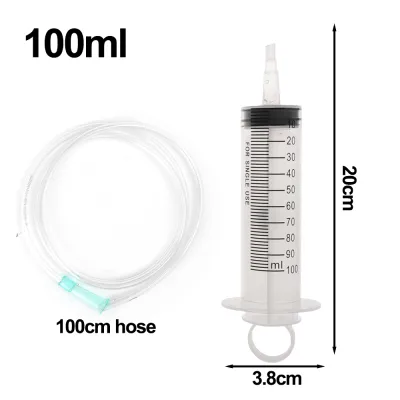
Prices are valid at publication and may change. Please refer to the product page for the latest price.
Once the unit is de-energized, focus immediately on containing any leaked oil to mitigate serious slip and fire hazards. In the tropical climate of the Philippines, sudden spills can quickly spread across concrete garage floors or wash into drainage channels during heavy rains. Spread absorbent pads, dry sand, or clay-based kitty litter directly over the spill to soak up the oil, then sweep it into a designated waste container for proper disposal according to local environmental regulations.
Under no circumstances should you bypass built-in safety switches, thermal overload protectors, or pressure relief valves to force a failing pump to run. These components are designed to protect the motor from catastrophic failure and prevent high-pressure line ruptures. If a safety switch trips repeatedly, treat it as an active warning of high mechanical resistance or an electrical short circuit that requires immediate investigation.
Oil Pump Transfer Troubleshooting Chart
Using a structured troubleshooting matrix helps you quickly map specific symptoms to their likely causes and determine the most effective course of action.

| Symptom | Likely Causes | Immediate Action |
|---|---|---|
| No flow or pump fails to start | Blown inline fuse, corroded battery terminals, or lack of initial prime. | Inspect electrical connections, clean terminals, and manually pre-fill the pump chamber. |
| Weak or inconsistent flow | High fluid viscosity, clogged inlet strainer, or minor air leaks in suction hose. | Check oil temperature/viscosity, clean the filter screen, and tighten all hose clamps. |
| Leaking from hose connections | Loose threaded fittings, worn O-rings, or degraded Teflon tape. | Tighten fittings with correct wrenches; replace seals with petroleum-compatible Viton or Buna-N. |
| Leaking from pump body or motor interface | Damaged shaft seal, ruptured diaphragm, or cracked housing. | Discontinue use immediately; check for replacement seal kits or prepare to replace the pump. |
| Unusual grinding or whining noise | Dry running, worn internal gears, or debris trapped in the pumping chamber. | Shut down immediately; check for blockages or inspect internal components for mechanical wear. |
Use this chart to navigate to the detailed repair sections below. While minor issues like loose clamps or clogged strainers are easy DIY fixes, internal mechanical failures or electrical shorts often require professional repair or replacement to ensure safe operation.
How to Fix Low Flow or No Flow Issues
When your oil pump transfer system runs but fails to move fluid, or if the flow rate drops significantly, the issue typically stems from power delivery, priming failures, or physical blockages.
Checking Power, Fuses, and Priming
For electric transfer pumps, start your investigation at the power source. Inspect the inline fuse along the power cable; a sudden surge or motor strain can easily blow this fuse, cutting power entirely. Clean any white or green corrosion off the battery terminals or alligator clips using a wire brush, as poor electrical contact restricts voltage and prevents the motor from reaching its required operating speed. Check the entire length of the wiring harness for frayed insulation or loose crimp connectors that could cause intermittent power loss.
Manual and pneumatic pumps rely heavily on a strong vacuum to pull heavy fluids upward, making proper priming essential. Ensure the suction tube is fully submerged in the source oil container and that the pump chamber itself is pre-filled with a small amount of clean oil to seal the internal tolerances. Without this liquid barrier, the pump will simply spin or stroke dry, moving air instead of creating the vacuum needed to draw up the fluid.
Fluid viscosity is another critical factor that directly impacts flow performance. In cooler morning temperatures or when handling high-weight gear oils, the fluid becomes thick and highly resistant to pumping. Check the oil’s centistokes (cSt) rating or viscosity grade against your pump’s maximum specifications. If the oil is too thick, you may need to let the vehicle run briefly to warm the oil before transferring it, or upgrade to a pump rated for high-viscosity lubricants.
Clearing Blockages and Air Leaks
Physical obstructions are a common cause of sudden flow restriction in automotive workshop environments. Disassemble and clean the inline filters, suction strainers, and the foot valve at the bottom of the suction tube, which frequently collect thick sludge, metal shavings, or dirt. A clogged strainer starves the pump of fluid, causing cavitation—a damaging phenomenon where vapor bubbles form and collapse violently inside the pump, destroying internal components.
Next, inspect the suction hose carefully for any signs of physical damage or loose fittings. Even a microscopic crack or a slightly loose hose clamp can allow air to enter the suction line, breaking the vacuum seal and stopping the siphon effect entirely. Because air is much lighter than oil, the pump will draw in air through these tiny gaps rather than pulling the heavier oil up from the container.
When you identify a damaged hose, always replace the entire section with a new, petroleum-resistant hose rather than attempting temporary patches. Using standard electrical tape, duct tape, or silicone sealant to cover a leak is highly dangerous; petroleum products will rapidly dissolve these adhesives, leading to sudden hose failure, messy spills, and potential engine contamination during transfer.
How to Locate and Stop Oil Leaks
Leaks not only waste expensive oil but also introduce dirt into your fluid transfer process and pose a severe fire hazard. Pinpointing the leak’s exact origin determines whether you can perform a quick on-site repair or if you must replace the unit.
Fixing Hose and Fitting Leaks
Most external leaks occur at connection points, such as threaded fittings, quick-connect couplers, and hose barbs. Clean the suspected area thoroughly with a clean rag, then run the pump briefly to trace the exact point where oil begins to weep or drip. Once located, use the correct size of open-end or adjustable wrenches to tighten the connection; avoid over-tightening, as this can easily strip brass threads or crack plastic fittings.
If tightening the fitting does not stop the leak, disassemble the connection to inspect the internal seals. Replace any flattened, torn, or degraded O-rings and clean off old thread sealant before applying new Teflon tape. When selecting replacement seals, always choose petroleum-compatible materials such as Viton or Buna-N (nitrile rubber). Standard plumbing O-rings and seals made of neoprene or natural rubber will quickly swell, soften, and disintegrate when exposed to motor oil, leading to premature failure.
For barbed hose connections, ensure the hose is pushed fully onto the fitting and secured with a high-quality stainless steel worm-gear clamp or T-bolt clamp. Position the clamp slightly behind the barb’s ridge to ensure a tight, uniform seal around the entire circumference of the hose.
Addressing Internal Seal and Housing Failures
Leaks originating from the pump housing itself or the boundary where the pump head meets the electric motor indicate more serious internal wear. A common failure point is the shaft seal, which prevents oil from entering the motor compartment; if you notice oil weeping from the weep hole or the seam between the motor and pump casing, the shaft seal has failed. Similarly, in diaphragm-style transfer pumps, a ruptured internal diaphragm will allow oil to bypass the pumping chamber and leak externally or contaminate the mechanical drive.
Do not attempt to patch cracked pump housings or internal seal failures with generic liquid sealants, hot glue, or epoxy adhesives. Motor oil and other petroleum-based fluids act as powerful solvents that will quickly dissolve, soften, or lift these adhesives under pressure, resulting in sudden, catastrophic failure during operation.
This brings us to an important safety and operational boundary: if the main metal or composite housing of your pump is cracked, or if internal shaft seals are leaking into the electrical motor housing, stop using the device immediately. Attempting a forced DIY disassembly of sealed motor housings without specialized tools and replacement parts can compromise electrical insulation and safety. In these cases, seek professional repair services from an authorized center or replace the entire pump assembly.
Should You Repair or Replace the Pump?
Deciding whether to repair your current oil pump transfer unit or purchase a replacement depends on the severity of the damage, the availability of parts, and overall cost-effectiveness.
Minor issues are highly suitable for DIY repairs. If your diagnostic checks reveal a clogged inline filter, a blown fuse, worn external O-rings, a damaged discharge hose, or loose clamps, these can be fixed quickly and cheaply with basic hand tools. Most manufacturers offer rebuild kits containing replacement seals, gaskets, and vanes, which are cost-effective options for extending the life of a high-quality pump.
Conversely, certain failures make replacement the only practical and safe option. If the electric motor has burnt out (indicated by a strong electrical burning smell or a seized shaft), if the internal gears or impellers are heavily stripped, or if the main casing is cracked, a repair is rarely viable. These major components are expensive to source individually, and assembling them correctly requires precise calibration to prevent future leaks or electrical hazards.
To make a clear financial decision, apply the 50% rule of thumb: if the total cost of replacement parts, specialized seals, and any required tools exceeds 50% of the price of a brand-new, comparable oil transfer pump (which typically ranges from ₱1,500 to ₱5,000 depending on capacity), invest in a new unit. A new pump provides renewed reliability, updated safety features, and a fresh manufacturer’s warranty.
Before you begin any internal disassembly or purchase repair parts, always check the manufacturer’s warranty status. Many high-quality transfer pumps come with warranties ranging from one to three years. Opening the motor housing or modifying internal components yourself will instantly void this coverage, whereas contacting the manufacturer’s customer service first might secure you a free replacement or professional repair.
Routine Maintenance to Extend Pump Life
Proper preventative maintenance is key to ensuring your oil pump transfer equipment remains reliable and leak-free, especially in challenging environments.
After transferring heavy, dirty, or contaminated fluids, always flush the pump system. Run a small amount of clean, light oil or a manufacturer-approved mild solvent through the pump to clear out abrasive contaminants, metal particles, or sludge that could otherwise settle and damage the internal gears or seals. Never use water or water-based cleaners to flush an oil pump, as residual moisture will cause internal rust and degrade petroleum-compatible seals.
Proper storage is equally critical, particularly in the hot, humid tropical climate of the Philippines. Drain all residual fluids from the hoses and pump body before storage to prevent stagnant oil from breaking down the materials over time. Store the pump in a dry, shaded area away from direct sunlight, as prolonged UV exposure rapidly degrades rubber hoses, making them brittle and prone to cracking. Additionally, protect electrical plugs, switches, and battery clips from high humidity by storing them in a sealed container or applying a thin coat of dielectric grease to prevent corrosion.
Finally, perform regular visual inspections before each use. Check the hoses for fine surface cracks, inspect the power cord for damage, and verify that all mounting bolts and hose clamps remain tight. If your user manual specifies periodic lubrication for moving parts or bearings, apply the recommended lubricant type at the suggested intervals to prevent dry-friction wear.
Frequently Asked Questions (FAQ)
Can I use a standard water pump to transfer motor oil?
No, you should never use a standard water pump to transfer motor oil or other petroleum products. Water pumps are engineered for low-viscosity fluids and lack the torque required to move thick motor oil, which will quickly overload and burn out the electric motor. Furthermore, the internal seals, gaskets, and impellers in a water pump are typically made of rubber or plastics that swell, soften, and dissolve when exposed to hydrocarbons, leading to immediate leaks and fluid contamination.
Why is my new oil transfer pump not priming?
The most common reason a new oil transfer pump fails to prime is an air lock within the suction line or pump chamber. Because new pumps are completely dry, they cannot generate enough vacuum to draw heavy oil up through an empty suction hose. To resolve this, pre-prime the pump by pouring a small amount of clean oil directly into the pump head and suction hose before starting, and verify that the suction hose is fully submerged with its foot valve functioning correctly to prevent air from entering.
Community discussion
Share your experience or ask a question. Comments are reviewed before publication.