
Quick Answer: Which Brake Shoe Should You Choose?
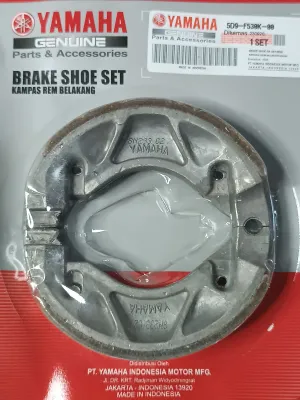
For riders of the Yamaha Aerox V2 in the Philippines, selecting the right rear brake shoe depends on your daily riding environment and performance priorities. If you value guaranteed fitment, predictable braking performance, and strict adherence to factory safety standards, Yamaha Genuine Parts (OEM) are the most reliable default choice. These stock brake shoes are engineered specifically to match the scooter’s rear drum alloy, ensuring balanced stopping power and preserving the lifespan of your rear wheel hub.
If you are looking for specific performance enhancements—such as stronger initial bite during steep mountain descents, better heat dissipation in dense city traffic, or less brake dust—premium aftermarket brands like Bendix, Elig, or Racing Boy (RCB) are excellent alternatives. However, when opting for aftermarket brands, you must verify the exact part number and compatibility for the Aerox V2 before purchase.
We strongly advise against buying unbranded, counterfeit, or ultra-cheap brake shoes. These substandard products often use low-grade friction materials that can fail under high heat, grab unpredictably during sudden monsoon downpours, or cause severe, costly damage to your rear wheel hub.
Products mentioned in this guide
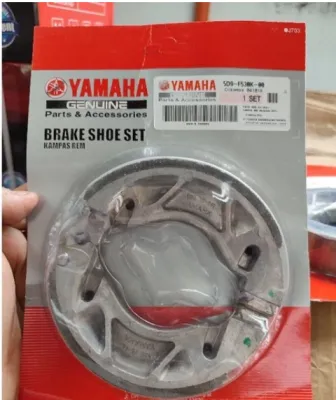
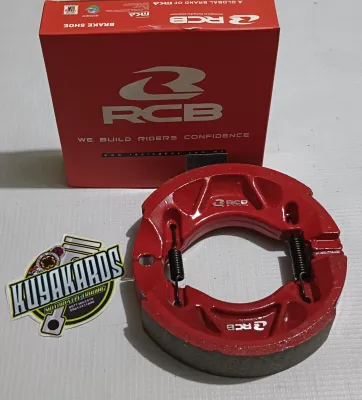
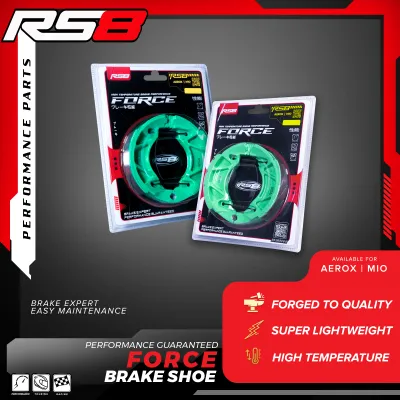
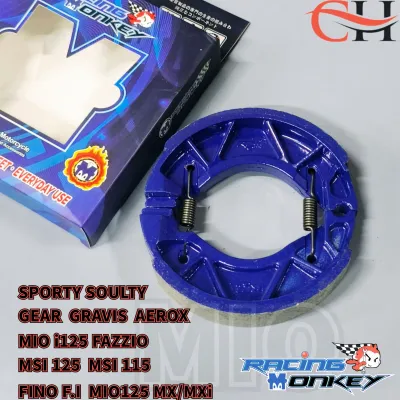
Prices are valid at publication and may change. Please refer to the product page for the latest price.
Why the Right Brake Shoe Matters for Your Aerox V2
The Yamaha Aerox V2 is a popular automatic scooter known for its sporty performance and agile handling. Unlike manual motorcycles that benefit from significant engine braking, automatic continuously variable transmission (CVT) scooters rely almost entirely on their mechanical braking systems to slow down. The Aerox V2 utilizes a front disc brake—often equipped with an Anti-lock Braking System (ABS)—and a traditional mechanical drum brake at the rear.

While the front disc brake provides the majority of your stopping power, the rear drum brake plays a critical role in stabilizing the scooter during deceleration. Applying the rear brake helps settle the chassis, prevents the front end from diving excessively, and reduces the risk of front-wheel washouts on slippery surfaces. In the Philippines, where riders frequently encounter sudden downpours, flooded streets, and loose gravel, a reliable rear brake is indispensable for maintaining vehicle control.
Choosing low-quality or incorrect friction materials for the rear drum brake introduces several safety hazards. Substandard brake shoes are highly susceptible to brake fade, a condition where the stopping power drops dramatically as the brakes heat up. This is particularly dangerous when navigating long downhill roads, such as the scenic routes in Tanay or Antipolo, or when carrying a pillion passenger in stop-and-go city traffic.
Furthermore, poor-quality brake shoes can cause physical damage to the rear wheel assembly. Because the brake drum is integrated directly into the Aerox V2’s rear wheel hub, using excessively hard or abrasive aftermarket friction compounds can score or wear down the inner steel liner of the drum. If this liner becomes deeply grooved or out-of-round, the entire rear wheel must be replaced, resulting in a very expensive repair that far outweighs any initial savings on cheap brake parts.
OEM vs. Aftermarket Brake Shoes: Core Differences
Understanding the fundamental differences between original equipment manufacturer (OEM) and aftermarket brake shoes is essential for making an informed purchase. Yamaha Genuine Parts are manufactured to the exact engineering specifications of the original factory build. These parts undergo rigorous quality control to ensure that the friction coefficient, thermal tolerance, and physical dimensions match the scooter perfectly. This consistency guarantees a predictable lever feel and reliable stopping distances from the moment they are installed.
Aftermarket brake shoes, on the other hand, are produced by third-party manufacturers and come in a wide variety of friction compounds. These compounds are generally categorized into non-asbestos organic (NAO), semi-metallic, and ceramic formulations. Premium aftermarket brands often design their products to target specific riding preferences, such as reducing brake dust, eliminating squealing, or providing a more aggressive initial bite. However, because aftermarket parts are designed to fit a range of models, riders must be diligent in verifying that the specific part number is fully compatible with the Aerox V2’s rear hub dimensions.
Sourcing these components in the Philippines presents different options. Yamaha Genuine Parts are easily accessible through authorized Yamaha 3S shops and official distributors, ensuring that you receive authentic products backed by factory support. Premium aftermarket brands are widely distributed through reputable local motorcycle accessory shops and verified online marketplaces. While aftermarket options can sometimes offer a lower purchase price or specialized performance, the rider bears the responsibility of sourcing them from trusted dealers to avoid counterfeit products.
Evaluating Popular Brake Shoe Brands for the Aerox V2
Yamaha Genuine Parts (OEM)
Yamaha Genuine Parts represent the gold standard for reliability and safety. These brake shoes utilize a high-quality non-asbestos organic compound that is specifically formulated to balance stopping power with component longevity. Because the compound is relatively soft, it is exceptionally gentle on the inner steel liner of the rear wheel hub, preventing premature wear and ensuring that your wheel assembly lasts for years.
While OEM brake shoes may not deliver the aggressive, instant bite that some sporty riders prefer, they offer highly predictable and progressive braking. This progressive feel is particularly beneficial for daily commuters, as it reduces the likelihood of accidentally locking up the rear wheel on wet asphalt or painted road markings during sudden stops. Additionally, choosing OEM parts preserves any active vehicle warranties and guarantees a perfect, hassle-free fit without the need for physical modifications.
Premium Aftermarket Brands
For riders seeking specialized performance characteristics, several established aftermarket friction specialists offer high-quality alternatives. Brands like Bendix, Elig, and RCB (Racing Boy) have earned strong reputations within the local motorcycling community for their engineering standards and consistent manufacturing quality.
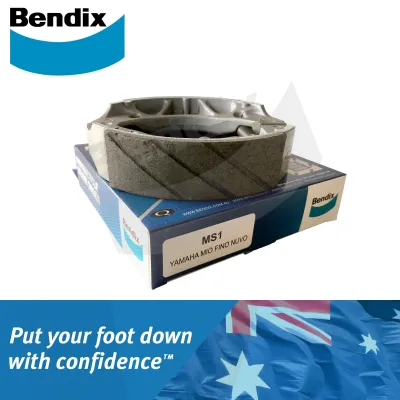
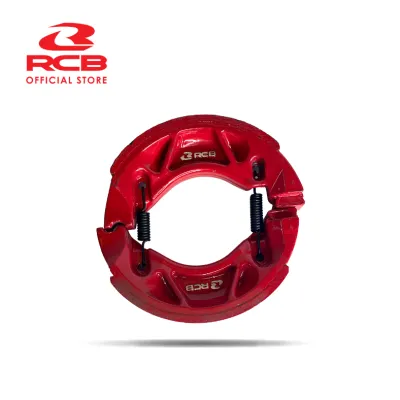
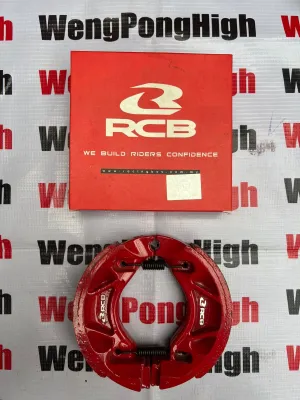
Bendix, a globally recognized name in braking systems, offers motorcycle brake shoes that often feature advanced ceramic or semi-metallic formulations. These compounds are designed to withstand higher operating temperatures, making them highly resistant to brake fade during heavy stop-and-go commuting in metropolitan areas. Elig is another popular choice, highly regarded for its ceramic-organic friction materials that produce minimal brake dust and offer excellent wet-weather performance, which is a major advantage during the Philippine monsoon season. RCB focuses on sporty aesthetics and performance, providing brake shoes with a firm lever feel and reliable bite for riders who prefer a more spirited riding style.
When purchasing any premium aftermarket brand, always inspect the packaging for authentic security holograms, clear manufacturing certifications (such as ISO standards), and a specific compatibility label for the Aerox V2.
Budget and Generic Aftermarket Options
The local market is flooded with unbranded, generic, or counterfeit brake shoes that are sold at highly attractive, low prices. While these budget options may look identical to premium parts on the surface, they represent a significant safety risk and are generally a poor investment.
Low-cost brake shoes often use inferior friction materials that are poorly bonded to the aluminum backing plate. Under heavy braking or high heat, this bonding can fail, causing the friction lining to detach completely inside the drum. This can lead to sudden, catastrophic rear-wheel lockup or a complete loss of rear braking power. Furthermore, these budget options frequently cause annoying, high-pitched squealing noises, wear out incredibly fast, and contain abrasive materials that can quickly score and ruin the inner surface of your rear wheel hub.
You can identify these substandard products by looking for poor packaging quality, a lack of clear brand markings, uneven or rough edges on the friction material, and the absence of a batch or serial number. Saving a few hundred pesos on a budget brake shoe is never worth risking your safety on the road.
Key Comparison Dimensions for Your Decision
To choose the best brake shoe for your Aerox V2, you should evaluate your options across several key performance and value dimensions.
Friction Compound & Stopping Power The type of friction compound determines how the brakes feel when you pull the lever. Organic compounds (found in OEM parts) offer a smooth, progressive feel that is easy to modulate, making them ideal for relaxed daily commuting. Ceramic and semi-metallic compounds (often found in premium aftermarket brands) provide a stronger, more immediate bite and maintain their stopping power better under high thermal loads, which is beneficial for aggressive riding or carrying heavy loads.
Durability & Wear Rate The lifespan of your brake shoes is heavily influenced by your riding environment and the hardness of the friction material. Commuting daily through the congested streets of Manila involves constant braking, which accelerates wear. Softer organic compounds wear out faster but protect the brake drum from damage. Harder semi-metallic compounds last longer but can accelerate the wear of the inner drum liner over time.
Noise & Dust Brake dust can accumulate on your rear wheel, making it look dirty and potentially interfering with the smooth operation of the brake cam. High-quality ceramic compounds are specifically engineered to produce very little dust and operate quietly. Lower-quality compounds, or brakes that have been exposed to heavy moisture and dirt, are far more prone to squealing and producing heavy black residue.
Price-to-Value Ratio When evaluating cost, consider the long-term value rather than just the upfront price. OEM parts and premium aftermarket shoes typically cost between ₱300 and ₱800. While this is higher than generic alternatives, their predictable performance, longer service life, and protection against drum damage make them far more cost-effective in the long run.
| Brand Category | Compound Type | Best Use Case | Expected Lifespan | Typical Price Tier |
|---|---|---|---|---|
| Yamaha Genuine (OEM) | Non-Asbestos Organic | Daily commuting, wet weather stability, stock drum preservation | 10,000 to 15,000 km | Mid-Tier (₱300 – ₱500) |
| Premium Aftermarket (e.g., Bendix, Elig) | Ceramic / Semi-Metallic | Heavy-duty stop-and-go city traffic, mountain descents, sporty riding | 12,000 to 18,000 km | Premium-Tier (₱400 – ₱800) |
| Budget / Unbranded | Low-grade Organic / Mixed | Emergency or temporary use only (not recommended) | Highly unpredictable (often under 5,000 km) | Low-Tier (Under ₱200) |
Installation, Bedding-In, and Safety Checks
Brakes are the most critical safety system on your motorcycle. Therefore, we strongly recommend having your new brake shoes installed and adjusted by a qualified mechanic at a reputable service center. Improper installation can lead to severe safety risks, including brake dragging, overheating, or complete mechanical failure.
Before installing new brake shoes, the inner surface of the rear brake drum must be thoroughly inspected. A qualified technician should clean the drum using a dedicated brake cleaner spray to remove all accumulated dust, grease, and road grime. The technician should check the inner steel liner for deep scoring, uneven wear, or a highly polished “glazed” finish. If the drum is glazed, it can be lightly scuffed with fine-grit sandpaper to restore a suitable surface for the new friction material. However, if the drum is deeply scored or worn beyond its service limit, the rear wheel hub must be replaced.
Once the new brake shoes are installed, they require a proper bedding-in process to achieve maximum stopping power and prevent premature wear. For the first 50 to 100 kilometers, avoid sudden, aggressive braking whenever possible. Instead, apply the rear brake gently and progressively to allow the new friction material to mate evenly with the drum surface. This gradual wear-in process prevents the friction material from overheating and glazing, ensuring a quiet and effective braking performance for the rest of the shoe’s lifespan.
Routine maintenance is essential for keeping your rear drum brake operating safely. During regular service intervals, have your mechanic clean out accumulated brake dust, lubricate the brake cam and pivot points with high-temperature brake grease (ensuring no grease touches the friction linings), and adjust the brake cable play. The brake lever should have a comfortable amount of free-play before the shoes begin to engage, preventing the brakes from dragging while riding.
Frequently Asked Questions (FAQ)
How often should I replace the brake shoes on my Aerox V2?
On average, rear brake shoes on the Yamaha Aerox V2 last between 10,000 and 15,000 kilometers. However, this lifespan can vary significantly depending on your riding style, passenger load, and how often you ride in stop-and-go traffic or wet weather. You can easily monitor wear by checking the wear indicator arrow located on the rear brake cam lever. If the arrow aligns with the wear limit mark on the engine case when you fully pull the rear brake lever, or if the cable adjuster nut is tightened near the end of its threads, the brake shoes have reached their service limit and must be replaced immediately.
Can I use Aerox 155 (V1) brake shoes on the Aerox V2?
Yes, the rear drum brake dimensions and overall wheel hub design are identical between the Yamaha Aerox V1 and the Aerox V2. Consequently, brake shoes designed for the first-generation Aerox 155 are fully compatible with the Aerox V2. Despite this shared compatibility, you should always verify the exact manufacturer part numbers (such as the OEM part code 5MX-F530K-00 or verified aftermarket equivalents) before making a purchase. Never attempt to modify or force a brake shoe that does not fit perfectly onto the brake anchor pins and cam.
Why are my new brake shoes squeaking after installation?
Squeaking is a common post-installation issue that is typically caused by accumulated brake dust, moisture from high humidity, or a glazed friction surface. Squeaking can also occur if the inner brake drum was not thoroughly cleaned and degreased before the new shoes were installed, or if the shoes were subjected to hard, sudden braking before they were properly bedded-in. To resolve this issue, have a mechanic disassemble the rear brake, clean the assembly thoroughly with specialized brake cleaner, lightly scuff the glazed surface of the brake shoes and drum with fine-grit sandpaper, and ensure the brake cam is properly lubricated.
Community discussion
Share your experience or ask a question. Comments are reviewed before publication.