
A failing spark plug cap—the protective sleeve that connects your ignition wire or coil to the spark plug—disrupts the precise delivery of high-voltage electrical current needed for combustion. When this component degrades, you will typically notice engine misfires, a rough idle, or difficulty starting your vehicle, particularly during humid mornings or heavy tropical downpours. Addressing these early warning signs promptly prevents unburned fuel from damaging your catalytic converter and ensures your vehicle remains reliable on the road.
While spark plug caps are designed to withstand extreme engine temperatures, they are wear items that eventually break down. Recognizing the symptoms of a failing cap allows you to address ignition issues before they lead to a complete breakdown or costly secondary engine damage.
Recognizing Engine Symptoms of a Failing Spark Plug Cap
An engine misfire is one of the most common indicators of a deteriorating spark plug cap. When the cap fails to insulate the high-voltage current, the electricity arcs to the nearest metal engine component instead of reaching the spark plug electrode. This loss of spark prevents the air-fuel mixture in the cylinder from igniting, resulting in a sudden hesitation, stumbling, or a temporary loss of power while driving.
Products mentioned in this guide
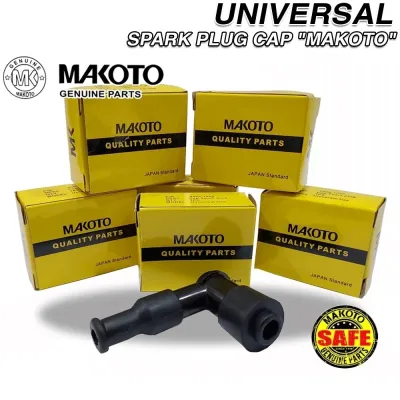
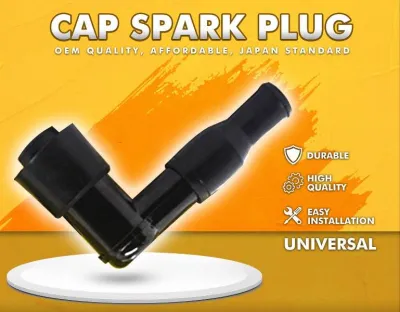
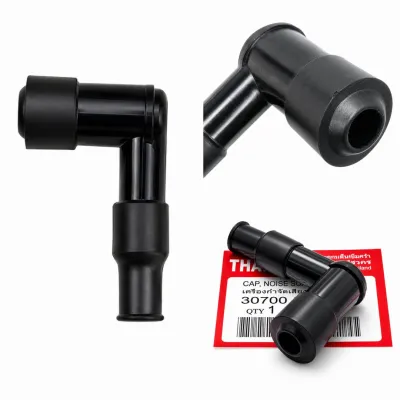
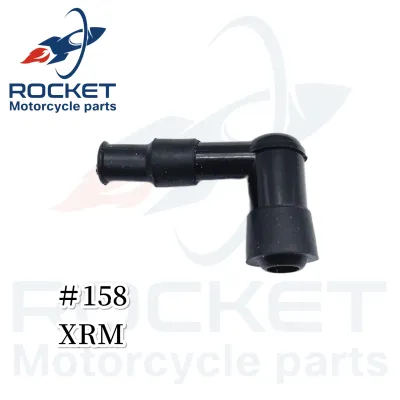
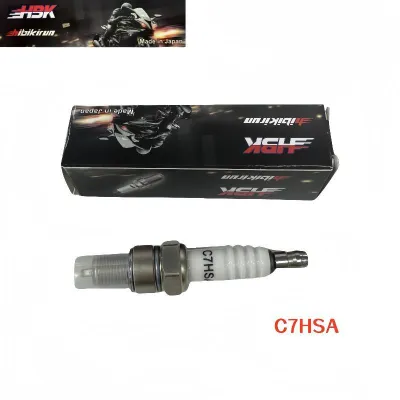
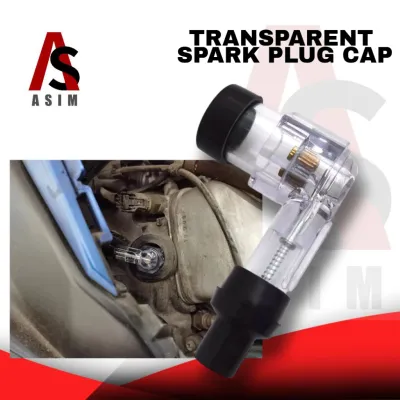
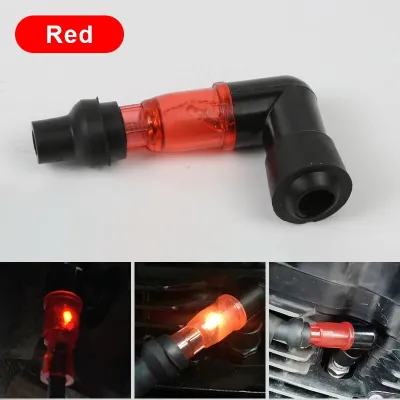
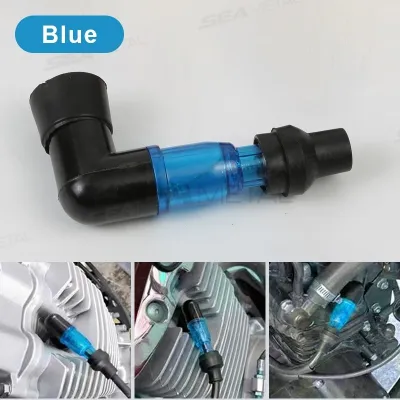
Prices are valid at publication and may change. Please refer to the product page for the latest price.
This disruption in the combustion cycle is highly noticeable when the vehicle is idling. A healthy engine should idle smoothly at a consistent RPM, but a leaking spark plug cap causes a rough, shaky idle. You may feel the vehicle vibrate excessively through the steering wheel or seat, and the exhaust note may sound uneven or choppy as individual cylinders fail to fire consistently.
Acceleration places a higher demand on the ignition system, making hesitation more pronounced when you press the accelerator pedal. Because the cylinder pressure increases during acceleration, it requires a higher voltage to jump the spark plug gap. If the spark plug cap has microscopic cracks or weakened insulation, the electrical current will take the path of least resistance, escaping through the cap rather than firing the plug, which causes the engine to bog down.
Starting difficulties are particularly common in damp, humid, or rainy conditions. In tropical climates with high humidity, moisture can accumulate on the surface of the spark plug cap and wires. Water conducts electricity, allowing the high-voltage current to track along the wet exterior of the cap and ground out directly to the engine block. If your vehicle struggles to start on rainy mornings but runs relatively well in dry weather, the spark plug caps are highly suspect.
Modern vehicles equipped with On-Board Diagnostics (OBD-II) will typically detect these misfires and illuminate the check engine light on your dashboard. When you connect a diagnostic scanner to the vehicle, you will often find codes ranging from P0300 (random or multiple cylinder misfire) to cylinder-specific codes like P0301 through P0304. While these codes do not point directly to the cap itself, they confirm that a specific cylinder is experiencing an ignition failure.
In some cases, you can physically observe the electrical leak. If you safely open the hood in a dark garage or at night while the engine is running, you may see faint blue flashes of light, known as electrical arcing, jumping from the cap to the engine block. This visual symptom is often accompanied by a distinct snapping or clicking sound as the high-voltage current escapes the cap.
How to Inspect the Spark Plug Cap for Physical Damage
To accurately assess the condition of a spark plug cap, you must perform a thorough visual and tactile inspection. Begin by examining the outer housing of the cap, which is typically made of hard plastic, silicone, or thick rubber. Look closely for hairline cracks, splits, or pinholes that can allow voltage to leak out.

Pay close attention to carbon tracking, which appears as thin, black, pencil-like lines winding across the surface of the cap. These carbon tracks are permanent paths of burnt material created by escaping electricity. Once a carbon track forms, the cap’s insulating properties are permanently compromised, and the electrical current will continue to follow this path to the ground rather than traveling to the spark plug.
Next, peer inside the cap using a bright flashlight to inspect the internal metal terminal and spring contact. This metal connector must be clean, bright, and free of debris. In humid environments, moisture can seep into the connection, leading to green or white corrosion (oxidation). This corrosion increases electrical resistance, weakening the spark delivered to the plug and accelerating wear on the ignition coil.
Evaluate the flexibility of the rubber boot at the base of the cap. Over time, the intense heat cycles of the engine bay cause the rubber to lose its plasticizers, leading to dry rot, brittleness, or severe hardening. If the rubber feels stiff, cracks when gently flexed, or has become soft and spongy due to oil contamination from a leaking valve cover gasket, it can no longer provide an effective seal.
Finally, check how securely the cap fits onto the spark plug. When pushed onto the plug, the cap should snap firmly into place over the terminal and grip the ceramic insulator tightly. If the cap feels loose, wobbles, or slides off with minimal effort, the internal metal clip has likely spread open or the rubber boot has stretched. A loose fit allows moisture, dirt, and road grime to enter the connection, leading to rapid corrosion and electrical tracking.
Steps for Safe Spark Plug Cap Removal and Replacement
Before performing any work on your vehicle’s ignition system, safety must be your primary concern. Always park the vehicle on a level surface, engage the parking brake, and disconnect the negative battery terminal to prevent accidental electrical shocks or short circuits. Allow the engine to cool completely, as ignition components sit directly on the hot cylinder head and can cause severe burns.
When removing the spark plug cap, never pull directly on the thin ignition wire itself. Pulling the wire can easily separate the internal conductor from the metal terminal crimped inside the cap, ruining the entire wire assembly. Instead, grasp the thick body of the cap or boot firmly, twist it gently back and forth to break the seal against the spark plug’s ceramic insulator, and then pull straight upward.
Once the old cap is removed, clean the surrounding area to prevent dirt or debris from falling into the spark plug well. Before installing the new cap, apply a thin, even layer of dielectric grease to the inside of the rubber boot using a clean cotton swab. Dielectric grease is a non-conductive silicone compound that performs two critical functions: it seals out moisture and prevents the rubber boot from baking onto the ceramic insulator, making future removal much easier.
When applying the grease, ensure you do not pack the boot full or coat the metal terminal contacts directly. Excess grease can trap air inside the boot, creating pressure that can push the cap off the spark plug during engine operation, or it can interfere with the metal-to-metal electrical connection. A light film around the inner rubber sealing lip is all that is required.
Push the new cap firmly onto the spark plug until you feel or hear a distinct click, indicating that the internal metal terminal has locked onto the spark plug stud. Ensure the wire is routed correctly and does not contact hot exhaust components or moving engine parts. Always verify that the replacement cap matches the original equipment specifications, including the correct electrical resistance, to maintain proper ignition system balance.
When to Stop DIY Replacement and Call a Mechanic
While replacing a spark plug cap is a straightforward task on many vehicles, certain situations require the expertise of a professional mechanic. If the rubber boot is severely seized to the spark plug ceramic and refuses to budge with moderate twisting, do not force it. Applying excessive force can break the ceramic insulator of the spark plug, leaving debris inside the cylinder well or requiring a complex extraction process.
If you replace the spark plug cap but the engine misfire, rough idle, or check engine light persists, stop troubleshooting on your own. Persistent misfires can indicate deeper mechanical or electrical issues, such as a failing ignition coil, damaged wiring harness, worn spark plugs, low cylinder compression, or clogged fuel injectors. A professional technician can perform advanced diagnostics to pinpoint the root cause without replacing unnecessary parts.
Additionally, consider the layout of your vehicle’s engine bay before starting. On many modern vehicles, particularly those with V6 or V8 engines, accessing the spark plugs and caps requires removing the intake plenum, air intake ducting, or other major engine components. If you do not have the specialized tools, torque specifications, or confidence to disassemble and reassemble these components safely, it is best to have the work performed by a qualified workshop.
Frequently Asked Questions (FAQ)
Is It Safe to Replace Just One Spark Plug Cap?
While you can technically replace a single spark plug cap if it has suffered isolated physical damage, it is generally recommended to replace them as a complete set. All the caps on your engine are exposed to the same operating temperatures, vibration, and environmental humidity over their lifespan. If one cap has degraded to the point of failure, the remaining caps are likely nearing the end of their service life as well.
Replacing them as a set ensures consistent electrical resistance across all cylinders, which promotes balanced engine performance and prevents future misfires. If you must replace only one cap in an emergency, you must ensure the replacement part matches the exact electrical resistance (measured in ohms) and physical dimensions of the original equipment to avoid disrupting the ignition system.
What Is the Purpose of Dielectric Grease on the Cap?
Dielectric grease is a silicone-based, non-conductive compound designed to protect electrical connections from moisture, corrosion, and environmental contaminants. In the high-heat environment of an engine bay, the rubber boot of a spark plug cap can easily vulcanize or fuse to the smooth ceramic insulator of the spark plug. Applying a thin layer of dielectric grease prevents this bonding, allowing for easy removal during future maintenance.
Because the grease is an insulator rather than a conductor, it does not facilitate the flow of electricity. Instead, it helps contain the high-voltage current within the proper path by sealing any microscopic gaps between the rubber boot and the spark plug ceramic. This sealing action is especially critical in humid or coastal regions, where salty air and moisture can easily penetrate unsealed connections and cause electrical tracking.
Community discussion
Share your experience or ask a question. Comments are reviewed before publication.