
Using an auto car oil fluid extractor is one of the cleanest and most efficient ways to perform a do-it-yourself (DIY) oil change. By drawing the old motor oil directly out of the dipstick tube, this tool eliminates the need to crawl underneath your vehicle, remove a stubborn oil pan drain plug, or risk stripping the oil pan threads. The entire process involves warming the engine, inserting a flexible extraction tube down the dipstick channel, creating a vacuum to siphon the fluid into a sealed reservoir, replacing the filter, and refilling the system with fresh oil.
While this top-down method is highly convenient, performing it safely and completely requires understanding your specific vehicle’s layout and following a precise sequence. In a warm and humid environment like the Philippines, keeping your engine properly lubricated is vital to prevent overheating and premature wear. This guide walks you through the entire process, from verifying compatibility to safely disposing of the waste fluid, ensuring your engine remains in peak operating condition.
Check If Your Vehicle Is Compatible With Top-Down Extraction
Before purchasing or using an auto car oil fluid extractor, you must verify whether your vehicle’s engine design supports top-down extraction. While this method is highly popular for modern passenger cars, SUVs, and some motorcycles, it is not universally compatible. The physical layout of the internal engine components dictates whether an extraction tube can successfully reach the lowest point of the oil pan.
Products mentioned in this guide
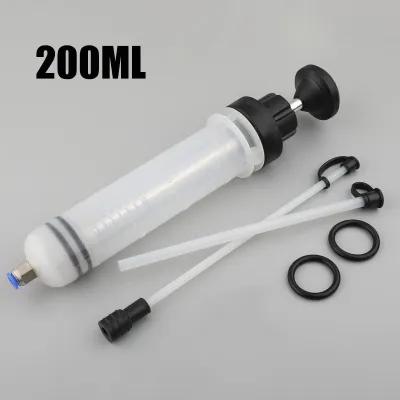
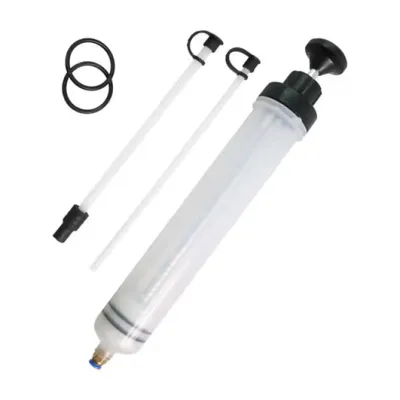
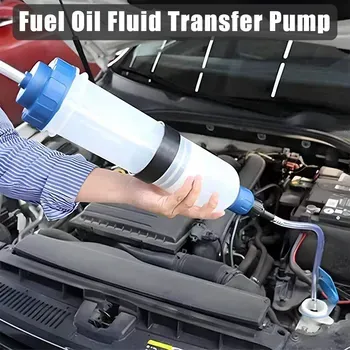
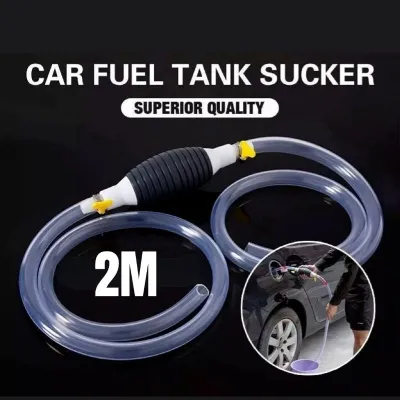
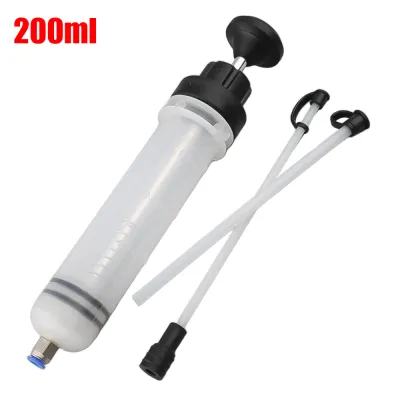
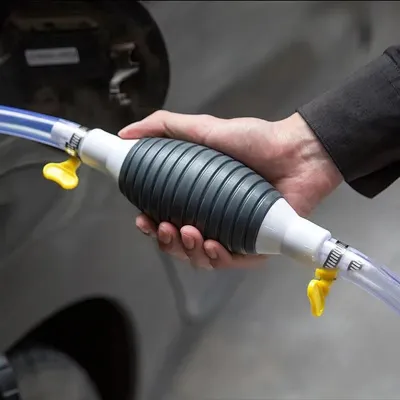
Prices are valid at publication and may change. Please refer to the product page for the latest price.
One primary physical limitation is the presence of internal baffles or windage trays inside the oil pan. These metal plates are designed to prevent oil from sloshing during hard cornering, but they can block a flexible extraction tube from reaching the bottom of the sump. Additionally, some vehicles feature sharp bends or narrow clearance angles in the dipstick tube itself, which can pinch, bend, or completely block the extraction hose. If the tube cannot reach the very bottom of the oil pan, you will leave a significant portion of the dirty, contaminated oil behind.
Another critical factor is the location of the oil filter. If your vehicle features a top-mounted oil filter accessible directly from the engine bay, a fluid extractor allows you to complete the entire oil change without ever lifting the vehicle. However, if your oil filter is mounted underneath the engine block, you will still need to raise the vehicle and crawl underneath to replace it.
To avoid frustration, check your vehicle’s owner’s manual and official service documentation to verify your specific model, year, and engine variant. Do not infer compatibility simply because a product is labeled as a generic “auto car oil fluid extractor.” Verify the physical path of your dipstick, check the oil pan design, and locate the oil filter before proceeding.
Essential Tools and Materials for a DIY Extraction
Having the correct tools and materials prepared beforehand ensures a seamless and efficient oil change. The centerpiece of this project is the auto car oil fluid extractor. These devices are generally available in either manual hand-pump configurations or pneumatic designs that connect to an air compressor. For most home garages, a manual pump with a capacity of four to ten liters is highly practical and portable.

In addition to the extractor pump, you will need the following items:
- Fresh Engine Oil: Ensure you have the exact viscosity grade and volume specified in your vehicle's owner's manual.
- Replacement Oil Filter: Use an OEM-spec or high-quality aftermarket filter compatible with your exact vehicle model and year.
- Oil Filter Wrench: A socket-style, end-cap, or strap wrench compatible with your filter housing is essential for removing tight filters without damage.
- Clean Funnel: To prevent spills on hot engine components when refilling.
- Personal Protective Equipment: Nitrile gloves and safety glasses protect your skin and eyes from warm, acidic motor oil.
- Clean Rags or Paper Towels: Essential for wiping down the dipstick, cleaning connections, and catching minor drips.
- Secondary Sealable Container: If your extractor's reservoir is smaller than your engine's total oil capacity, you will need a clean, heavy-duty container to temporarily hold the excess fluid.
Always verify the manufacturer’s specifications for your vehicle’s exact oil capacity and filter model. Using the wrong oil grade or an incompatible filter can lead to poor lubrication, engine damage, or voided warranties. Keep all products in their original packaging until use, and read their labels to ensure they are authorized for your specific engine type.
Step-by-Step Guide to Extracting the Old Oil
Extracting engine oil from the top down requires a methodical approach to ensure that you remove as much old fluid and suspended contaminants as possible. By breaking the process down into preparation, extraction, and filtration phases, you can complete the job safely and cleanly.
Preparing the Engine and Workspace
To ensure a smooth extraction, you must first prepare the engine oil’s viscosity. Cold motor oil is thick and highly viscous, making it incredibly difficult to draw through a narrow extraction tube. Running the engine for approximately five to ten minutes warms the oil, thinning it out so that it flows quickly and easily. This warming process also helps suspend soot, metal wear particles, and other contaminants in the oil, ensuring they are pulled out during the extraction rather than remaining settled at the bottom of the pan.
However, you must exercise extreme caution. In a warm tropical climate like the Philippines, engines heat up rapidly. Do not let the engine reach full operating temperature, as scalding hot oil can melt or weaken the plastic extraction tubes, damage the extractor’s seals, or cause severe burns to your skin. Touch the hood or engine cover to ensure it is warm to the touch, not scorching hot.
Once the engine is sufficiently warm, park the vehicle on a perfectly flat, level surface. This positioning is crucial because an angled vehicle will cause the oil to pool away from the dipstick tube’s entry point, leaving dirty oil behind. Engage the parking brake, turn off the ignition, and remove the key. Open the hood and secure it safely. Next, assemble your fluid extractor according to its manufacturer instructions, ensuring that all hose couplers, valves, and seals are tightly secured to prevent vacuum leaks during operation.
Pumping Out the Old Fluid
Begin by removing the engine’s dipstick and wiping it clean with a lint-free rag. Select the extraction tube from your kit that matches the diameter of your dipstick channel; it should fit snugly but slide in smoothly without forcing. Carefully feed this tube down into the dipstick opening. Push it gently until you feel it make contact with the bottom of the oil pan. Avoid forcing the tube further once you feel resistance, as this can cause the flexible hose to curl upward, lifting the suction tip away from the bottom of the pan.
Once the tube is properly positioned, connect the other end to the main inlet of your fluid extractor reservoir. If you are using a manual extractor, pump the handle several times to build a strong vacuum inside the tank. You will quickly see the warm, dark oil begin to rise through the semi-transparent extraction tube and flow into the reservoir. If the flow slows down, pump the handle a few more times to maintain the vacuum pressure.
Monitor the level of the oil entering the extractor reservoir to ensure it does not exceed the tank’s maximum capacity. As the extraction nears completion, you will hear a distinct gurgling or air-bubbling sound traveling through the tube. This auditory cue indicates that the suction tip has drawn almost all the oil from the pan and is now pulling in air. Gently wiggle or rotate the extraction tube a few millimeters up and down to ensure you capture any remaining pockets of oil in the corners of the pan. Once only air is being drawn, stop pumping and carefully extract the tube, wiping it clean as you pull it out to prevent dripping oil onto your engine bay.
Handling the Oil Filter Replacement
Replacing the oil filter with every oil change is critical because a clogged filter cannot properly clean the circulating oil, which leads to accelerated engine wear. If your vehicle features a top-mounted canister or cartridge filter, this step is straightforward. Position a clean rag directly underneath the filter housing to catch any residual drips. Use your oil filter wrench to loosen the housing cover or spin-off canister. Carefully lift the old filter out, keeping it upright, and place it immediately into a plastic bag or container to prevent messy spills on your engine components.
However, if your oil filter is located underneath the vehicle, you must transition to an under-car procedure. To do this safely, you must raise the vehicle using a high-quality hydraulic floor jack and immediately secure it with heavy-duty jack stands rated for your vehicle’s weight. Never, under any circumstances, crawl under a vehicle that is supported solely by a hydraulic jack. Hydraulic seals can fail without warning, resulting in catastrophic injury. Ensure the vehicle is stable on the jack stands and chock the remaining wheels on the ground before sliding underneath to replace the filter.
Before installing your new filter, wipe the mounting surface on the engine block with a clean rag. Inspect the old filter to ensure its rubber O-ring gasket came off with it; if the old gasket remains stuck to the engine block, the new filter will not seal properly, leading to a massive oil blowout. Take a small amount of fresh, clean engine oil on your fingertip and lightly lubricate the rubber gasket of the new filter. Spin the new filter onto the mounting threads by hand. Once the gasket makes contact with the mounting surface, tighten it an additional three-quarters to one full turn by hand. Do not overtighten the filter with a wrench.
Refilling New Oil and Verifying the System
With the old oil fully extracted and the new filter securely installed, you are ready to refill the engine. Locate the oil filler cap on top of the valve cover, remove it, and place a clean funnel into the opening. Slowly pour the fresh engine oil into the funnel. Refer to your owner’s manual to find the exact oil capacity required for an oil and filter change. It is highly recommended to pour in slightly less than the total specified volume first—approximately half a liter short—to prevent accidental overfilling, which can cause oil aeration and engine strain.
After pouring the initial amount, remove the funnel and temporarily replace the oil filler cap. Pull out the dipstick, wipe it clean, reinsert it fully, and pull it out again to check the level. The oil mark should rest between the low and high indicators on the dipstick.
Next, perform a post-fill verification. Double-check that the oil filler cap is tightly closed and the dipstick is fully seated. Start the engine and let it idle on your level driveway for about one to two minutes. Do not rev the engine; let it idle naturally so the oil pump can safely distribute the fresh fluid throughout the engine block and fill the empty chambers of the new oil filter. While the engine is idling, perform a visual inspection around the new oil filter housing and the oil pan drain plug (if you loosened it) to check for any active leaks.
Turn off the engine and let it sit undisturbed for five minutes. This waiting period allows the oil circulating through the upper cylinder head to drain back down into the oil pan, giving you an accurate measurement. Pull the dipstick once more, verify that the oil level is close to the “Full” or upper mark, and top off with a small amount of fresh oil if necessary.
Safe Disposal of Used Motor Oil
Properly disposing of used motor oil is a critical environmental and civic responsibility. Used engine oil contains toxic heavy metals, acids, and chemical additives that can severely contaminate soil, groundwater, and local ecosystems if handled improperly. A single liter of waste oil can contaminate up to one million liters of fresh water, posing a direct threat to community health and marine life.
Once your extraction is complete, carefully pour the old oil from your fluid extractor’s reservoir into a sturdy, leak-proof, sealable container. The empty bottles from your new engine oil are perfect for this purpose. Ensure the caps are screwed on tightly and wipe down the exterior of the bottles to remove any residue.
In the Philippines, you must never pour used motor oil down household drains, into storm sewers, onto the ground, or mix it with regular household trash. Instead, store the sealed containers in a cool, dry place until you can transport them to an authorized disposal site. Many local auto repair shops, gas stations, and official car dealerships accept used oil for recycling. Alternatively, you can contact your local barangay office or municipal waste management department to inquire about scheduled hazardous waste collection days or designated drop-off centers.
Frequently Asked Questions (FAQ)
Can I use an oil extractor on any motorcycle or scooter?
While an auto car oil fluid extractor is highly versatile, its compatibility with two-wheeled vehicles depends on the engine design. Many standard motorcycles with a traditional dipstick tube can easily accommodate a narrow extraction hose, allowing for a quick and clean oil change. However, many modern scooters and underbone motorcycles feature very shallow oil pans, internal oil strainers, or narrow, angled dipstick ports that prevent the extraction tube from reaching the bottom of the sump. For these models, traditional bottom-draining via the drain plug remains the only reliable method to remove all the old oil and clean the internal strainer screen. Always consult your specific motorcycle or scooter’s service manual before attempting top-down extraction.
Does an oil extractor get all the old oil out?
A high-quality oil extractor used correctly will remove approximately 95% to 98% of the old oil, which is highly effective and perfectly safe for routine vehicle maintenance. A tiny fraction of oil may remain trapped in the microscopic crevices, oil cooler lines, or behind internal oil pan baffles, but this small residue will safely mix with the fresh oil without compromising engine performance or longevity. To maximize the extraction volume, ensure the vehicle is parked on a perfectly level surface and that the engine oil is warm, which allows it to flow freely toward the lowest point of the oil pan where the extraction tube is positioned.
Community discussion
Share your experience or ask a question. Comments are reviewed before publication.