
Upgrading your vehicle with an aftermarket head unit is a highly rewarding project, but completing the rear camera connection can quickly become a frustrating challenge when dealing with complex wiring schematics and trim panels. Successfully connecting a rear view camera requires safely routing a video cable from the rear bumper to the dashboard, tapping into the vehicle’s reverse light circuit for power and trigger signals, and configuring the head unit’s software settings to recognize the camera’s video format. By following a methodical approach, you can ensure a clean installation that functions reliably every time you shift into reverse.
What tools and safety precautions are required before starting the rear camera connection?
Before starting a rear camera connection, you must gather basic hand tools, plastic trim removal keys, electrical tape, wire strippers, and a digital multimeter, while ensuring the vehicle’s negative battery terminal is disconnected. This preparation prevents accidental short circuits and protects your car’s sensitive electronic modules from damage. Working on your vehicle’s electrical system requires a cautious approach, so always consult your vehicle’s owner’s manual and the specific installation guides provided with your aftermarket head unit and camera before cutting any wires. Because wire colors and pin configurations vary significantly by manufacturer, relying on documentation is far safer than guessing.
For tools, a set of plastic trim removal tools is highly recommended over metal screwdrivers, which can easily scratch interior plastics or break fragile factory clips. You will also need high-quality electrical tape, wire strippers, heat shrink tubing, and a digital multimeter to test voltage. In the humid, tropical climate of the Philippines, electrical connections are highly susceptible to moisture and corrosion. Using adhesive-lined heat shrink tubing or waterproof crimp connectors is a critical step to ensure your wiring remains secure and dry over the lifespan of the vehicle.
Products mentioned in this guide
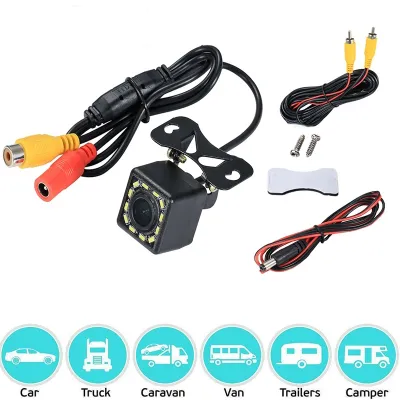
11 Lazada user ratings
🛠️Durability:good
📏Accuracy:good
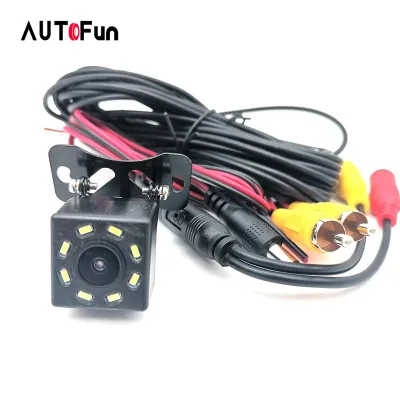
127 Lazada user ratings
Nice product and fits to my car as rear camera
Thank you dealer, very fast delivery.
Okey naman po di ko pa naipapakabit?
good quality..sakto sa motor ko
maganda madaling install
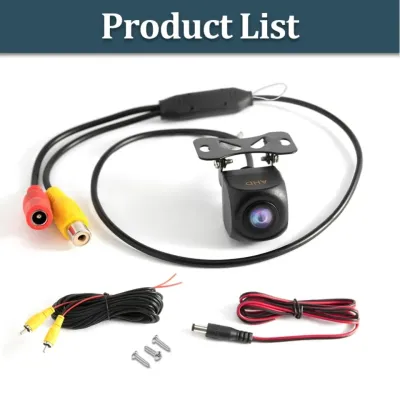
952 Lazada user ratings
Embedded mounting for a sleek look!, Waterproof and durable!, Convenient 24-hour delivery!, not yet try not yet try reasonable Item received…Read full reviewShow less
Embedded mounting for a sleek look!, Waterproof and durable!, Convenient 24-hour delivery!, not yet try not yet try reasonable Item received on time. Safe packing, thanks seller and to kuya rider
Clear HD quality!, Great night vision!, Easy installation, works perfectly!, Great night vision!, Excellent backup camera!, Great night visi…Read full reviewShow less
Clear HD quality!, Great night vision!, Easy installation, works perfectly!, Great night vision!, Excellent backup camera!, Great night vision!, Excellent backup camera!, Great night vision!,
Not yet installed, I will give an update once installed, Thank you and God bless the seller lazada and courier more sales to come...
Waterproof and durable!, Easy installation, works perfectly!, Clear HD quality!, Excellent backup camera!
Good quality back up car camera, fast shipping, hassle-free transaction, highly recommended seller!!!
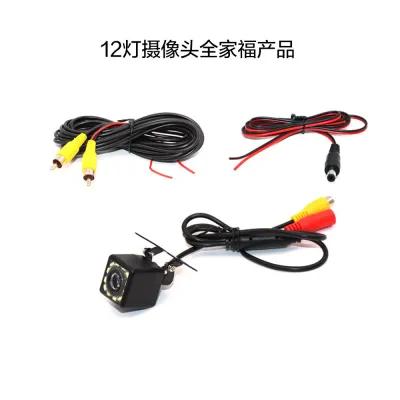
26 Lazada user ratings
Excellent value for money., Easy to install., Wide viewing angle., Works well in low light., Great night vision!, Clear and sharp image., Pe…Read full reviewShow less
Excellent value for money., Easy to install., Wide viewing angle., Works well in low light., Great night vision!, Clear and sharp image., Perfect for parking., High-resolution video.,
Received item without box and bubble wrap. Not try so far i will expect durable and clear rear camera.
not yet install,need socket adapter for my mirage g4.
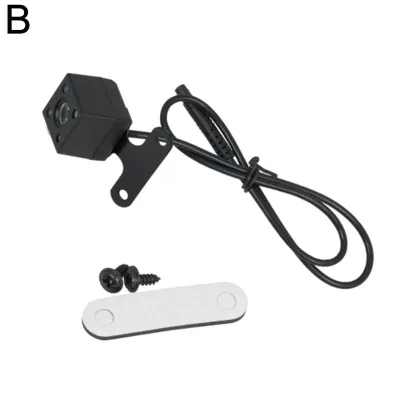
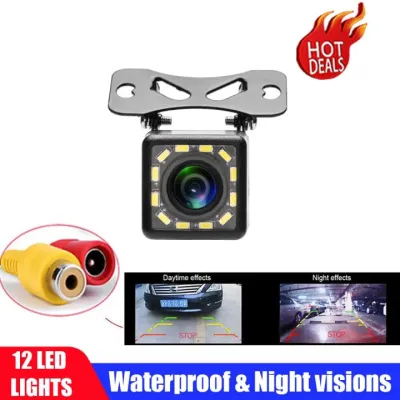
217 Lazada user ratings
Ultra-wide angle view, Supports NTSC format, Perfect for reverse parking, 🛠️Durability: 7 📏Accuracy: 7 🔧Ease of Installation: 8 📸Image Qualit…Read full reviewShow less
Ultra-wide angle view, Supports NTSC format, Perfect for reverse parking, 🛠️Durability: 7 📏Accuracy: 7 🔧Ease of Installation: 8 📸Image Quality: 6
🛠️Durability:very good... mura pero malinaw. 5 star!
ok nman naikabit na rin salamat seller
🛠️Durability: Ultra-wide angle view,
goods naman sya malinaw
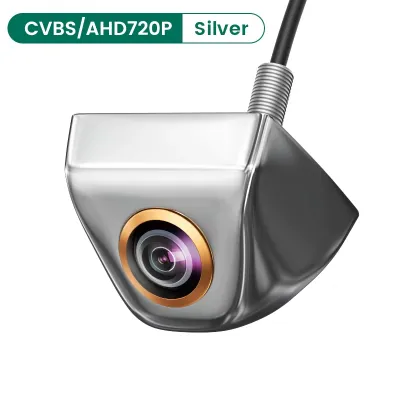
24 Lazada user ratings
Supports a wide range of vehicle models, displays real-time video, enhances parking safety, ideal for reversing, features Full HD image qual…Read full reviewShow less
Supports a wide range of vehicle models, displays real-time video, enhances parking safety, ideal for reversing, features Full HD image quality, easy-to-install design, and high image clarity.
170° wide-angle fisheye view, Great for reversing safely, Clear image in low light, Durable and weatherproof, Great for reversing safely,
🛠️Durability:look ok 🛠Ease of Installation:ok 📏Accuracy:ok 📸Image Quality:ok received the same as advertised. will install today.
Item received in good condition.
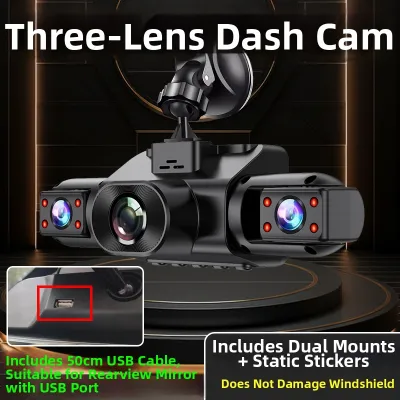
21 Lazada user ratings
Fast shipping, great quality, very satisfying experience.
Small and stylish. Feels great. Safe travels all around.
Just started using it, not sure how it works yet.
🔧Ease of Installation: 10/10 📺Video Quality: 6/10
Very useful, pretty handy.
Prices are valid at publication and may change. Please refer to the product page for the latest price.
How do you route the video cable from the rear bumper to the dashboard without damaging interior panels?
To route the video cable safely, you must run it along the vehicle’s floorboards beneath the interior door sill plates, following the factory wiring harness and securing it with zip ties. This path keeps the cable hidden, prevents it from rattling, and ensures it does not interfere with any safety systems or moving parts. Begin by planning your route from the rear license plate or bumper area into the cabin. Most vehicles have a rubber grommet near the spare tire well or rear bumper structure designed to let wiring pass through. Thread the video cable (usually an RCA cable) through this grommet, and apply a small amount of silicone sealant around the entry point to prevent water intrusion during heavy monsoon rains.

Once inside the cabin, use your plastic pry tools to gently lift the door sill plates and kick panels along one side of the vehicle. It is generally easiest to run the cable along the passenger side to keep it completely clear of the driver’s pedals and steering column. Lay the cable alongside the existing factory wiring loom and secure it with zip ties every few inches. Strictly avoid routing the video cable near any safety systems, such as side curtain airbag deployment zones located in the roof pillars, or moving parts like seat tracks and glovebox hinges. Never run wires underneath the vehicle where they can be exposed to road debris, extreme heat from the exhaust system, or standing water on flooded roads.
How do you safely identify and connect the power trigger wire to the reverse light circuit?
You can safely identify the correct reverse light wire by using a digital multimeter to test for 12-volt power at the rear light harness only when the vehicle is shifted into reverse. Once identified, connect the camera’s power wire and the head unit’s trigger wire to this circuit using soldered connections or high-quality crimp connectors. To begin testing, set your digital multimeter to DC voltage and secure the black negative probe to a clean, unpainted metal chassis ground. With the ignition on but the engine off, have an assistant press the brakes and shift into reverse. Probe the pins on the reverse light harness until your multimeter reads approximately 12 volts, then verify it drops to zero when shifted out of reverse.
Always consult your vehicle’s service manual to verify wire colors before splicing, as probing sensitive data lines can damage the body control module. Once the correct wire is verified, prepare to make the connection. Avoid using cheap plastic T-taps or twisting wires together with tape, as these methods fail under engine vibrations and high cabin temperatures. Instead, solder the camera’s positive power wire to the reverse wire and seal the joint with adhesive-lined heat shrink tubing.
Most aftermarket camera video cables feature a short red trigger wire at both ends of the RCA cable. At the rear, connect this red trigger wire to the positive reverse light wire along with the camera’s power wire. At the dashboard end, connect this same red wire to the head unit’s dedicated reverse trigger wire (typically labeled “REVERSE” or “BACK”) to automatically switch the screen display when shifting into reverse.
How do you configure the aftermarket head unit settings to activate the camera display?
Configuring the head unit involves accessing its system settings menu to enable the camera input and selecting the video format that matches your camera’s hardware. Once configured, the screen will automatically switch to the rear camera view whenever the reverse gear is engaged. After completing the physical wiring, reconnect the negative battery terminal and turn on your vehicle’s ignition to power up the head unit. Navigate to the main settings menu, which may be labeled “System Settings,” “Car Settings,” or “Camera Setup” depending on the brand of your aftermarket infotainment system. On some Android-based head units, these options are located within a protected “Factory Settings” menu that requires a passcode, which can be found in your product manual.
Locate the video input settings and select the correct signal format that matches your camera’s hardware specifications. Common formats include CVBS (standard analog) and AHD (Analog High Definition, which may be 720p or 1080p). If the head unit is set to CVBS but you have installed an AHD camera, the screen will remain black or show a distorted, unreadable image. Additionally, look for the reverse trigger polarity setting, which should typically be set to “Positive” or “Active High” to match the 12-volt signal from the reverse lights. If your camera has built-in parking guidelines and your head unit also generates them, you can disable the head unit’s software guidelines in this menu, or cut the specific wire loop on the camera harness as instructed by the camera’s manual to disable the hardware-generated lines.
What troubleshooting steps should you take if the camera feed is blank, flickering, or distorted?
If your camera feed is blank, verify that the physical RCA video connection is secure and that the head unit’s trigger wire receives 12-volt power when in reverse. For flickering, rolling, or distorted images, inspect the camera’s ground connection and ensure the video format in the head unit settings matches the camera’s specifications. A blank screen when shifting into reverse usually indicates a power or trigger signal failure. If the screen does not switch at all, the head unit is not receiving the 12-volt trigger signal; check the red trigger wire connections at both ends. If the screen switches to a black display or shows a “No Signal” warning, verify that the yellow RCA video plug is firmly inserted into the correct “Camera In” port on the back of the head unit, rather than a standard auxiliary video input.
Flickering, rolling lines, or static are often caused by a weak electrical ground. Ensure the camera’s black ground wire is connected to clean, bare metal on the vehicle chassis. In many modern vehicles, the reverse light circuit uses Pulse Width Modulation (PWM) to control bulb brightness, which causes severe screen flickering. To resolve this, install a standard 12-volt automotive relay to supply clean, stable power directly from an accessory fuse or the battery, using the reverse light wire solely as a trigger.
If the image is clear but reversed or upside down, check the head unit’s camera settings for a “Mirror Image” or “Flip” toggle. Some cameras also feature small wire loops near the camera body that can be cut to mirror the image or toggle the parking guidelines; always refer to the camera’s instruction sheet before cutting these loops.
When must you stop the installation and consult a qualified automotive professional?
You must stop the installation immediately if your vehicle uses a complex CAN bus system that requires a specialized digital interface module, or if you encounter wiring related to safety systems like airbags. Consulting a certified automotive electrician ensures you do not trigger diagnostic fault codes or compromise your vehicle’s safety features. While a rear camera connection is a manageable DIY project, certain modern electrical architectures present risks. If your vehicle relies on a digital CAN bus network instead of a standard 12-volt analog circuit for its reverse lights, splicing directly into these wires can damage the body control module. In these cases, a specialized CAN bus integration harness is required to safely read the reverse signal.
Never splice into or run wires near yellow-sleeved wiring harnesses, which are dedicated to the vehicle’s supplemental restraint system (airbags). Similarly, avoid modifying wiring near steering wheel control modules, factory amplifiers, or advanced driver-assistance systems (ADAS) like blind-spot monitors. If you encounter unexpected factory wiring configurations, persistent electrical faults, or if you are concerned about maintaining your vehicle’s manufacturer warranty, stop immediately. Seeking the assistance of a certified automotive electrician or a professional car accessories shop in the Philippines ensures that your aftermarket system is integrated safely and reliably without risking electrical fires or system failures.

Community discussion
Share your experience or ask a question. Comments are reviewed before publication.