
Upgrading your motorcycle’s braking system is one of the most effective ways to improve safety and handling, especially when navigating busy Philippine highways or stop-and-go city traffic. When exploring aftermarket brake upgrades, you will frequently encounter the term “220mm caliper bracket.” Understanding exactly what this specification represents is crucial before purchasing any parts, as a mismatch can compromise your stopping power or prevent installation entirely.
What the "220mm" Measurement Actually Means
The “220mm” specification on a caliper bracket does not describe the physical length, width, or bolt spacing of the bracket itself. Instead, it designates the specific outer diameter of the brake disc (rotor) that the bracket is engineered to accommodate. The bracket acts as a precise spatial adapter, positioning your brake caliper at the exact height and angle required to clamp onto a 220mm rotor.
When manufacturers design a 220mm caliper bracket, they carefully calculate the mounting offset and arm length. This ensures that the brake pads inside your caliper align perfectly with the swept area of a 220mm disc. If the bracket is even slightly misaligned, the pads will not make full contact with the rotor. Consequently, purchasing a 220mm caliper bracket means you are fully committing to installing or using a 220mm brake disc on your motorcycle.
Products mentioned in this guide
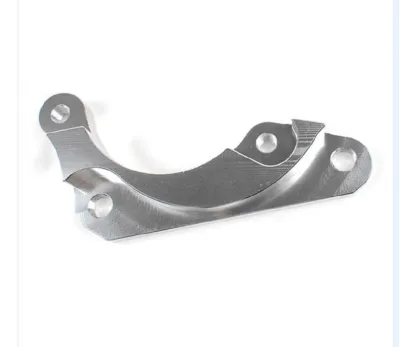
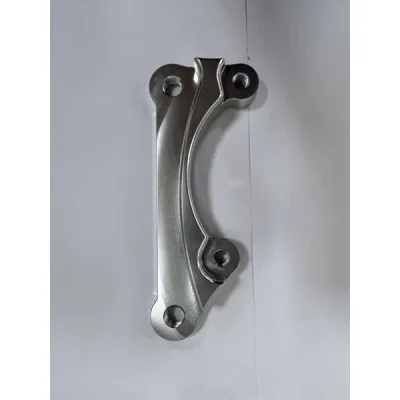
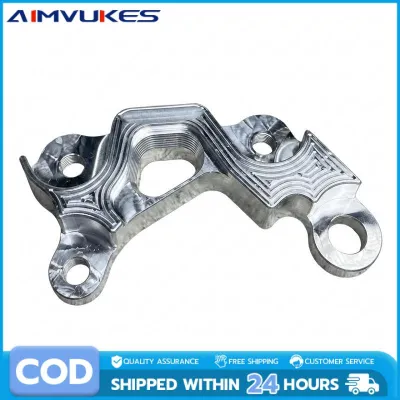
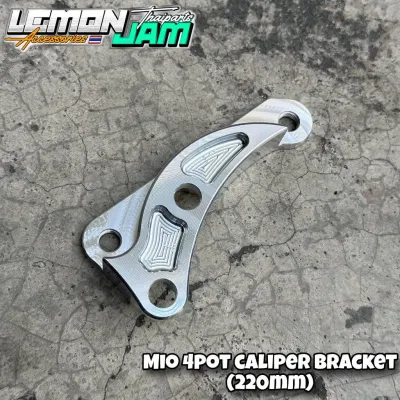
Prices are valid at publication and may change. Please refer to the product page for the latest price.
Real-World Effects of a 220mm Brake Setup
Upgrading to a 220mm rotor setup, which is a highly popular mid-size upgrade for underbones and scooters in the Philippines, significantly alters your motorcycle’s braking dynamics. The primary advantage is increased braking torque. By moving the caliper further away from the wheel axle, the brake pads grip the rotor at a larger radius, providing greater leverage. This translates to stronger, more progressive stopping power with less physical effort at the brake lever.

Thermal management is another critical benefit of this setup. In the tropical heat of the Philippines, prolonged braking during downhill descents or heavy traffic can cause brake fade due to excessive heat buildup. A 220mm brake disc has a larger surface area than smaller factory rotors (such as 190mm or 200mm variants), allowing it to dissipate heat much more efficiently and maintain consistent braking performance under demanding conditions.
However, you must also consider the physical footprint of this modification. While a 220mm setup is relatively compact, it still occupies more physical space within the wheel assembly. This extra bulk requires careful evaluation to ensure the larger rotor and its corresponding bracket do not interfere with adjacent components, such as the wheel spokes, speedometer cable, or suspension elements.
Step-by-Step Guide to Verifying Fitment
Before purchasing a 220mm caliper bracket, you must verify that it is fully compatible with your motorcycle’s existing layout or planned upgrades. Follow these practical steps to confirm a safe and precise fit.
Measure Your Existing Brake Disc
To determine if you need a 220mm bracket, you must first establish the exact size of your brake disc. Use a digital vernier caliper or a precise measuring tape to measure the outer diameter of the rotor from one edge directly across the center to the opposite edge. Alternatively, look closely at the rotor’s surface, as many manufacturers stamp the diameter (e.g., “220mm” or “Min. Th. 3.5mm”) directly onto the metal. You can also consult your motorcycle’s official service manual to verify the stock factory rotor dimensions.
Match the Caliper and Fork Mounts
A caliper bracket must interface flawlessly with two distinct components: your motorcycle’s front fork leg and the brake caliper itself. First, identify your caliper’s mounting style—typically axial (side-mount) or radial (radial-mount)—and measure the bolt hole spacing center-to-center. Next, measure the mounting distance on your front fork leg. Aftermarket brackets are highly model-specific; a bracket designed for a Yamaha Mio will not align with the fork mounts of a Honda Click, even if both use a 220mm rotor. Always cross-reference these measurements with the product’s technical specifications.
Check Wheel Rim and Fender Clearance
Increasing your rotor size means the caliper will sit further outward, closer to the inner barrel of your wheel rim. Measure the inner clearance of your rim to ensure that the bulk of the new caliper and bracket assembly will not strike the wheel spokes or the rim itself. Additionally, check the clearance around your front fender and mudguard. Compress the front suspension fully to confirm that the newly positioned caliper and bracket do not collide with the fender or pinch any electrical wiring and speedometer cables during heavy braking.
Critical Safety Rules for Brake Modifications
Because your motorcycle’s braking system is a life-critical safety component, any modifications carry inherent risks. Improperly fitted brackets or loose hardware can lead to catastrophic brake failure, wheel lockups, or severe accidents. Always prioritize safety by verifying vehicle compatibility, model year, and mounting interfaces directly from official product documentation before making a purchase.
When installing aftermarket brake components, never attempt to modify, grind, or drill a caliper bracket to force a fit. If the bolt holes do not align perfectly, stop immediately and consult the manufacturer or a professional mechanic. Always refer to your motorcycle’s original-vehicle instructions for proper torque specifications, and use a calibrated torque wrench to secure all mounting bolts. Applying a medium-strength threadlocker is highly recommended to prevent bolts from backing out due to road vibrations.
Once the physical installation is complete, the brake system must be thoroughly bled to remove any trapped air from the lines. If you are unfamiliar with hydraulic systems, have the entire assembly installed or inspected by a qualified motorcycle mechanic. Furthermore, keep in mind that modifying your braking system can void your vehicle’s factory warranty and must comply with local Land Transportation Office (LTO) road safety regulations in the Philippines.
Frequently Asked Questions (FAQ)
Can I use a 220mm caliper bracket with a 200mm brake disc?
No, this is highly dangerous and mechanically incompatible. A 220mm caliper bracket positions the caliper too far outward to accommodate the larger radius of a 220mm disc. If you attempt to use it with a smaller 200mm rotor, the brake pads will overhang the outer edge of the disc or fail to contact the braking surface entirely. This results in an immediate loss of stopping power, uneven pad wear, and potential mechanical binding that can lock up your front wheel.
Do I need to change my brake lines when installing a new caliper bracket?
It depends on your motorcycle’s stock brake line routing and length. Because a 220mm bracket shifts the caliper’s physical position further away from the wheel axle, the original brake hose may be stretched too tight or kinked. Turn your handlebars fully from lock to lock and compress the forks to check for tension. If the line is taut or restricted, you must replace it with a longer, high-quality braided steel or OEM-specification brake line to ensure safe operation.
Community discussion
Share your experience or ask a question. Comments are reviewed before publication.