
To ensure you select the correct radiator aerox v2 for your motorcycle, you must verify several critical physical, thermal, and mechanical specifications before finalizing your purchase. The Yamaha Aerox 155 Connected (commonly referred to as the V2) features a redesigned chassis, updated body panels, and modified mounting configurations compared to the first-generation (V1) Aerox. Because of these structural changes, parts designed for the older generation do not simply bolt onto the newer frame. Installing an incompatible radiator can lead to structural stress, coolant leaks, and severe engine overheating.
Before purchasing any cooling system component, you must establish a clear safety boundary. The cooling system operates under high pressure and extreme temperatures; any failure can result in hot coolant spraying onto your legs or tires, presenting an immediate physical hazard and a risk of severe engine damage. Always verify your specific vehicle model year, frame dimensions, and mounting positions using the manufacturer’s original-vehicle instructions and the aftermarket product’s official documentation. If you are not experienced with motorcycle cooling systems, seek qualified professional installation to ensure the system is safely integrated and pressure-tested.
Verifying Physical Fitment and Mounting Clearances for a Radiator Aerox V2
Operating a liquid-cooled scooter in tropical environments requires a radiator that sits securely in its designated space without rubbing against adjacent components. The physical dimensions of the radiator must align perfectly with the Aerox V2 frame to prevent mechanical interference and structural failure.
Products mentioned in this guide
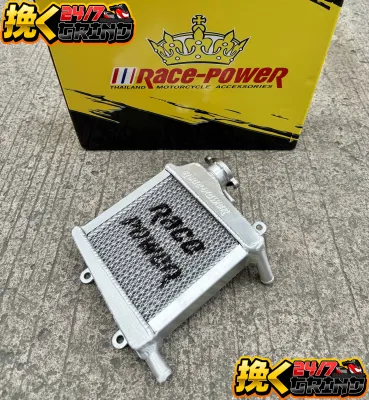
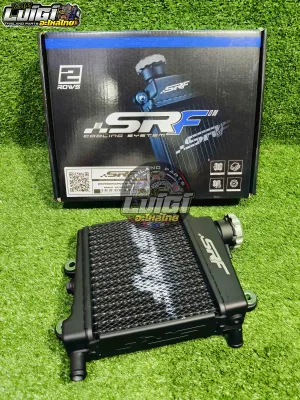
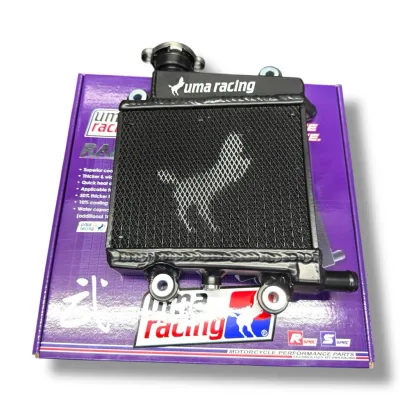
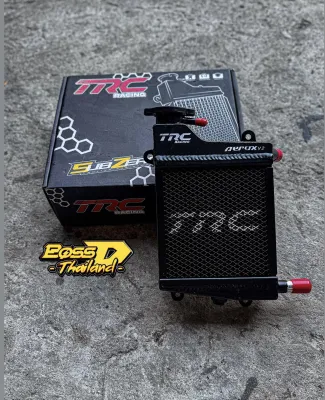
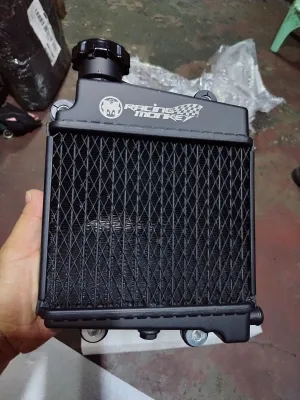
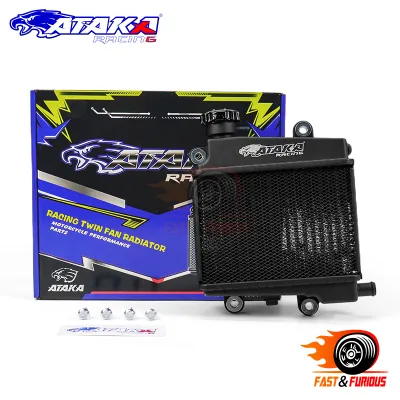
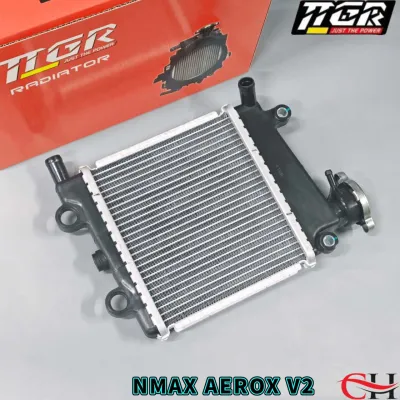
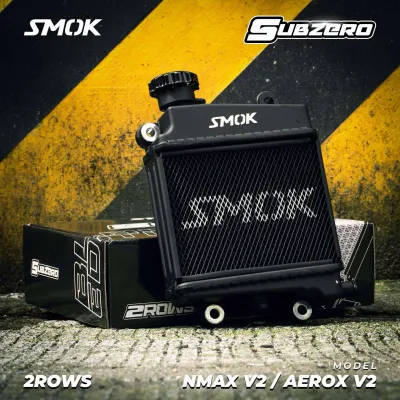
Prices are valid at publication and may change. Please refer to the product page for the latest price.
Mounting Brackets and Frame Alignment
The radiator on the Yamaha Aerox V2 is secured directly to mounting points located on the right side of the engine assembly. When evaluating an aftermarket radiator, you must compare the position, thickness, and bolt-hole diameters of the mounting tabs with your stock unit. Use a digital caliper to measure the distance between the mounting holes on your original radiator and verify these measurements against the technical drawing provided by the aftermarket manufacturer.
Forcing a misaligned radiator bracket to fit onto the frame is a common installation error that leads to premature component failure. Aluminum is a relatively soft metal that is highly susceptible to fatigue under constant mechanical stress. The high-frequency vibrations generated by a single-cylinder 155cc engine will concentrate at any pre-stressed mounting point, eventually causing micro-fractures along the radiator’s welded seams or tube-to-header joints. Ensure that the aftermarket unit either reuses the stock rubber vibration-damping grommets or includes high-quality rubber dampers designed to isolate the radiator core from engine-induced vibrations.
Hose Routing, Clamps, and Fan Shroud Clearance
The coolant hoses on your scooter must route smoothly from the water pump to the radiator without bends, kinks, or contact with hot engine surfaces. You must verify that the inlet and outlet pipe diameters on the new radiator match the internal diameter of your stock coolant hoses, which is typically around 18mm to 19mm. If the inlet or outlet pipes are too small, standard hose clamps will not seal effectively, leading to slow leaks under pressure; if they are too large, stretching the rubber hose will accelerate cracking and dry rot.
The angle of the radiator’s inlet and outlet pipes is equally critical. A pipe that points in the wrong direction will force the coolant hose to bend sharply, creating a kink that restricts the flow of coolant and causes localized boiling within the engine cylinder head. Additionally, you must verify the clearance between the radiator core, the cooling fan, the fan shroud, and the surrounding body fairings. High-capacity aftermarket radiators often feature thicker cores that reduce the space between the fan blades and the engine block. Before purchasing, check the manufacturer’s specifications to ensure that the fan can rotate freely without contacting the radiator fins or any electrical wiring.
Evaluating Materials and Core Design Options
Choosing the right material and core design is essential for balancing thermal performance, structural durability, and weight. Most replacement options fall into two main categories: OEM-style radiators and full aluminum aftermarket radiators.

| Radiator Type | Average Weight | Heat Dissipation Efficiency | Durability under Stress | Ideal Use Case | Primary Limitations |
|---|---|---|---|---|---|
| OEM-Style (Plastic/Aluminum) | Lightweight (~500g) | Moderate; sufficient for stock engines | Moderate; plastic tanks can become brittle over time | Daily commuting, stock engines, budget-conscious riders | Susceptible to cracking at crimp joints under high pressure |
| Full Aluminum (Standard/Dual-Row) | Slightly heavier (~700g) | High; excellent thermal conductivity | Very High; robust TIG-welded seams | Daily commuting in heavy traffic, mild performance tuning | Higher initial cost; requires precise fitment check |
| High-Performance (3-Row/Thick Core) | Heavier (~900g+) | Maximum; large coolant volume | Extremely High; built for extreme heat loads | Big-bore kits, track racing, heavily modified engines | Restricts low-speed airflow; may require fan shroud spacers |
OEM-style radiators utilize an aluminum core crimped to plastic end tanks. Over several years of heat cycles in high-humidity environments, the plastic end tanks and the rubber seals at the crimp joints can degrade, crack, or develop leaks. Full aluminum radiators eliminate these weak points by utilizing all-aluminum construction with TIG-welded end tanks. When inspecting a full aluminum radiator, look closely at the welding quality; high-quality TIG welds should resemble a neat, overlapping sequence of small coins without any visible pinholes, undercut, or weld splatter.
Core thickness is another critical design factor to consider before purchasing. While a thicker core (such as a dual-row or triple-row design) increases the total volume of coolant in the system, it also increases the resistance to airflow through the cooling fins. If the fin density (measured in fins per inch) is too high, air cannot pass through the radiator easily at low speeds. This means that during slow-moving city travel, a thicker radiator might actually run hotter than a stock radiator unless it is paired with an upgraded cooling fan that can pull air through the denser core.
Matching the Radiator to Your Riding Conditions
The tropical climate of the Philippines, where ambient temperatures regularly exceed 35°C, places a significant thermal load on your scooter’s engine. Your choice of radiator should directly reflect your primary riding environment and how you use your vehicle.
Daily Commuting and Stop-and-Go Traffic If your daily route involves navigating heavy stop-and-go traffic in dense urban areas, your scooter spends a lot of time idling or moving at very low speeds. Under these conditions, there is minimal natural airflow (ram-air) passing through the radiator, and the system relies almost entirely on the cooling fan. For this scenario, a standard-thickness full aluminum radiator is highly recommended. It offers improved durability over the OEM plastic unit while maintaining a core thickness that allows the stock cooling fan to draw air through the fins efficiently.
Long-Distance Touring and Provincial Travel For riders who frequently travel long distances across provinces, climb steep mountain roads, or maintain high cruising speeds for extended periods, the engine generates a continuous, high thermal load. In this case, a dual-row aluminum radiator is highly beneficial. The increased coolant capacity acts as a thermal buffer, absorbing sudden spikes in engine temperature during long climbs and dissipating heat efficiently when riding at highway speeds.
Track Riding and High-Performance Modifications If you have modified your Aerox V2 with a big-bore kit, high-compression piston, or upgraded camshafts, the engine will produce substantially more heat than the stock cooling system was designed to handle. A high-capacity 3-row aluminum radiator is often necessary to prevent thermal runaway under racing conditions. However, you must pair this upgrade with supporting modifications, such as a high-flow water pump impeller and an upgraded cooling fan, to ensure that coolant and air move through the system fast enough to keep temperatures stable.
Remember that the radiator is only one component of a larger, interconnected cooling loop. To prevent overheating, you must also verify the condition of your water pump, ensure the thermostat opens at the correct temperature, and use only high-quality, pre-mixed coolant formulated specifically for aluminum motorcycle engines. Always refer to the coolant manufacturer’s label instructions for proper application and safety guidelines.
Checking System Pressure and Supporting Modifications
When upgrading your radiator, you must understand how changes to the system’s operating pressure affect other cooling components. The radiator cap plays a vital role in regulating this pressure and raising the boiling point of the coolant.
A standard radiator cap is typically rated at 1.1 bar, which keeps the coolant under enough pressure to prevent boiling at normal operating temperatures. Some aftermarket radiators come equipped with higher-pressure caps, such as 1.3 bar or 1.5 bar. While a higher pressure rating prevents the coolant from boiling under extreme heat, it also increases the mechanical stress on every hose, clamp, plastic joint, and seal in the cooling system. If you install a high-pressure cap on a system with older, worn rubber hoses or a degraded water pump mechanical seal, the increased pressure can cause a sudden, catastrophic blowout of these components.
Additionally, larger aftermarket radiators require a larger volume of coolant than the stock unit. When refilling the system, you must perform a meticulous bleeding procedure to ensure that no air is trapped inside the engine’s cooling jacket or the radiator core. Air pockets, or airlocks, act as barriers to heat transfer; if air is trapped around the cylinder head, it can cause localized hot spots that lead to warped cylinder heads, blown head gaskets, or engine seizure. Always follow the manufacturer’s recommended bleeding instructions, which typically involve running the engine with the radiator cap removed while keeping the scooter at a specific angle to allow trapped air bubbles to escape. If the aftermarket radiator’s instructions conflict with your original-vehicle service manual, stop the installation and consult a qualified professional.
Frequently Asked Questions (FAQ)
Can I use an Aerox V1 radiator on my Aerox V2?
No, you should not attempt to install an Aerox V1 radiator on an Aerox V2 chassis. Although both models share a similar 155cc engine platform, the V2 features a redesigned frame, different body panel mounting brackets, and altered coolant hose routing angles. Attempting to force a V1 radiator onto a V2 frame will require bending the mounting tabs or twisting the coolant hoses. This introduces severe mechanical stress to the aluminum core, increases the risk of vibration-induced leaks, and can cause the radiator to rub against the internal plastic fairings, leading to physical damage over time.
Do I need to upgrade my cooling fan when installing a thicker aftermarket radiator?
An upgrade is not strictly mandatory for standard-thickness dual-row radiators, but it is highly recommended if you choose a thick 3-row performance radiator and frequently ride in heavy traffic. Thicker cores feature a higher fin density that increases resistance to airflow at low speeds. If your stock cooling fan cannot generate enough static pressure to pull air through the thick core while the scooter is idling, the engine may overheat. When purchasing a thick performance radiator, verify whether the manufacturer recommends installing a high-flow cooling fan or a fan shroud spacer to maintain proper clearance and optimal cooling performance.
Community discussion
Share your experience or ask a question. Comments are reviewed before publication.