
Selecting the right window tint cutter is the single most critical decision for a successful DIY automotive tinting project. A clean, precise cut prevents jagged edges that peel over time under the intense tropical sun. To find the ideal tool, you must evaluate four core areas: blade material and angle, handle ergonomics, safety locking mechanisms, and glass-scratch prevention features. Balancing these factors ensures you can navigate tight window curves without damaging your vehicle’s glass or defroster lines.
Before beginning any tinting project, always check the Land Transportation Office (LTO) regulations in your area regarding allowable light transmission limits. Installing tint that is too dark can compromise road safety and lead to compliance issues. Additionally, because window tinting requires extreme precision to avoid damaging your vehicle, review your vehicle’s owner manual for any specific glass coatings. If you are uncomfortable performing these cuts yourself, consult a qualified professional installer.
Blade Types and Their Role in Automotive Film Cutting
Automotive window films are typically made of multi-layered polyester (PET) which is surprisingly tough and abrasive. Standard utility blades often tear this material instead of slicing it cleanly. For automotive tinting, the 30-degree snap-off blade is the industry standard, offering a much sharper, more acute angle than standard 45-degree utility blades. This acute angle allows you to see exactly where the tip meets the film, which is vital when trimming along the curved edges of side windows.
Products mentioned in this guide
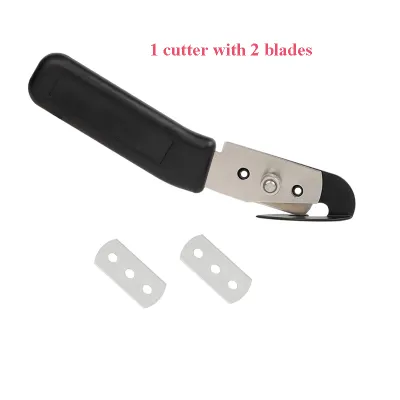
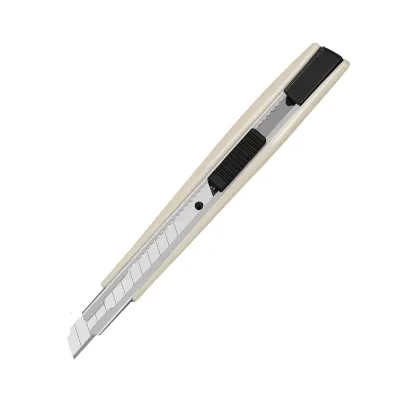
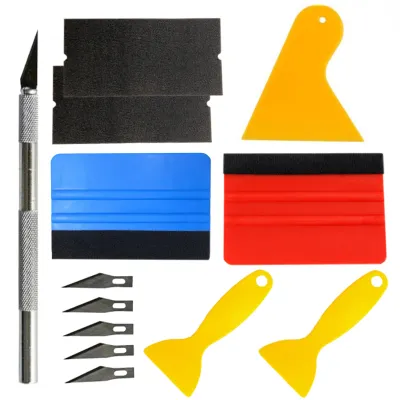
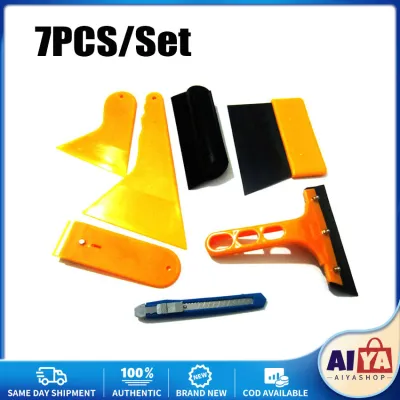
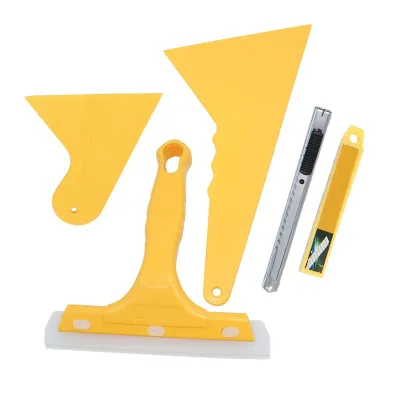
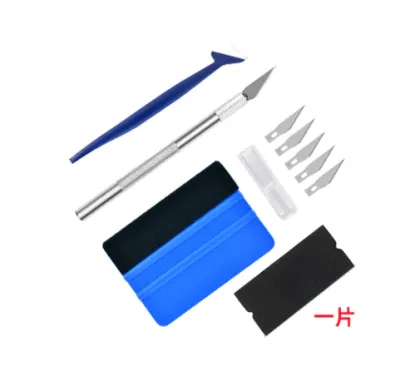
Prices are valid at publication and may change. Please refer to the product page for the latest price.
Snap-off blades are highly practical for DIY tinting because they allow you to maintain a sharp edge at all times. Instead of stopping your work to unscrew a casing and flip a blade, you simply snap off the dull segment to expose a fresh, sharp tip. This is crucial because even a slightly dull blade will drag against the film, causing microscopic tears that lead to bubbling and peeling later on.
When evaluating blade materials, you will primarily choose between carbon steel and stainless steel. Carbon steel blades are incredibly hard and hold their edge longer, but they are more rigid and can rust quickly in high-humidity environments. Stainless steel blades are slightly softer but offer excellent rust resistance and are less likely to scratch automotive glass if accidental contact occurs. For beginners, stainless steel is often the safer choice to protect the glass surface.
Blade thickness also plays a significant role in cutting stability. Ultra-thin blades (around 0.38 mm) offer maximum flexibility for tight curves but can flex too much under heavy pressure. Standard 0.5 mm blades provide a more rigid, predictable cut along straight edges. Whichever thickness you choose, ensure the blade housing holds the segment firmly with zero lateral play, as any wobble will translate directly into a wavy cut on your window.
Handle Ergonomics for Precision on Vertical Car Windows
Tinting a car requires you to work at awkward angles, often reaching across the interior to trim film on highly curved, vertical glass surfaces. In these positions, handle ergonomics dictate your level of control. A poorly designed handle causes hand fatigue quickly, leading to shaky cuts and ruined film sheets. Look for a contoured handle that fits naturally into the palm of your hand, allowing you to apply even pressure without gripping the tool with excessive force.

In tropical climates, humidity and sweat are constant challenges during DIY garage projects. A slick plastic handle can easily slip from your fingers, risking a deep scratch on your car’s paint or a painful cut to your hand. Prioritize handles featuring non-slip rubberized grips or textured metal finishes. These materials provide a secure hold even when your hands are damp from soapy application solutions.
Weight distribution is another critical factor for precision work. A front-heavy cutter can feel unbalanced when making delicate upward cuts along a window pillar. A well-balanced tool, where the center of gravity sits near your index finger, allows for much smoother, more intuitive movements.
Additionally, look for a smooth, responsive thumb slider. You should be able to extend and retract the blade with one hand, allowing your other hand to keep the film flat against the glass. The slider mechanism must lock securely into place at your desired extension length. If the blade slips forward or backward under cutting pressure, it compromises both your safety and the accuracy of your trim line.
Safety Mechanisms and Glass Protection Considerations
Safety must be your top priority when handling razor-sharp instruments inside a vehicle’s cabin. A reliable manual locking wheel or an auto-lock slider is essential to keep the blade from shifting during a cut. Manual wheel locks offer the highest level of security, clamping the blade tightly inside the metal track, which is ideal for long, straight cuts where blade drift must be avoided at all costs.
Protecting your vehicle’s glass is just as important as protecting your fingers. Modern car windows, especially rear windshields, feature delicate, raised electrical lines for defrosters and radio antennas. Slicing a blade directly over these lines can cut the circuit, rendering your defroster useless. To prevent this, look for cutters designed with non-marring plastic bodies or integrated edge guides that keep the metal blade housing from scraping against the glass.
While some experienced installers cut directly on the glass, DIYers should always use a protective backing or a dedicated cutting mat when preparing film. Many specialized tint cutters feature built-in guards or shallow blade depth settings that limit the exposure of the tip. This design ensures the blade only penetrates the thickness of the film and its liner, preventing the sharp point from ever making forceful contact with the glass surface underneath.
Before starting any installation, always consult your vehicle’s owner manual to identify any special coatings on the glass. Some modern vehicles feature acoustic or hydrophobic coatings on the interior surface that can be easily damaged by metal blades. If your vehicle has these coatings, you must perform all film trimming on an external glass surface or a separate cutting table.
Condition-Based Shortlist: Matching the Tool to the Task
To help you choose the right tool profile, consider the specific areas of the vehicle you plan to tint. Different window shapes and locations require distinct cutting characteristics.
Large, Flat Rear Windows
- Primary Challenge: Maintaining a straight, uninterrupted cut across a wide surface while avoiding defroster lines.
- Ideal Tool Profile: A heavy-duty, wider-body cutter with a manual locking wheel and a rigid 0.5 mm stainless steel blade. The added weight helps maintain a steady path, while the manual lock prevents any blade play over long distances.
- Key Feature: A flat, wide base that can slide smoothly along a straight-edge guide or ruler without tipping.
Complex, Curved Side Windows
- Primary Challenge: Navigating tight radiuses and deep corners near the door seals.
- Ideal Tool Profile: A slim, lightweight pen-style cutter equipped with a flexible 30-degree carbon steel blade. The slim profile allows you to rotate the tool easily between your fingers to follow the glass curvature.
- Key Feature: A highly responsive auto-lock slider that lets you adjust blade exposure quickly as you move from open glass to tight window channels.
Detailed Trimming Around Obstacles
- Primary Challenge: Cutting around door handles, side mirrors, third brake lights, and tight rubber gaskets.
- Ideal Tool Profile: An ultra-slim precision art knife or a specialized micro-cutter with a highly exposed, needle-sharp tip.
- Key Feature: A textured, pencil-like grip that allows for maximum visibility of the cutting point, ensuring you do not accidentally slice into rubber weatherstripping or plastic trim.
Pre-Purchase Checks and Long-Term Tool Maintenance
Before finalizing your purchase, verify the availability of replacement blades. A high-quality cutter is useless if you cannot easily source compatible replacement segments locally. Standard 9mm snap-off blades are widely available in hardware stores, making cutters that accept this standard size the most practical choice for long-term use.
Examine the build quality of the cutter’s housing. Metal channels made of stainless steel or brass offer far better durability and blade stability than cheap, all-plastic channels. The slider should move smoothly along the track with distinct, tactile clicks, and there should be no noticeable side-to-side play when the blade is locked.
Maintaining your cutter is straightforward but essential for consistent performance. After each project, wipe down the tool to remove any soapy water residue, which can cause rust or gum up the slider mechanism. Store the cutter in a dry place, and always retract the blade fully when not in use.
For safe disposal of used blade segments, use a dedicated blade disposal case or a plastic container. Never throw loose, snapped-off blade segments directly into the trash, as they can easily puncture garbage bags and cause injuries to waste handlers.
Frequently Asked Questions (FAQ)
Can I use a standard utility knife instead of a dedicated tint cutter?
While a standard utility knife can physically cut film, it is highly discouraged for automotive tinting. Standard utility knives typically use 45-degree blades, which lack the precision needed for tight curves and can easily tear thin window film. Furthermore, the bulky metal housings of generic utility knives increase the risk of scratching your car’s glass or damaging delicate defroster lines. Investing a small amount (typically ₱150 to ₱400) in a dedicated 30-degree slim cutter prevents costly damage to your vehicle.
How often should I change the blade when tinting a full car?
Do not wait for the blade to become completely dull before snapping off a segment. As a general rule, you should snap off a fresh blade segment after cutting the film for every two windows. If you notice the blade dragging, skipping, or creating jagged edges, snap it off immediately. Multi-layer ceramic and carbon films are highly abrasive and will dull a blade much faster than standard dyed films, requiring more frequent segment changes.
Do I need a specialized cutter for ceramic or carbon window films?
You do not need a different cutter body, but you must pay closer attention to your blade selection. Ceramic and carbon films contain dense nanoparticles that wear down steel edges rapidly. For these premium films, high-carbon steel or black ultra-sharp blades are highly recommended, as they maintain their cutting edge longer under abrasive conditions. Always apply light, consistent pressure and let the sharpness of the blade do the work, rather than forcing a dull blade through the tough film layers.
Community discussion
Share your experience or ask a question. Comments are reviewed before publication.