
Finding the correct cabin filter toyota vios owners need is essential for maintaining a clean, comfortable, and odor-free cabin, especially when dealing with the intense heat and humidity of the Philippines. While the Toyota Vios is one of the most popular sedans on local roads, there is no single “one-size-fits-all” cabin filter for every model year. Because the vehicle has spanned multiple generations since its local debut, the physical dimensions and housing designs of the air conditioning system have shifted. To ensure you purchase a filter that fits snugly and functions efficiently, you must look beyond the “Vios” nameplate and understand your vehicle’s specific generation, chassis code, and technical specifications.
How to Identify the Correct Cabin Filter for Your Vios
The Toyota Vios has evolved through several distinct generations, and the cabin filter size, shape, and housing design can change significantly between different chassis codes. For instance, an early first-generation Vios does not share the same HVAC housing dimensions as a third-generation or fourth-generation model. Attempting to install a filter designed for a newer model into an older housing will result in either a crushed filter that restricts airflow or a loose fit that allows unfiltered air to bypass the media entirely.
To identify the correct replacement part, you must locate your vehicle’s exact model year and chassis code. This information is typically printed on the metal vehicle identification plate or sticker located on the driver-side door jamb, within the vehicle’s official registration documents (such as the Certificate of Registration or CR), or inside the owner’s manual. Common chassis codes for the Vios in the local market include the NCP42 (first generation), NCP93 (second generation), NCP150 or NSP151 (third generation), and the AC100 or NGC102 (fourth generation).
Products mentioned in this guide
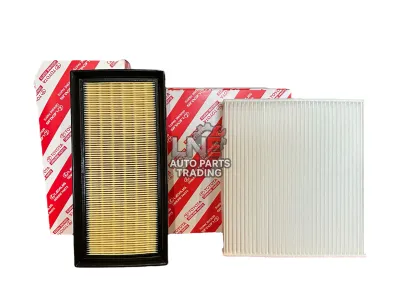
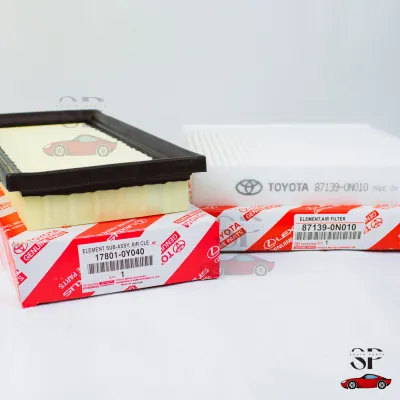
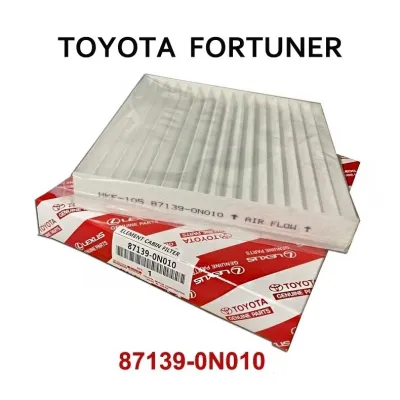
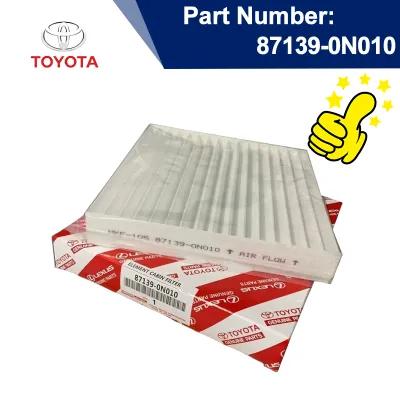
![[Fast Delivery] Toyota Aircon Cabin Filter (87139-0N010) Vios Innova Fortuner Altis Camry Yaris Rav-4 Hi-lux](https://img.lazcdn.com/g/p/97d737ee673769d5043b2151ae5ec256.jpg_400x400q80.jpg_.webp)
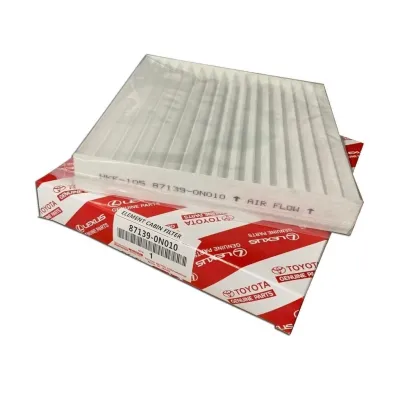

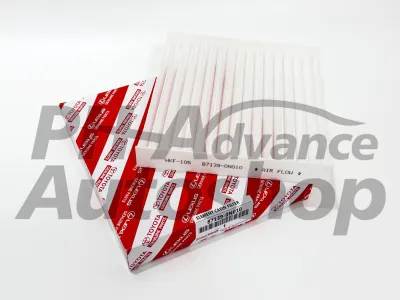
Prices are valid at publication and may change. Please refer to the product page for the latest price.
When shopping for a replacement, relying solely on the general “Vios” nameplate is insufficient. Verifying the specific generation or chassis code is a mandatory first step. This ensures the new filter will physically slide into the dedicated slot in the HVAC housing, which is located directly behind the glovebox compartment.
Decoding Cabin Filter Specifications and Types
Translating technical filter specifications into practical terms allows you to choose the right material and fitment for your daily driving environment. When browsing replacement options, you will encounter three primary specifications: physical dimensions, airflow direction indicators, and the filtration media type. Understanding these specifications prevents common purchasing mistakes, such as buying a filter that is slightly too thick for the tray or choosing a dense media type that restricts airflow in tropical climates.

Dimensions, Shape, and Airflow Direction
While many Vios models share similar rectangular dimensions, slight variations in thickness, frame flexibility, or edge seals can affect how well the filter sits in the tray. A proper seal is critical; even a millimeter of clearance can allow dust, soot, and pollen to bypass the filter media and enter the cabin. When purchasing an aftermarket filter, check the manufacturer’s exact millimeter measurements against your original OEM filter to ensure compatibility.
Another critical specification is the airflow direction indicator, which is typically printed as an arrow on the side of the filter frame. It is vital to distinguish between a “Gravity/Upward” arrow and an “Air Flow” arrow. An “Air Flow” arrow indicates the direction the air must travel through the media, which in the Toyota Vios is downward—from the cabin intake down toward the blower motor. Conversely, some filters feature an “UP” arrow with a label, which indicates which side of the filter must face upward during installation.
Installing a cabin filter upside down or backward restricts airflow, reduces the air conditioning system’s cooling efficiency, and puts unnecessary strain on the blower motor. Always refer to your vehicle’s owner’s manual and note the orientation of the existing filter before pulling it out of the housing tray.
Filter Media: Particulate vs. Activated Carbon
When choosing a cabin filter, you must decide between two primary media types based on your typical driving conditions and budget:
- Standard Particulate Filters: These are designed primarily to capture dust, pollen, road debris, and larger airborne particles. They are highly cost-effective, typically ranging from ₱150 to ₱400, and offer excellent, unrestricted airflow. This media is ideal if you primarily drive in rural areas or less congested provinces.
- Activated Carbon Filters: These feature an additional layer of treated charcoal that chemically traps odors, exhaust fumes, smog, and harmful gases. They are highly recommended for drivers who frequently navigate congested urban areas like Metro Manila, where diesel exhaust from trucks and public utility vehicles is common. These premium filters generally cost between ₱500 and ₱1,200.
While upgrading to an activated carbon filter improves air quality, you should avoid using overly dense aftermarket filters, such as generic HEPA filters that are not specifically engineered for the Vios’s blower motor capacity. Extremely dense media can severely reduce vent airflow, forcing the air conditioning system to work harder to cool the cabin, which can accelerate wear on the blower motor and evaporator coil.
How to Verify Part Numbers and Cross-Reference
To ensure the replacement filter is an exact match and avoid the hassle of returns, you can safely verify the part number yourself. Before performing any work, turn off the ignition and remove the key to ensure the blower motor is completely powered down. Open the glovebox, empty its contents, and gently squeeze the sides inward to release the retaining tabs, allowing the glovebox to swing downward or detach completely.
Once the glovebox is removed, locate the rectangular plastic cover of the cabin filter housing. Gently release the plastic clips on the cover to slide out the old filter. Read the original equipment manufacturer (OEM) part number printed on the plastic frame of the filter or on its packaging. Common OEM part numbers for various Vios generations include designations like 87139-30040 or 87139-0D030, though you must verify the exact number printed on your specific part.
You can use this OEM part number to cross-reference with reputable aftermarket brands (such as Bosch, Denso, or Sakura) or present it to an official dealership parts counter. Avoid relying solely on generic “universal” size claims or unverified online listings. Always check the seller’s compatibility chart to ensure your specific Vios chassis code and model year are explicitly supported.
During this process, inspect the physical condition of the old filter’s frame and the housing tray. Ensure no broken plastic tabs or debris are left inside the HVAC housing, as these can prevent the new filter from seating correctly and sealing the airflow path.
When to Replace Your Vios Cabin Filter
Knowing when to replace your Vios cabin filter depends on observable symptoms and your local driving environment. Common signs of a clogged or failing cabin filter include:
- Reduced AC Cooling: The cabin takes noticeably longer to cool down, even on maximum settings.
- Weak Airflow: The volume of air coming out of the dashboard vents feels weak or restricted.
- Musty Odors: A damp, moldy, or dusty smell is present when you first turn on the air conditioning.
- Visible Dust: Fine dust particles blow out of the vents and settle on the dashboard.
In the tropical climate of the Philippines, high humidity can cause trapped dust and organic matter in the filter to develop mold quickly. If you frequently drive in highly polluted urban centers, dusty provincial roads, or areas affected by agricultural burning, you may need to replace your filter more frequently than the standard interval recommended in your owner’s manual. A quick visual inspection every six months or 10,000 kilometers will help you determine if the media is dark, clogged, or dirty enough to warrant an immediate replacement.
Frequently Asked Questions (FAQ)
Can I wash and reuse my Toyota Vios cabin filter?
Standard paper and activated carbon cabin air filters are strictly single-use consumables and cannot be washed. Exposing these materials to water destroys the structural integrity of the paper filtration media, washes away the specialized electrostatic charge, and removes the active charcoal layer in carbon filters. Furthermore, inserting a damp filter back into the dark HVAC housing creates an ideal breeding ground for mold, mildew, and bacteria, which will blow directly into your cabin. While some specialized, washable aftermarket synthetic filters exist, they are rare for this vehicle model and require strict adherence to the manufacturer’s specific cleaning and drying instructions.
Does changing the cabin filter affect the car's warranty?
Replacing a standard consumable item like a cabin filter with a correct, compatible aftermarket part does not void your vehicle’s overall manufacturer warranty. However, a safety boundary applies: the warranty could be compromised if you cause physical damage during the installation process. Forcing a mismatched filter into the slot, breaking the fragile plastic housing clips, cracking the glovebox hinges, or dropping debris into the blower motor assembly can lead to repairs that are not covered under warranty. If you find that the housing clips are brittle, stuck, or if you are uncomfortable removing the glovebox, consult a qualified automotive technician to perform the replacement safely.
Community discussion
Share your experience or ask a question. Comments are reviewed before publication.