
You need puller tools in your DIY car toolbox when your repairs transition from basic fluid changes and brake pad swaps to replacing press-fit, tightly toleranced, or heavily corroded components. Standard hand tools like sockets and wrenches are designed to turn threaded fasteners, but they cannot apply the straight, concentrated axial force required to separate parts that have been pressed together or fused by time and rust. Attempting to force these parts off using makeshift methods often results in bent shafts, cracked housings, and expensive replacement bills.
A puller is a specialized mechanical tool designed to safely isolate and extract components like bearings, pulleys, gears, steering wheels, and suspension joints. It works by securing adjustable jaws or bolts to the target part while a central forcing screw presses against the shaft, gradually and evenly drawing the component free.
Several observable signals indicate that a job requires a dedicated puller rather than standard hand tools:
Products mentioned in this guide
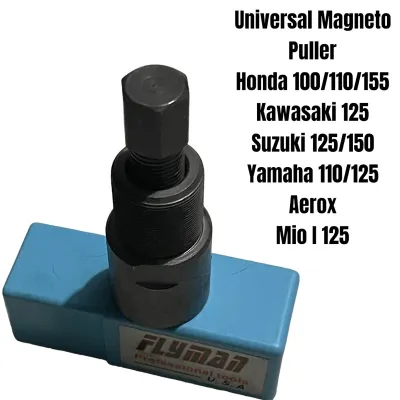
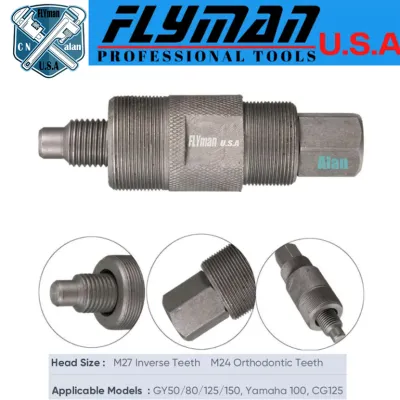
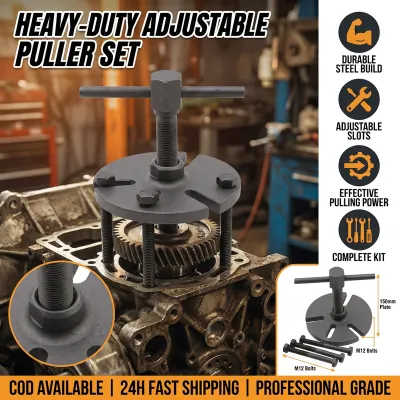
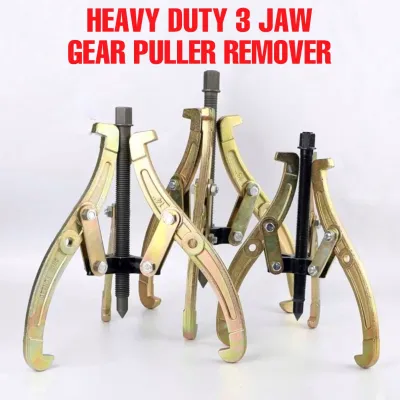
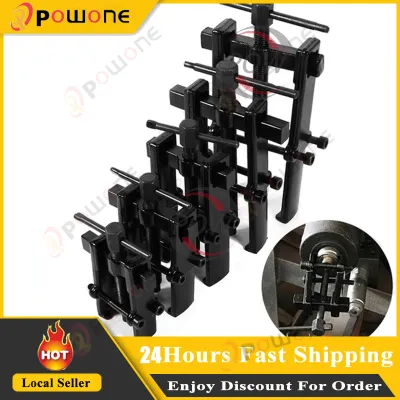
Prices are valid at publication and may change. Please refer to the product page for the latest price.
- Metal-on-metal press-fits: Components like wheel bearings, alternator pulleys, and suspension ball joints are engineered with zero-clearance tolerances that require mechanical leverage to separate.
- Galvanic corrosion: When different metals remain in contact for years, they chemically bond. This is particularly common where steel shafts meet aluminum pulley hubs.
- Thermal bonding: Parts exposed to extreme operating heat, such as crankshaft balancers and water pump hubs, expand and contract over time, locking them tightly onto their shafts.
For car owners living in the tropical climate of the Philippines, these issues are significantly amplified. High relative humidity, heavy monsoon seasons, and salt-laden air in coastal regions accelerate oxidation. A component that might slide off easily in a dry climate can become completely seized by rust on a local daily driver. If your DIY routine is strictly limited to changing engine oil, replacing air filters, and swapping spark plugs, you do not need to invest in pullers yet. However, the moment you plan to replace a squealing alternator bearing, swap out a worn tie-rod end, or replace a leaking water pump, having the correct puller on hand becomes essential to completing the job safely.
Matching Puller Types to Common DIY Car Repairs
Using the incorrect puller type for a specific repair is a common mistake that can easily destroy the vehicle component, strip the tool’s threads, or cause personal injury. Pullers are engineered to distribute force in highly specific ways based on the shape, material, and structural strength of the part being removed.
Before attempting any extraction, you must identify the mechanical interface of the part. Using a jawed puller on a component designed for a bolt-on yoke, or vice versa, can warp the metal and ruin the assembly. The following sections break down the three primary categories of pullers that home mechanics are most likely to encounter during routine and advanced automotive maintenance.
Bearing and Gear Pullers
Bearing and gear pullers are the most versatile and common puller types found in home garages. These tools feature a central forcing screw threaded through a yoke, which is connected to adjustable arms or “jaws” that grip the outer edge of the target component.
These tools are primarily categorized by the number of jaws they utilize:
- 3-Jaw Pullers: These are the safest and most stable option for general use. The three jaws are spaced at 120-degree intervals, which distributes the pulling force evenly around the circumference of the part. This uniform pressure minimizes the risk of the tool slipping off under high load or bending the component during extraction.
- 2-Jaw Pullers: These are highly useful in tight engine bays where clearance is limited. Because they only require two opposing points of contact, they can fit into narrow gaps where a third jaw would be blocked by frame rails, hoses, or brackets. However, they are more prone to tipping or slipping if not perfectly aligned.
In a typical DIY garage, these pullers are mandatory for tasks such as removing alternator pulleys, replacing water pump pulleys, extracting small drive gears, and pulling worn bearings off accessory shafts.
To use these tools successfully, you must match the puller’s reach (the maximum depth the jaws can extend) and spread (the maximum width the jaws can open) to the dimensions of the car part. Attempting to use a puller that is too small forces the jaws to flare outward at a dangerous angle, which reduces grip and can cause the tool to slip violently under tension.
Steering Wheel Pullers
Steering wheel pullers are highly specialized, flat-bar tools designed specifically to draw a steering wheel off the splined steering column shaft. Unlike gear pullers, which grip the outer edges of a part, a steering wheel puller uses a heavy metal yoke that bolts directly into pre-threaded holes located in the steering wheel hub.
Using improvised removal methods on a steering wheel is exceptionally risky. Prying on the outer rim of the wheel, hammering the central shaft, or attempting to yank the wheel off by hand can permanently damage the fragile clock spring assembly located directly behind the wheel. This clock spring maintains the electrical connection for your driver-side airbag, horn, and steering wheel controls; damaging it can disable your safety systems and trigger an expensive dashboard warning light. Hammering the steering shaft can also collapse the energy-absorbing steering column or ruin the internal column bearings.
A standard bolt-on steering wheel puller works by aligning the center forcing screw with the steering column shaft, inserting two matching bolts through the puller yoke into the steering wheel hub, and tightening the forcing screw. This applies perfectly straight, upward pressure, lifting the wheel off the splined shaft without putting any stress on the surrounding electronics or bearings.
Because of its highly specific design, this is a niche, “buy-when-needed” tool. You only need to add this to your toolbox if you are planning a specific project, such as replacing a worn leather steering wheel, swapping out a faulty turn signal switch, or replacing a broken clock spring.
Ball Joint and Suspension Pullers
Suspension and steering repairs require specialized extraction tools because the components are joined by tapered shafts. When a tapered ball joint or tie-rod end is pressed into a steering knuckle and secured with a castle nut, it wedges itself so tightly that it effectively fuses with the knuckle over time.
Home mechanics generally choose between two primary styles of suspension separation tools:
- Pickle Forks: These are wedge-shaped, two-pronged forks that are driven between the joint and the knuckle with a heavy hammer. While highly effective at breaking joints free, the wedging action almost always tears, punctures, or crushes the protective rubber grease boot. Pickle forks should only be used if you are replacing the entire joint and do not plan to reuse the old part.
- Clamp-Style or Scissor-Style Pullers: These tools use a threaded bolt to press the tapered stud out of the knuckle without contacting or damaging the rubber dust boot. This is the ideal tool style if you are removing a suspension component temporarily to gain access to another part, such as removing a tie-rod end to replace a CV axle boot, where preserving the original joint is necessary.
These tools are essential for suspension rebuilds, outer tie-rod replacements, and steering linkage repairs.
Because suspension components are under high mechanical tension and often connected to heavy coil springs, safety must be your absolute priority. Always support the vehicle properly on heavy-duty jack stands, use a floor jack to support the control arm load before loosening any joints, and consult your vehicle’s factory service manual for exact torque specifications during reassembly to prevent suspension failure on the road.
Safety Limits, Compatibility, and When to Call a Pro
Operating any puller tool involves managing immense physical forces. When a seized metal part is under hundreds of kilograms of mechanical pressure, it stores a significant amount of kinetic energy. If the part suddenly breaks free, or if the tool slips, components can fly off with dangerous velocity.

To stay safe while using pullers, always implement the following safety protocols:
- Wear impact-resistant safety glasses: Small metal shards or rust flakes can easily chip off under high pressure and cause severe eye injuries.
- Wrap the assembly: Drape a heavy shop rag, old blanket, or specialized safety cage over the puller and the target component before tightening the forcing screw. If the part pops off violently or the tool slips, the fabric will catch the flying metal.
- Lubricate the forcing screw threads: Apply a high-quality extreme-pressure grease or engine oil to the threads of the forcing screw before every use. This reduces friction, prevents the threads from galling or stripping, and ensures smooth force delivery.
Before attempting to pull a heavily corroded or seized part, take steps to reduce the friction. Spray the connection point thoroughly with a dedicated penetrating oil and allow it to soak for at least 30 minutes. If the part remains stubborn, applying controlled heat from a propane torch to the outer hub can expand the metal slightly and break the rust bond. However, never apply heat near fuel lines, brake lines, electrical wiring, or rubber seals, and always keep a fire extinguisher nearby.
You must recognize when a job exceeds your tool’s limits. If you notice the puller frame beginning to flex or bend, if the threads on the forcing screw start to flatten or strip, or if you are applying maximum force and the part does not budge, stop immediately. Continuing to force the tool will result in a catastrophic failure, potentially shattering the puller or warping the vehicle’s shaft. In these scenarios, the part likely requires a commercial hydraulic shop press, and you should remove the entire assembly (such as the steering knuckle) and take it to a professional automotive machine shop to have the bearing pressed out safely.
Building a Practical Starter Kit for Your Garage
Building a practical collection of pullers does not require buying a massive, expensive master set all at once. Instead, a phased purchasing strategy allows you to build your toolbox economically, matching your tool acquisitions directly to your growing mechanical skills and immediate repair needs.
For a practical, budget-conscious starter setup, consider the following phased approach:
- Phase 1 (The Essentials): Start with a versatile, medium-sized 3-jaw puller (typically with a 4-inch or 6-inch spread capacity) and a scissor-style ball joint separator. A quality 3-jaw puller can handle the majority of common accessory drive pulleys, while the ball joint separator will cover routine steering and suspension wear items. This initial setup is highly affordable, generally costing between ‛1,000 and ‛2,500 in local hardware stores or reputable online marketplaces.
- Phase 2 (Specialty Additions): Purchase niche tools only when a specific project demands them. If you plan to replace your steering wheel or clock spring, buy a dedicated steering wheel puller for that job. If you need to service an alternator bearing recessed inside a housing, invest in a blind-hole bearing puller set.
When shopping for pullers, prioritize material quality over the lowest possible price. Look for tools constructed from drop-forged, heat-treated alloy steel (such as chrome vanadium or medium carbon steel) with fine-threaded, hardened forcing screws. Cheap, unbranded pullers made from cast iron are highly brittle; they can easily snap or shatter under moderate torque, creating a severe safety hazard in your garage. Investing in a well-made, durable tool ensures safety, reliability, and a lifetime of successful DIY repairs.
Frequently Asked Questions (FAQ)
Can I use a hammer and pry bar instead of a proper puller?
While a hammer and pry bar might work for rough demolition or removing non-precision scrap parts, you should never use them on modern vehicle components that you plan to reuse. Hammering directly on shafts or hubs transmits heavy shock loads through the system, which can easily dent bearing races, bend delicate shafts, crack aluminum engine castings, or damage internal electronic sensors. Additionally, prying applies uneven lateral pressure, which tilts the component and wedges it even tighter onto its shaft. A proper puller applies perfectly centered, controlled axial force, allowing you to extract press-fit parts smoothly without causing collateral damage to your vehicle.
How do I determine the correct size and reach for a puller?
To select the correct puller size, you must measure two primary dimensions on the component you plan to remove: the spread and the reach. The spread is the maximum width of the part (its outer diameter) where the puller jaws will grip. The reach is the linear distance from the very tip of the central shaft to the back edge of the component where the jaws hook. Once you have these measurements, check the puller manufacturer’s specifications to ensure the tool’s maximum rated spread and reach exceed your measurements by at least 20 percent. This margin ensures the jaws can grip the part securely without flaring outward at an unsafe angle, maintaining maximum surface contact and safety under load.
Community discussion
Share your experience or ask a question. Comments are reviewed before publication.