
Upgrading the front braking system of your Yamaha Aerox V2 with a Racing Boy (RCB) caliper requires matching the physical mounting dimensions of your motorcycle’s front fork and ensuring the hydraulic system remains balanced. Because aftermarket calipers are not direct plug-and-play replacements for the stock fork legs, finding the right fit depends on using a model-specific CNC adapter bracket and verifying your master cylinder’s fluid displacement. By checking key measurements and choosing the correct supporting hardware, you can achieve a secure installation that improves braking feel without compromising safety on wet or humid roads.
When upgrading your motorcycle in the Philippines, where daily commutes involve navigating sudden downpours and heavy traffic, having reliable stopping power is essential. A well-planned brake upgrade enhances your riding confidence and ensures safety during emergency stops. However, rushing into a purchase without verifying compatibility can lead to costly installation delays or mechanical failure on the road.
Understanding the Yamaha Aerox V2 Stock Braking Setup
To select a compatible aftermarket caliper, you must first understand the baseline specifications of the stock Aerox V2 front brake assembly. The stock front setup utilizes a single-piston axial-mount caliper paired with a standard disc rotor. To determine how an aftermarket caliper will align, you need to locate the stock caliper mounting type and measure the bolt spacing on the fork leg, or consult the official service manual for these exact dimensions before purchasing any new parts.
Products mentioned in this guide
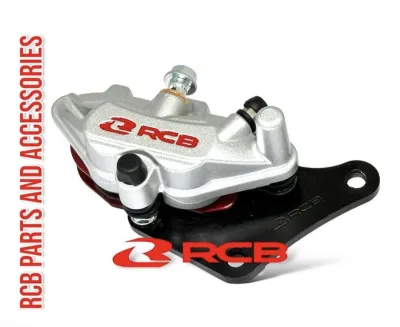
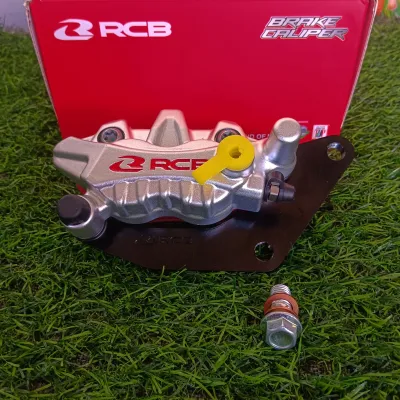
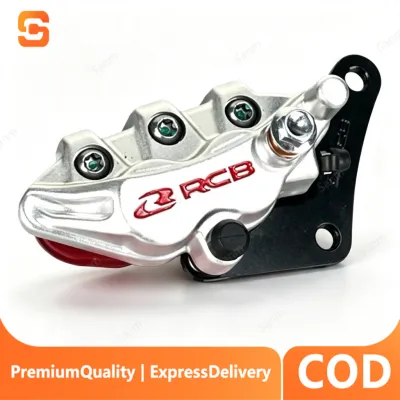
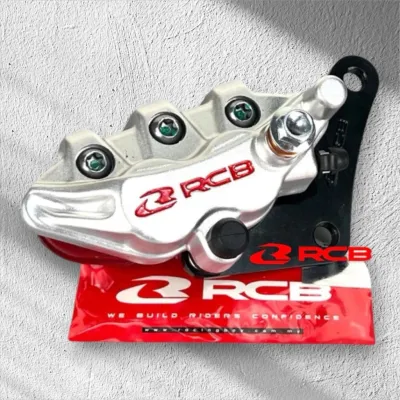
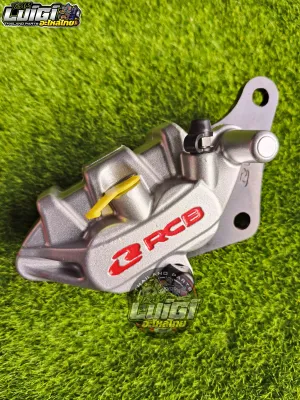
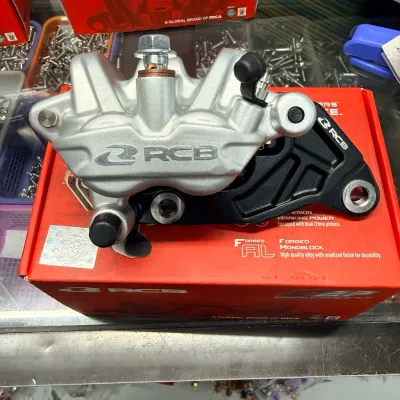
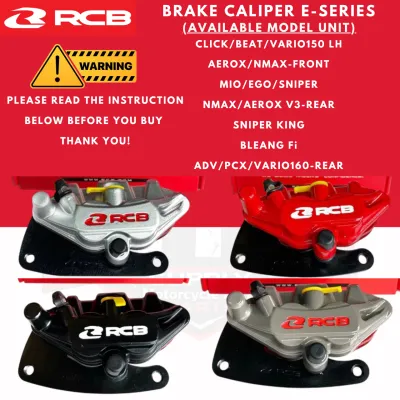
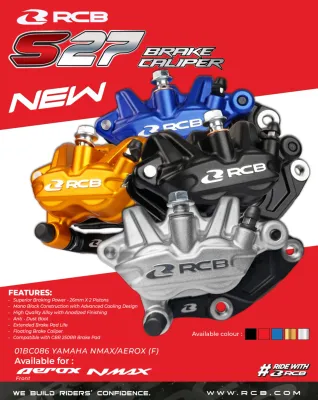
Prices are valid at publication and may change. Please refer to the product page for the latest price.
The stock brake disc diameter and thickness are also critical factors that dictate caliper compatibility. The caliper’s bridge—the channel where the disc passes through the brake pads—must align perfectly with the disc’s outer radius and thickness. If the caliper sits too high or too low relative to the disc, the brake pads will not make full contact with the rotor surface, leading to uneven pad wear and reduced stopping power.
Additionally, you must check the stock master cylinder bore size, which is typically cast into the metal body of the master cylinder or printed on the reservoir cap. This measurement determines how much brake fluid is displaced with each squeeze of the handlebar lever. Pairing a high-volume multi-piston caliper with a small stock master cylinder can result in excessive lever travel, making the brakes feel soft and unresponsive.
How to Verify RCB Caliper Compatibility
When shopping for an RCB caliper, such as a dual-piston or four-piston axial model, physical verification is your primary defense against buying an incompatible part. Start by measuring the mounting bracket hole distance on the aftermarket caliper itself. Since RCB produces calipers with various mounting pitches, you must ensure that a dedicated adapter bracket is available to bridge the gap between the Aerox V2 fork mount and the RCB caliper’s mounting holes.

Next, evaluate the piston configuration of the RCB model you are considering. Upgrading from a single-piston stock caliper to a dual-piston or four-piston RCB caliper changes the hydraulic ratio of your braking system. Larger or more numerous pistons require more fluid to move the same distance, which directly impacts lever travel, pressure distribution across the brake pads, and overall braking feedback at the handlebar.
Finally, confirm the physical clearance between the caliper body, the front fork leg, and the wheel rim. The wider profile of multi-piston aftermarket calipers can sometimes interfere with the spokes of aftermarket wheels or rub against the fork outer tube. Physically mock up or measure the available clearance in these tight spaces to prevent mechanical interference, which could damage your wheels or cause a dangerous lock-up while riding.
Essential Supporting Components for the Upgrade
A successful caliper swap involves more than just bolting on the new caliper body to your front fork. You will need a high-quality caliper bracket specifically machined for the Aerox V2 fork and the exact RCB caliper model you select. These brackets are typically CNC-machined from high-strength aluminum to ensure precise alignment of the brake pads over the disc rotor, preventing uneven wear and squealing.
Replacing the stock rubber brake hoses is another highly recommended step when upgrading your caliper. Stock rubber lines can expand under pressure, especially when paired with a more powerful multi-piston caliper that generates higher hydraulic force. Installing appropriately routed, braided stainless steel aftermarket brake lines prevents kinking, stretching, and pressure loss, ensuring that every squeeze of the lever translates directly into immediate braking force.
You must also assess whether your stock master cylinder needs an upgrade to match the new caliper. If you choose a larger multi-piston RCB caliper, the stock master cylinder may not displace enough fluid to actuate the pistons efficiently. Upgrading to a compatible radial or axial master cylinder with a larger bore size ensures optimal hydraulic pressure, a firm, responsive lever feel, and better modulation.
Installation Boundaries and Safety Checks
Because the braking system is a critical safety component, modifications carry inherent risks that require strict adherence to safety protocols. We highly recommend relying on qualified motorcycle technicians for the installation, hydraulic line routing, torqueing of banjo bolts to manufacturer specifications, and thorough bleeding of the system. Improperly torqued bolts or air bubbles left in the lines can lead to sudden brake failure.
Always use the exact grade of brake fluid specified on your master cylinder reservoir cap, which is typically DOT 3 or DOT 4. Strictly avoid mixing different grades or brands of brake fluid, as chemical incompatibilities can degrade the internal rubber seals of both the master cylinder and your new RCB caliper, leading to fluid leaks and loss of pressure.
Before taking your modified Aerox V2 onto public roads, perform low-speed lever feel checks in a controlled, traffic-free environment. Ensure the lever does not pull all the way to the handlebar grip and that the brakes engage smoothly without binding. Follow the manufacturer’s recommended bed-in procedures for the new brake pads and disc to ensure optimal friction and prevent glazing.
Frequently Asked Questions (FAQ)
Do I need to change the master cylinder when installing an RCB caliper?
Not always, but it depends on the piston volume of the RCB caliper you choose. If you install a dual-piston caliper with a total piston surface area similar to stock, your stock master cylinder will function adequately. However, if you upgrade to a larger multi-piston caliper, the stock master cylinder may feel spongy or require you to pull the lever almost to the grip to get a firm bite, indicating a hydraulic mismatch that requires a larger-bore master cylinder.
Will an RCB caliper fit the Aerox V2 without an adapter bracket?
No, an RCB caliper will not fit the Aerox V2 without a model-specific adapter bracket. The mounting points on the Aerox V2 front fork are designed specifically for the stock single-piston caliper. To align the mounting holes of an aftermarket RCB caliper with the fork and ensure the brake pads sit correctly on the disc, you must use a CNC-machined caliper bracket designed specifically for the Aerox V2.
Community discussion
Share your experience or ask a question. Comments are reviewed before publication.