
Selecting the right SRF CVT set for your scooter requires a systematic approach that balances your vehicle’s physical specifications with your daily riding conditions. Because a continuously variable transmission (CVT) relies on precise physical tolerances and mechanical harmony, choosing an incompatible set can lead to severe belt slippage, poor fuel economy, or premature component failure. To find the perfect match, you must verify your engine’s displacement, check physical dimensions like spline counts, and select component weights that align with your typical routes—whether you are navigating congested city streets or climbing steep provincial inclines.
By understanding how each component within the transmission system interacts, you can make an informed decision that enhances your scooter’s responsiveness and durability. This guide details the mechanical role of each part, outlines step-by-step compatibility checks, and provides a practical framework for matching transmission specifications to your specific riding environment.
Understanding SRF CVT Set Components and Variants
A complete SRF CVT set replaces the core wear items and tuning components of your scooter’s front and rear transmission assemblies. The primary components include the drive face (or variator pulley), roller weights (often called flyballs), the drive belt, clutch springs (including the large center compression spring and smaller clutch shoe springs), and slide pieces (sliders). Together, these parts translate the rotational energy of the engine crankshaft into smooth, automatic gear ratio changes at the rear wheel.
Products mentioned in this guide
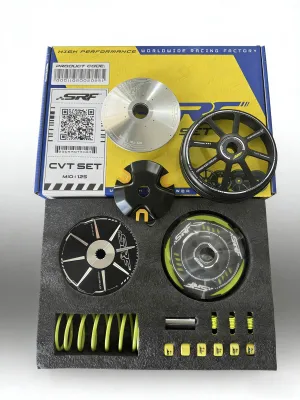

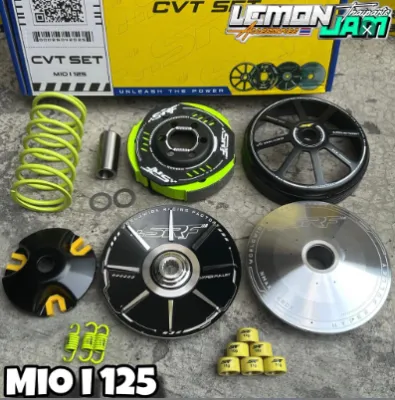
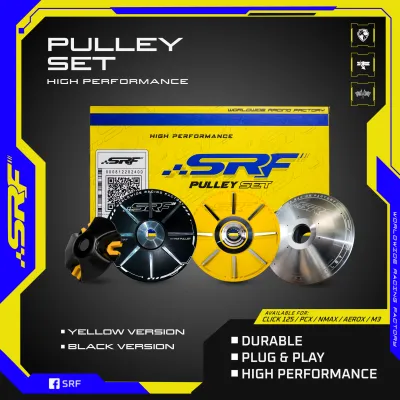
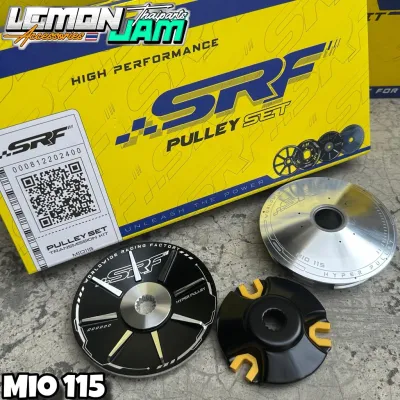
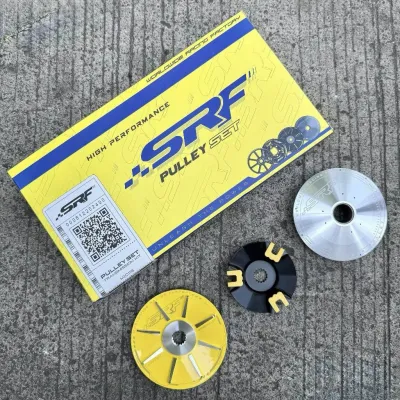
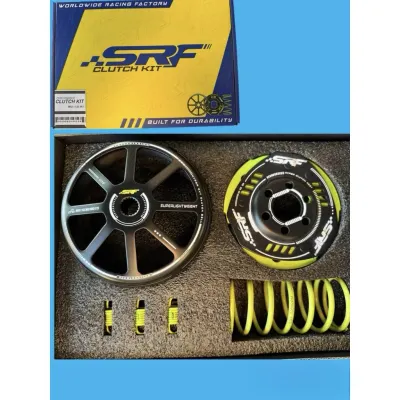
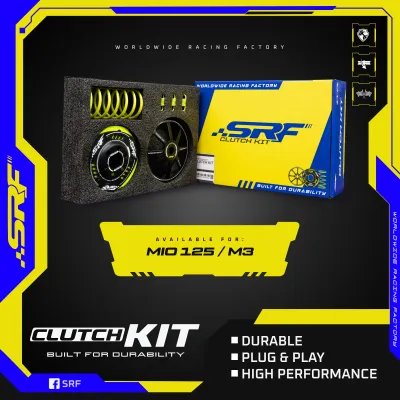
Prices are valid at publication and may change. Please refer to the product page for the latest price.
Inside the front pulley assembly, the variator housing holds the roller weights. As engine speed increases, centrifugal force pushes these rollers outward along engineered ramps, forcing the movable drive face closer to the fixed drive face. This action squeezes the drive belt, forcing it to ride higher on the front pulley. Simultaneously, the belt is pulled deeper into the rear pulley assembly against the tension of the center compression spring. This continuous adjustment of the front and rear pulley diameters changes the drive ratio seamlessly without requiring manual gear shifts.
Manufacturers typically categorize CVT sets into three distinct variants to suit different operational demands:
- Standard OEM Replacements: These configurations mimic original factory specifications. They focus on restoring smooth, predictable acceleration, maintaining standard fuel economy, and ensuring a long service life under normal operating conditions.
- Touring and Heavy-Duty Configurations: Engineered for sustained loads, these sets utilize stiffer center springs and durable, heat-resistant compounds. They are designed to maintain consistent belt grip and prevent transmission fade during long-distance travel or when carrying heavy cargo.
- Performance-Oriented Setups: These variants feature redesigned ramp angles on the drive face, lighter roller weights, and high-friction clutch components. They are optimized to maximize low-to-mid-range acceleration and improve throttle response, though they often result in higher engine operating RPMs.
In tropical climates characterized by high ambient temperatures and intense humidity, heat dissipation is a critical factor for transmission longevity. Performance and heavy-duty variants often incorporate CNC-machined aluminum drive faces with optimized cooling fins and advanced composite sliders. These material upgrades help dissipate heat rapidly, preventing the drive belt from softening and reducing the risk of clutch glazing during prolonged stop-and-go riding.
How to Verify Compatibility With Your Scooter Model
Before purchasing an SRF CVT set, you must verify that the kit is engineered specifically for your scooter’s exact make, model, year, and engine displacement. Even within a single model line, manufacturers frequently update internal transmission dimensions during mid-generation facelifts or engine upgrades. A kit designed for a 125cc scooter will not fit a 150cc or 160cc variant due to differences in crankshaft diameters, crankcase lengths, and belt widths.

To ensure a precise physical fit, you should perform the following verification steps:
First, identify your scooter’s exact specifications using the vehicle identification number (VIN) or the owner’s manual. Cross-reference these details with the manufacturer’s official fitment chart. Do not rely solely on the marketing titles on online marketplaces, as these often group incompatible models together under broad category names.
Second, verify the crankshaft spline count. The tip of your engine’s crankshaft features a series of ridges, or splines, that lock the variator’s ramp plate in place. Common configurations include 19-spline and 26-spline shafts. Attempting to install a variator with an incorrect spline count will strip the splines instantly upon starting the engine, causing catastrophic damage to the crankshaft.
Third, check the outer diameter of the drive face and the physical dimensions of the drive belt. The belt must match the original equipment manufacturer (OEM) specifications for length, width, and cog angle. A belt that is too long will flap against the inside of the transmission casing, causing rapid wear, while a belt that is too short will restrict the pulleys from opening fully, severely limiting your top speed.
Finally, if you are dealing with regional model variants or aftermarket engine modifications, consult the official SRF catalog or contact an authorized local dealer. They can provide exact measurements for the variator boss (the sleeve upon which the variator slides) and the clutch bell inner diameter, ensuring that every component aligns perfectly with your existing hardware.
Matching CVT Specifications to Your Riding Needs
Tuning a CVT is a balancing act between acceleration and top-end speed. Because the transmission operates mechanically based on RPM and centrifugal force, changing the weight of the rollers or the stiffness of the springs directly alters how and when your scooter shifts gears. Understanding these trade-offs allows you to customize the transmission to match your daily routes and load requirements.
Roller weights are the primary tool for adjusting your scooter’s shifting characteristics. Lighter roller weights require higher engine RPMs to fling outward and shift the transmission into a higher gear. This keeps the engine in its power band longer, providing rapid acceleration from a standstill and excellent climbing power on steep, winding roads. However, lighter rollers can cause the engine to run at high RPMs during highway cruising, which increases fuel consumption and engine vibration. Conversely, heavier roller weights move outward at lower RPMs, shifting the transmission sooner. This lowers cruising RPMs, improves fuel efficiency, and increases top speed on flat roads, but it can make the scooter feel sluggish when accelerating from a complete stop.
Clutch springs control the engagement of the rear pulley system. Stiffer clutch shoe springs delay the engagement of the clutch, allowing the engine to build more RPMs before power is transferred to the rear wheel, resulting in a punchier launch. The large center compression spring determines how much resistance the rear pulley offers against the belt. A stiffer center spring (often rated at 1000 RPM, 1200 RPM, or 1500 RPM over stock) keeps the belt tightly squeezed, preventing slippage under heavy loads and ensuring the transmission downshifts quickly when you decelerate or climb an incline.
To select the right configuration, consider these common riding scenarios:
- Daily City Commuting: For navigating dense, stop-and-go urban traffic, a balanced setup is ideal. Using roller weights close to the OEM specification combined with a standard-tension center spring ensures smooth, predictable throttle response, minimizes rider fatigue, and preserves fuel economy.
- Long-Distance Touring: If your routes consist primarily of open provincial highways, slightly heavier roller weights are beneficial. They lower the engine's operating RPM at cruising speeds, reducing wear on internal engine components and saving fuel over long distances.
- Heavy Cargo or Pillion Riding: If you regularly carry passengers or heavy delivery loads, select slightly lighter roller weights and a stiffer center spring. This combination prevents the belt from slipping under load and ensures the engine maintains sufficient torque to climb steep hills without bogging down.
Keep in mind that extreme transmission modifications can affect overall engine reliability. If you install exceptionally light rollers that force the engine to run near its redline constantly, you may need to inspect your air-fuel mixture or consult a professional regarding ECU tuning to ensure the engine does not run lean or overheat under sustained high-RPM operation.
Installation Considerations and Safety Boundaries
Installing a new CVT set requires mechanical precision and the use of proper tools. Because transmission components rotate at thousands of revolutions per minute, minor installation errors can lead to severe component damage or sudden mechanical failure while riding. Before beginning the installation, ensure you have a clean, well-lit workspace and the necessary equipment.
Never use makeshift tools, such as screwdrivers or chisels, to lock the pulleys in place during disassembly. Doing so can easily chip the aluminum variator fins or bend the clutch bell. Instead, always use a dedicated variator holding tool (Y-tool) or a clutch spring compressor. While an impact wrench is highly effective for removing stubborn nuts, you should avoid using it to tighten them. Always use a calibrated torque wrench to tighten the drive face nut and clutch bell nut to the exact torque specifications outlined in your scooter’s service manual.
Before installing the new components, thoroughly clean the inside of the CVT casing. Use a dedicated brake cleaner to remove accumulated belt dust, grease, and road grime from the shaft and pulley faces. Any oil or grease left on the pulley faces will contaminate the new drive belt, causing immediate slippage, extreme heat buildup, and rapid belt degradation.
When installing the new drive belt, pay close attention to its orientation. Many high-performance belts feature directional arrows printed on the outer surface; these arrows must point in the direction of engine rotation. Once the installation is complete, observe a mandatory belt break-in period of approximately 100 to 200 kilometers. During this break-in phase, avoid sudden full-throttle acceleration, high-speed highway cruising, or carrying heavy loads. This allows the belt sides to seat evenly against the pulley faces, ensuring maximum surface contact and preventing premature snapping.
If you do not possess a torque wrench, the specific holding tools, or previous experience with motorcycle transmission disassembly, do not attempt the installation yourself. Have the SRF CVT set installed by a qualified motorcycle mechanic at a reputable service center to ensure your safety and protect your investment.
Frequently Asked Questions (FAQ)
Can I mix SRF CVT components with my stock scooter parts?
While it is physically possible to mix individual aftermarket components with stock parts—such as placing SRF roller weights into a stock variator—it is generally not recommended. Aftermarket CVT components are engineered to function as a cohesive system, with the ramp angles of the variator specifically matched to the weight of the rollers and the tension of the springs. Mixing mismatched components can lead to uneven belt wear, localized hot spots, clutch slippage, and erratic acceleration. For optimal performance, safety, and durability, it is best to install the SRF CVT set as a complete, matched kit.
How often should I inspect or replace the CVT drive belt?
You should inspect your CVT drive belt according to the maintenance intervals specified in your scooter’s owner’s manual, which is typically every 8,000 to 10,000 kilometers. However, if you regularly ride in high-temperature tropical environments, dusty conditions, or heavy stop-and-go traffic, you should perform inspections more frequently. During a routine inspection, check the belt for visual signs of wear such as cracking along the teeth, frayed edges, glazing on the contact sides, or separation of the cord layers. Use a vernier caliper to measure the belt’s width; if it measures below the manufacturer’s minimum service limit, replace it immediately to avoid a sudden break on the road.

Community discussion
Share your experience or ask a question. Comments are reviewed before publication.