
A sudden clicking sound coming from your upgraded engine is a frustrating experience that demands immediate attention. If you are noticing a persistent jvt block click on your motorcycle, it is crucial to understand that this noise is a symptom of an underlying mechanical issue. Ignoring it can transform a simple adjustment into an expensive, catastrophic engine failure. This guide will help you isolate the sound, perform safe preliminary diagnostics, and execute the necessary repairs to restore your engine’s smooth performance.
To resolve the issue effectively, you must first determine exactly where the noise is coming from and under what conditions it occurs. Because JVT performance blocks increase the power output and thermal load of your engine, maintaining precise clearances and robust lubrication is vital. Let’s break down the diagnostic process step-by-step so you can identify the root cause and apply the correct fix.
Identifying the Clicking Sound in Your JVT Engine
Before picking up any tools, you must carefully listen to the characteristics of the sound. Not all clicking noises are created equal, and their pitch, volume, and frequency point to very different internal components. A light, high-pitched “ticking” or “tapping” sound typically originates from the top end of the engine, where the valve train resides. Conversely, a heavier, deeper “clicking,” “clacking,” or “knocking” sound usually points to bottom-end issues, such as worn rod bearings or piston pin play.
Products mentioned in this guide
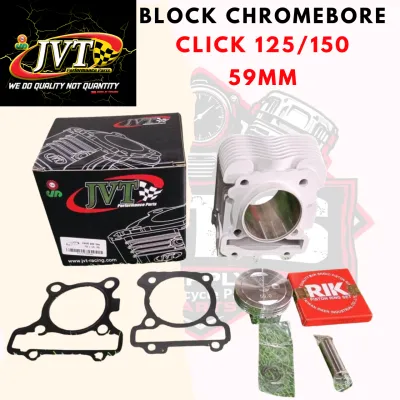
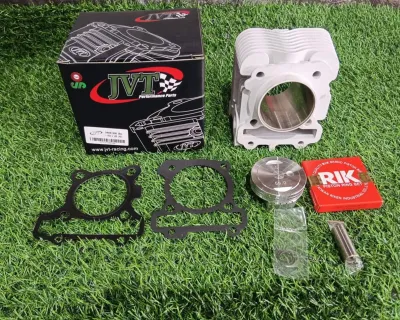
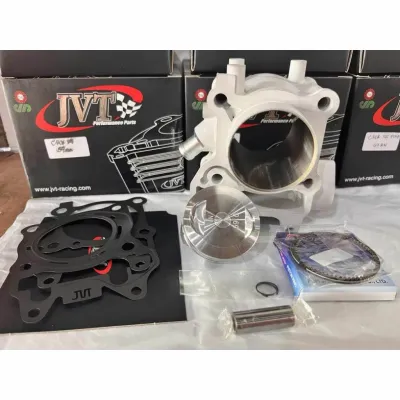
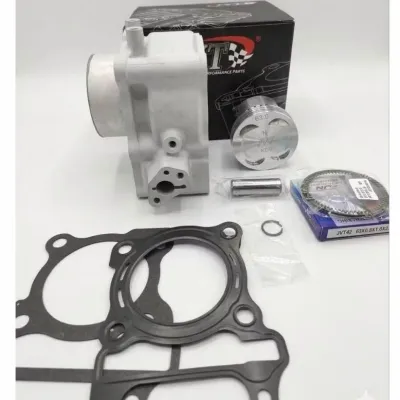
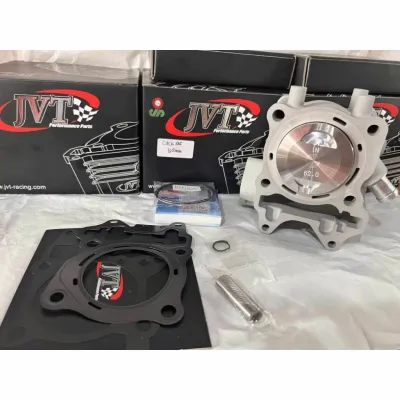
Prices are valid at publication and may change. Please refer to the product page for the latest price.
The timing of when the sound occurs provides another critical clue for your diagnosis. Take note of whether the clicking is loudest during a cold start in the morning or if it only appears once the engine has fully warmed up. Noise that disappears after the engine warms up often relates to thermal expansion, where components expand to close up loose tolerances. If the clicking intensifies under heavy load or during rapid acceleration, it is more likely associated with the piston assembly or connecting rod bearings.
Finally, pay close attention to the rhythm of the click in relation to your engine speed. In a four-stroke motorcycle engine, the camshaft and valves operate at half the speed of the crankshaft. If the clicking matches the engine’s revolutions per minute (RPM) perfectly, the source is likely in the bottom end. If the rhythm is exactly half the engine speed, the noise is almost certainly coming from the top-end valve train. Observing these patterns narrows your troubleshooting path significantly.
Safe Preliminary Checks Before Opening the Engine
Before initiating an invasive engine teardown, perform a series of low-risk, external checks. These preliminary steps can save you hours of unnecessary labor by identifying simple, easily rectifiable issues that mimic internal engine damage. Always park your motorcycle on a flat, level surface and engage the center stand before beginning any inspection.

First, check your engine oil level and inspect its overall condition. Low oil levels or degraded, sheared oil will cause immediate lubrication starvation in the cylinder head, resulting in a distinct top-end clicking noise. Pull the oil dipstick, wipe it clean, reinsert it without screwing it in, and check the level. If the oil appears dark, thin, or contains a suspended “glitter” of fine metal flakes, drain it immediately; metallic debris is a clear indicator of internal wear that requires further disassembly.
Next, conduct a thorough external component inspection. Loose exhaust manifold bolts, a cracked exhaust pipe, or a damaged gasket can leak pressurized exhaust gases, creating a rhythmic ticking sound that sounds identical to a mechanical engine click. Inspect the exhaust mounting flange where it meets the cylinder head, looking for black carbon soot deposits. Additionally, check for loose heat shields, vibrating body panels, or failing starter motor clutch components that might rattle at specific RPM ranges.
To pinpoint the exact origin of the noise, use an acoustic isolation technique. A professional mechanic’s stethoscope is the ideal tool, but you can also use a long-handled screwdriver. Carefully place the metal tip of the screwdriver against various points on the engine block—such as the valve cover, the timing chain tensioner dome, and the crankcase—while holding your ear to the plastic handle. Keep the tool and your clothing completely clear of moving parts like the cooling fan, stator, or drive belt to prevent injury.
Common Causes of a JVT Block Click and Repair Paths
Once you have localized the sound to a specific area of your engine, you can explore the most common mechanical causes. Performance cylinder blocks, such as those from JVT, operate under higher compression and tighter tolerances than stock components, making them more sensitive to component wear and improper adjustments.
Top-End Noise: Valve Clearance and Camshaft Wear
Thermal expansion and normal mechanical wear naturally cause valve clearances (also known as tappet clearance or valve lash) to drift over time. When the clearance between the rocker arm and the valve stem becomes too wide, the rocker arm slaps against the valve rather than pushing it smoothly, creating a distinct, high-pitched ticking noise. This issue is particularly common after installing a high-lift performance camshaft, which subjects the valve train to increased acceleration forces.
To resolve this, you must perform a valve clearance adjustment. This procedure must only be carried out when the engine is completely cold—ideally after sitting overnight—as thermal expansion will distort your measurements. Remove the valve cover and rotate the engine to Top Dead Center (TDC) on the compression stroke, ensuring the alignment marks on the cam gear align perfectly with the cylinder head marks.
Always use high-quality feeler gauges and refer to the specific clearance recommendations provided in your JVT product manual or by your engine builder. Never attempt to adjust valve clearances by feel or “estimate” the gap. If the clearances are within specification but the noise persists, inspect the camshaft lobes and rocker arm rollers for pitting, scoring, or uneven wear patterns that necessitate replacement.
Timing Chain and Tensioner Issues
A loose timing chain or a failing tensioner is another frequent culprit behind a rhythmic clicking or slapping noise. The timing chain connects the crankshaft to the camshaft, and its tension is maintained by a mechanical or hydraulic tensioner. If the tensioner spring weakens or the internal ratcheting mechanism fails, the timing chain will develop excess slack, causing it to whip and slap against the plastic chain guides inside the cylinder block.
This slapping noise is typically loudest at low RPMs or during idle, and it may temporarily quiet down as engine speed increases and oil pressure rises. To check for chain slack, remove the tensioner assembly according to your motorcycle’s service manual instructions. Inspect the tensioner plunger to see if it is fully extended; a fully extended plunger indicates that the timing chain has stretched beyond its service limit and must be replaced.
Replacing a stretched timing chain and a worn tensioner kit requires meticulous attention to detail. You must ensure the crankshaft and camshaft remain perfectly aligned during installation. A single tooth of misalignment can cause the valves to contact the piston crown, resulting in bent valves, a ruined JVT piston, and catastrophic engine destruction.
Bottom-End Wear: Piston Pin and Connecting Rod Bearings
If your isolated clicking sound is deeper, heavier, and intensifies under load, the issue likely resides in the bottom end of the engine. The piston pin (wrist pin) connects the piston to the small end of the connecting rod, while the rod bearings connect the large end of the rod to the crankshaft. Over time, high combustion pressures, oil starvation, or normal wear can create excessive clearance in these critical joints.
When these clearances exceed factory tolerances, the components experience radial play, resulting in a heavy metallic click or knock every time the piston changes direction at the top and bottom of its stroke. This condition is highly destructive. Continued operation with a worn piston pin or rod bearing will eventually lead to a broken connecting rod, which can punch a hole directly through your crankcase.
Diagnosing and repairing bottom-end wear is a complex task that lies beyond the scope of basic DIY maintenance. It requires complete engine removal, splitting the crankcases, and utilizing precision measuring tools like micrometers and dial indicators to check clearances. If you suspect bottom-end wear, do not attempt to ride the motorcycle; this level of repair is strictly for professional mechanics or experienced engine builders with access to machine shop facilities.
Troubleshooting Matrix: Sound Profile to Action Plan
To help you quickly diagnose your engine’s symptoms and decide on the best course of action, use the following troubleshooting matrix. Match your observed sound characteristics and riding conditions to the most likely cause.
| Sound Characteristics | When It Happens | Most Likely Cause | Recommended Action |
|---|---|---|---|
| Light, high-pitched ticking or tapping | Loudest at idle; present during cold starts | Valve clearance out of specification | Wait for the engine to cool completely, then adjust the valves using JVT manual specs and a feeler gauge. |
| Rhythmic clicking, rattling, or chain slapping | Most noticeable at low RPM and idle; quietens slightly at high speed | Loose timing chain or failing chain tensioner | Inspect the tensioner mechanism; replace the tensioner or the entire timing chain kit if stretched. |
| Deep, heavy clicking, clacking, or knocking | Intensifies under acceleration and heavy load; present at all RPMs | Worn piston pin (wrist pin) or connecting rod bearings | Stop riding immediately. Do not start the engine. Tow the motorcycle to a professional mechanic for teardown. |
| Ticking that speeds up with exhaust pulses | Constant across all RPMs; smells like exhaust fumes near the engine | Exhaust manifold leak or loose mounting bolts | Inspect the exhaust flange gasket for soot. Tighten the mounting bolts to specification or replace the gasket. |
When to Stop Riding and Seek Professional Help
Knowing when to put down the wrenches and seek professional assistance is crucial for protecting your investment. While adjusting valves or replacing an external tensioner are manageable DIY tasks, internal engine damage requires specialized diagnostic equipment and training. Continuing to run a noisy engine in hopes that the sound will go away is a recipe for total engine failure.
There are several critical red flags that indicate you must stop riding immediately and seek professional help:
- A sudden, drastic loss of engine power or throttle response.
- The engine begins to overheat rapidly, or the temperature warning light illuminates.
- Visible metal flakes, bronze shavings, or a silvery "glitter" effect in your engine oil.
- A sudden change in the clicking sound's pitch, turning into a loud, metallic clanking or grinding.
Ignoring these warning signs can result in a seized crankshaft, a dropped valve, or a broken connecting rod shattering your JVT cylinder block. In the Philippines, where daily commutes often involve navigating congested traffic under intense tropical heat, engine components are subjected to extreme stress. If you are unsure of your diagnostic findings or lack the precision torque wrenches and measuring tools required for internal engine work, consult a certified motorcycle mechanic who has experience with JVT performance upgrades and access to genuine replacement parts.
Preventing Engine Clicking and Prolonging Block Life
Preventative maintenance is the most effective way to avoid the hassle of engine clicking and maximize the lifespan of your JVT cylinder block. Because performance blocks operate under elevated thermal and mechanical stress, they demand a more rigorous maintenance schedule than standard factory setups.
First and foremost, adhere to strict oil change intervals. In the tropical climate of the Philippines, high ambient temperatures and dusty road conditions accelerate oil degradation and shear. Always use the exact engine oil viscosity and grade recommended by your engine builder or the vehicle manufacturer (such as 10W-40 or 20W-50 synthetic oils designed for high-heat motorcycle engines). Clean oil maintains the hydraulic pressure needed for your timing chain tensioner and provides the critical boundary lubrication film that protects your piston pin and rod bearings.
Additionally, establish a healthy engine warm-up routine. When you start your motorcycle after it has been sitting, allow the engine to idle gently for one to two minutes before riding aggressively. This brief period allows the oil pump to distribute fresh oil from the oil pan up to the cylinder head, ensuring the camshaft, rocker arms, and valves are fully lubricated before they are subjected to high RPMs.
Finally, never neglect your air filter maintenance. Dust, sand, and fine volcanic grit common on local roads can easily bypass a dirty or poorly sealed air filter. Once inside the combustion chamber, these abrasive particles mix with the engine oil and act like a grinding paste, rapidly wearing down your piston rings, cylinder walls, and valve guides. Clean or replace your air filter regularly to keep your combustion chamber pristine and your JVT block operating quietly for thousands of kilometers.
Community discussion
Share your experience or ask a question. Comments are reviewed before publication.