
Finding a compatible monorack for your Yamaha Mio i 125 requires a precise understanding of your scooter’s structural layout. Because the Mio i 125 features a unique chassis design compared to other models in the Mio lineup, you cannot rely on a one-size-fits-all bracket. A proper fitment ensures that your top box or cargo remains secure during daily commutes, preventing dangerous shifts in weight that could compromise your safety on the road. To select the right monorack, you must verify the mounting point alignment, check the manufacturer’s compatibility documentation, and understand the physical limits of your scooter’s rear subframe.
In the Philippines, where scooters serve as essential daily workhorses, adding a rear luggage rack is one of the most common upgrades. However, installing an incompatible or poorly designed bracket can lead to cracked fairings, stripped threads, or even structural failure of the motorcycle’s frame. By focusing on physical measurements, material quality, and proper installation techniques, you can safely expand your scooter’s carrying capacity without compromising its structural integrity or your safety on the road.
Understanding the Yamaha Mio i 125 Frame and Mounting Points
To choose a monorack that fits perfectly without modifying your scooter, you must first understand where and how the bracket attaches to the vehicle. The Yamaha Mio i 125 features a lightweight steel tube underbone frame. The rear portion of this frame, known as the subframe, is designed to support the weight of the rider, a pillion passenger, and the factory-installed grab rail. The factory grab rail is secured directly to this steel subframe using heavy-duty mounting bolts that pass through designated openings in the plastic body panels.
Products mentioned in this guide
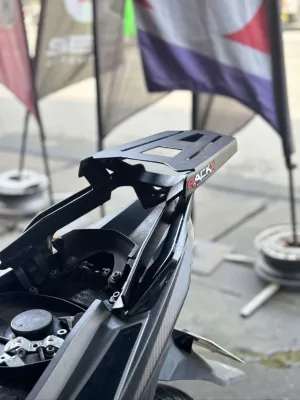
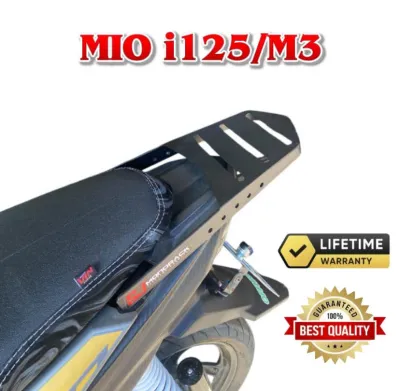
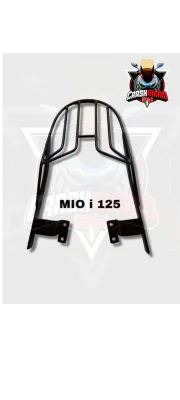
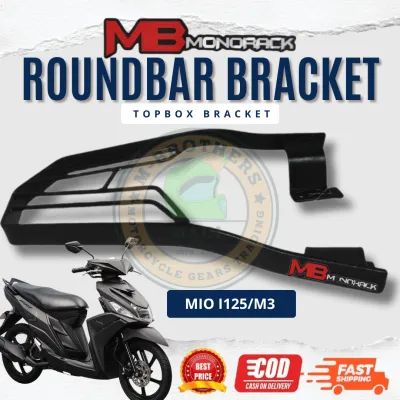
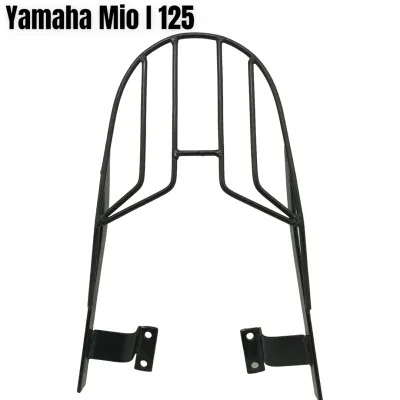
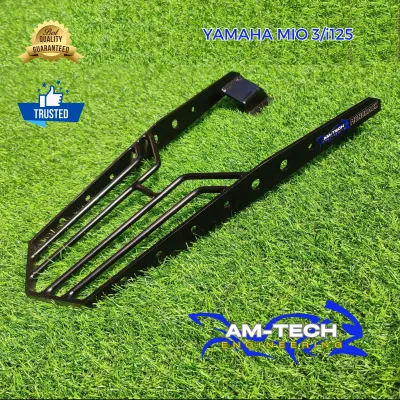
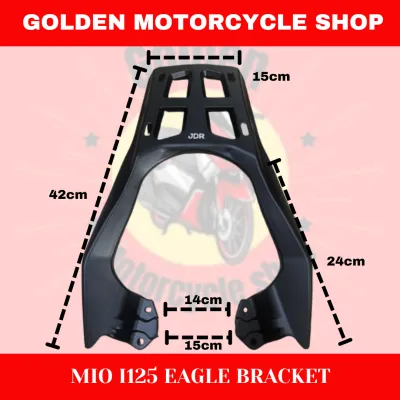
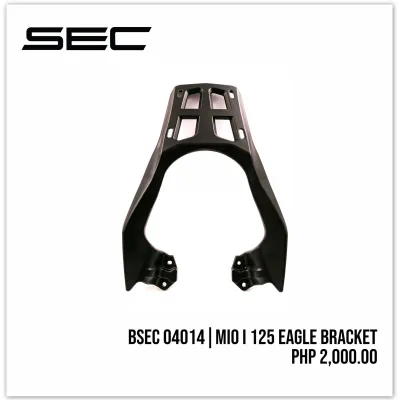
Prices are valid at publication and may change. Please refer to the product page for the latest price.
It is critical to distinguish between the structural steel subframe and the non-structural plastic fairings that cover it. The painted plastic panels of your Mio i 125 are purely cosmetic and aerodynamic; they possess virtually no load-bearing capacity. Any aftermarket monorack must bypass these plastic panels entirely and bolt directly into the threaded metal bungs welded onto the steel subframe. If a bracket is poorly designed and presses directly against the plastic fairings, the constant vibration of the engine and road surface will quickly crack the bodywork.
When you remove the stock grab rail, you will expose the native mounting points on the subframe. These points consist of threaded holes recessed slightly beneath the level of the plastic bodywork. A compatible monorack must align perfectly with these holes. Some monorack designs are integrated brackets that replace the grab rail entirely, while others are designed to fit alongside existing structures. For the Mio i 125, the most secure and common design is a complete replacement bracket that bolts directly into the four primary mounting points left vacant by the removed grab rail.
Understanding the difference between static and dynamic loads is also essential when evaluating these mounting points. While the subframe can easily support a heavy static weight when the scooter is parked, hitting a pothole or speed bump at speed multiplies the force exerted on those mounting points. This dynamic force is transferred directly through the monorack to the subframe bolts, making it vital that the rack utilizes only the strongest, factory-designated structural points of the frame.
Key Fitment Specifications to Verify Before Purchase
Before purchasing any monorack, you should cross-reference the physical dimensions of the product with your specific Mio i 125 model year. Although the Mio i 125 has maintained a relatively consistent design, minor manufacturing variations or aftermarket body kits can affect clearance. Use a measuring tape or a vernier caliper to measure the exact distance between the center points of the left and right mounting holes on your scooter’s subframe, and compare these measurements with the technical specifications provided by the rack manufacturer.

Another critical specification is the hardware kit supplied with the monorack. The Mio i 125 utilizes metric bolts, typically M8 size, to secure the rear grab rail. You must verify that the bolts included with the aftermarket rack match the thread pitch of your scooter’s subframe holes, which is commonly 1.25mm for standard M8 fasteners. Using bolts with the incorrect thread pitch will cross-thread and strip the subframe bungs, a severe issue that requires tapping new threads or installing thread inserts to repair.
Because the subframe mounting points are recessed, a compatible monorack kit must include precision-engineered spacers. These spacers slide over the bolts and sit between the steel subframe and the underside of the monorack bracket. They serve two vital purposes: they keep the rack elevated at the correct height so it does not crush the plastic fairings, and they provide a solid metal-to-metal contact point that allows you to torque the bolts down securely. Verify that the spacer lengths included in the kit match the depth of your scooter’s fairing recesses.
Finally, pay close attention to the tubing diameter and the overall shape of the bracket arms. The monorack must clear the rear fender and the exhaust system. During deep suspension compressions—such as when carrying a passenger or riding over rough terrain—the rear tire and fender travel upward. If the monorack’s support arms extend too far downward or inward, they can collide with the moving parts of the rear suspension, leading to handling instability or physical damage to the scooter.
Evaluating Load Capacity and Material Durability
When selecting a monorack, you must rely on objective material specifications and manufacturer ratings rather than visual assumptions. Every reputable rack manufacturer specifies a maximum load limit on the product packaging or in the official instruction manual. For lightweight scooters like the Mio i 125, typical monorack load limits range from 3 kg to 5 kg for standard light-duty racks, while specialized heavy-duty brackets may support up to 10 kg. Never exceed these stated limits, as doing so risks metal fatigue, weld failure, or subframe damage.
In the tropical climate of the Philippines, environmental durability is just as important as structural strength. High humidity, intense sunlight, and heavy seasonal rains accelerate the onset of rust and corrosion. Inspect the material labels of the monorack before buying. Look for brackets constructed from high-tensile steel tubing or heavy-gauge plate steel. The finish should ideally be a durable powder coating rather than standard spray paint. Powder coating is baked onto the metal, creating a thick, resilient barrier that resists chipping, scratching, and moisture penetration.
Take a close look at the quality of the welds on the bracket. High-quality monoracks feature smooth, continuous, and uniform welds at all joint interfaces. Avoid racks that exhibit sloppy, uneven welding, pinholes, or visible slag, as these are clear indicators of poor manufacturing quality control. Under the constant high-frequency vibrations produced by a single-cylinder 125cc engine, minor welding defects can quickly develop into hairline cracks, eventually leading to a complete structural failure of the rack while riding.
It is also crucial to understand how adding a monorack and a loaded top box alters the physics of your motorcycle. Mounting cargo high and far behind the rear axle shifts the scooter’s center of gravity upward and backward. This shift lightens the load on the front tire, which can make the steering feel vague, light, or twitchy, especially at high speeds or when cornering. To maintain safe handling, always pack heavier items at the bottom of your top box, keep within the manufacturer’s load limits, and adjust your riding style to account for increased stopping distances.
Installation Preparation and Safety Boundaries
Proper installation is just as critical as selecting the correct model. Before beginning, gather the necessary tools, which typically include a socket wrench set, hex keys, and a calibrated torque wrench. Refer to your Yamaha Mio i 125 service manual to find the exact torque specifications for the rear grab rail bolts. Over-tightening these bolts can strip the threads in the subframe or snap the bolt heads, while under-tightening can allow the bolts to back out over time due to engine vibrations.
Always perform a dry-fit test before fully tightening any hardware. Remove the stock grab rail, clean the mounting area of any dirt or debris, and position the monorack over the mounting holes. Insert all the mounting bolts by hand and turn them a few threads to ensure they are properly aligned and not cross-threading. Do not tighten any single bolt completely; instead, gradually tighten all bolts in a cross-pattern. This method ensures that the bracket settles evenly onto the spacers and does not introduce unnecessary tension or warping to the frame.
Establish clear safety boundaries during the installation process. If you find that the mounting holes do not align naturally, if the bracket requires physical bending to fit, or if the instructions suggest cutting or drilling into your scooter’s plastic fairings, stop immediately. These are clear warning signs that the monorack is either defective or designed for a different motorcycle model. Forcing a mismatched bracket onto your subframe creates constant structural stress, which can lead to sudden metal failure under load.
To prevent bolts from loosening over time, consider applying a small drop of medium-strength threadlocker (such as blue threadlocker) to the bolt threads before final installation. This compound prevents the fasteners from backing out due to vibration while still allowing them to be removed with hand tools if necessary. Once the installation is complete, perform a physical shake test by firmly grasping the rack and checking for any play or movement. If you lack the proper tools or feel unsure about the alignment, always have the rack installed by a qualified professional motorcycle mechanic.
Frequently Asked Questions (FAQ)
Can I use a monorack designed for older Mio models on the Mio i 125?
No, you should not attempt to use a monorack designed for older Mio models, such as the Mio Sporty, Mio Soul, or Mio Amore, on the Mio i 125. Yamaha has revised the chassis, subframe dimensions, and plastic bodywork configurations across different generations of the Mio lineup. The distance between the mounting bolts, the thread sizes, and the clearance angles required to bypass the fairings vary significantly between these models. Always check the manufacturer’s specific compatibility list to ensure the product is explicitly rated for the Mio i 125 before making a purchase.
Does installing an aftermarket monorack affect the motorcycle warranty?
Installing a direct, bolt-on aftermarket monorack typically does not void your motorcycle’s overall warranty, provided the installation does not require any permanent modifications to the vehicle. However, if you drill into the frame, weld custom brackets, or modify the electrical wiring harness (for example, to connect an integrated brake light on a top box), you risk voiding the structural or electrical portions of your warranty. If your Mio i 125 is still under warranty, it is highly recommended to consult your authorized dealer regarding their specific policies on bolt-on accessories before proceeding with the installation.
Community discussion
Share your experience or ask a question. Comments are reviewed before publication.