
Choosing the right rear brake pad for your Yamaha NMAX V2 in the Philippines requires balancing your daily riding environment with verified product specifications. Whether you face the daily stop-and-go congestion of metropolitan roads or the demanding, wet conditions of the monsoon season, your choice of friction material directly affects your stopping power, rotor wear, and overall safety. Rather than chasing unverified brand claims, the most reliable approach is to evaluate brake pads based on their material composition, certified safety standards, and exact physical compatibility with the NMAX V2 rear caliper.
Understanding Your NMAX V2 Rear Brake Requirements
Before purchasing any aftermarket brake pads, you must identify the exact specifications required for your motorcycle’s rear braking system. The Yamaha NMAX V2 utilizes a specific rear caliper design that requires precise pad dimensions to function safely and efficiently. Attempting to install pads designed for the NMAX V1 or other scooter models can lead to improper fitment, uneven wear, or complete brake failure. To ensure compatibility, always begin by locating the original equipment manufacturer (OEM) part number in your Yamaha owner’s manual or official service booklet.
Once you have the OEM part number, use it to verify the physical dimensions, backing plate shape, and pin configurations of any aftermarket options. The rear brake pads must align perfectly with the caliper slide pins and the piston contact area. Even minor variations in the backing plate’s shape can prevent the pads from sliding freely, causing the brakes to drag or stick. When shopping, physically compare the new pads against your old ones, paying close attention to the location of the mounting holes and the overall thickness of the friction material.
Products mentioned in this guide
![[KV] Yamaha NMAX V1/V2 REAR BRAKE PAD /DISC PAD B6H-F5805-00](https://img.lazcdn.com/g/p/68ec4591efe11c7a7a251c1e7cc8f587.jpg_400x400q80.jpg_.webp)
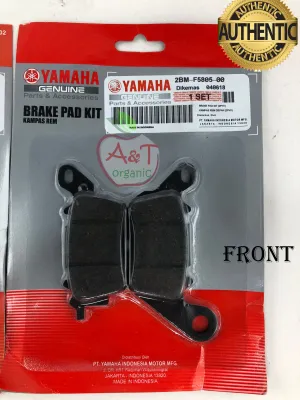
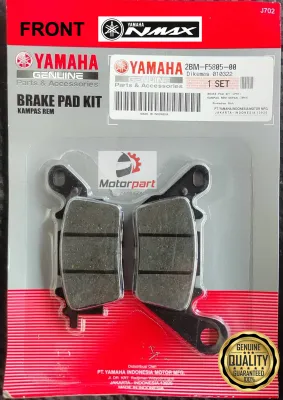
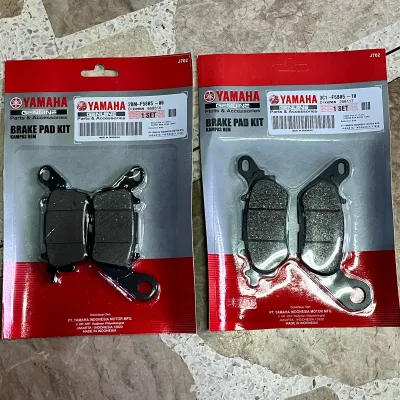
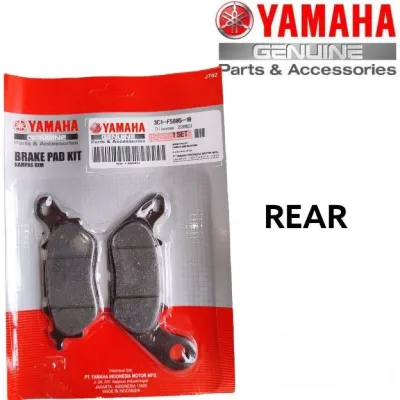
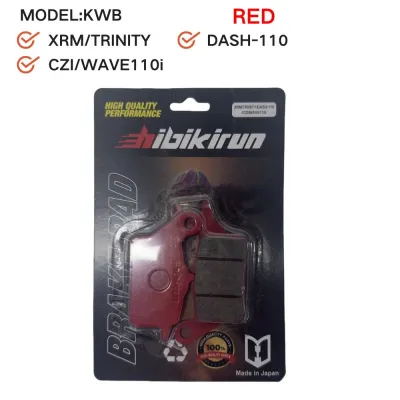
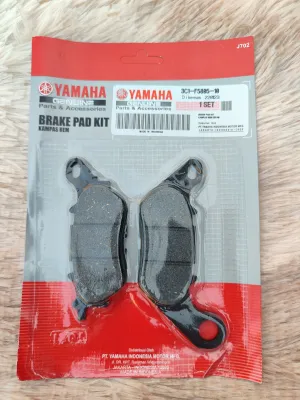
Prices are valid at publication and may change. Please refer to the product page for the latest price.
Additionally, always check the brake pad manufacturer’s official compatibility list specifically for the NMAX V2 model year. Because motorcycle specifications can occasionally vary by region or production year, relying solely on a generic product title on an online marketplace is risky. A reputable manufacturer will explicitly list the NMAX V2 on their packaging or official website catalog, confirming that the pad has been engineered and tested for your specific caliper configuration.
Key Factors When Comparing Brake Pad Brands
When evaluating different brake pad brands available in the Philippines, it is essential to look past marketing slogans and focus on verifiable quality indicators. Start by checking the product packaging for recognized safety certifications or international testing standards. For example, certifications such as the European ECE R90 standard indicate that the aftermarket pad performs within a strict tolerance of the original OEM parts. Packaging that lacks any safety markings, manufacturing origin, or technical specifications should be treated with caution.

A brand’s reputation for quality control is another critical factor, especially given the prevalence of counterfeit motorcycle parts in the local market. Established brands invest heavily in consistent manufacturing processes, ensuring that the friction material does not prematurely separate from the steel backing plate. To protect yourself from dangerous counterfeits, purchase your brake pads exclusively from authorized physical dealers or official brand stores on major ecommerce platforms.
Furthermore, compare the warranty terms and the presence of anti-counterfeit verification features on the packaging. Many premium manufacturers now include unique scratch-off verification codes, security holograms, or QR codes that allow you to verify the product’s authenticity on their official website before installation. A brand that provides clear customer support channels and transparent product sourcing offers significantly better long-term value and peace of mind.
Evaluating Friction Materials for Your Riding Style
The performance of your rear brakes depends heavily on the type of friction material used in the pads. Organic compounds, which are made from a blend of fibers, rubber, and resins, are highly favored for standard daily commuting. These pads offer a smooth, progressive initial bite and operate very quietly. Because the material is relatively soft, organic pads cause minimal wear on your brake rotor, though they tend to wear down faster under heavy use and can lose efficiency when subjected to extreme heat.
For riders who demand higher durability and performance, sintered metallic compounds are an excellent alternative. Sintered pads are manufactured by fusing metallic particles together under intense heat and pressure. This composition provides outstanding heat dissipation, making them highly resistant to brake fade during long downhill descents or when carrying heavy loads. Sintered pads also maintain consistent stopping power in wet, muddy, or highly humid tropical conditions, though they can be noisier and will accelerate the wear of your brake rotor over time.
Ceramic compounds represent a premium middle ground, utilizing ceramic fibers mixed with non-ferrous materials. These pads are engineered to produce extremely low levels of brake dust and offer highly consistent braking feel across a wide range of operating temperatures. Ceramic pads are exceptionally quiet and gentle on rotors, making them a popular choice for riders who prioritize comfort and cleanliness during their daily urban travels.
Regardless of the material you choose, always verify the manufacturer’s claims directly on the product label or official technical datasheet. Avoid products that use vague terms like “semi-metallic” without providing clear details about the compound’s actual composition. Matching the friction material to your specific riding habits—whether that involves solo city commuting or long-distance touring with heavy cargo—ensures optimal safety and performance.
Safety, Installation, and Verification Checklist
Because the braking system is your motorcycle’s most critical safety component, maintenance must be approached with extreme care. If you do not possess the proper tools, mechanical experience, or the official service manual, you should have your new brake pads installed by a qualified motorcycle mechanic. Incorrect installation can lead to caliper binding, fluid leaks, or a complete loss of braking control on the road.
Before installing the new pads, thoroughly inspect the rear brake rotor. Check the rotor’s surface for deep scoring, uneven wear, or warping, and use a micrometer to verify that its thickness is above the minimum limit stamped on the rotor itself. Installing brand-new brake pads on a worn or damaged rotor will severely compromise your stopping power, cause rapid pad wear, and potentially damage the new components. If the rotor is damaged or below the safety limit, it must be replaced alongside the pads.
During installation, always follow the exact torque specifications outlined in the Yamaha service manual for the caliper mounting bolts and slide pins. Applying too much torque can strip the threads of the aluminum caliper, while insufficient torque can cause the bolts to back out while riding. Once installed, perform the recommended bedding-in procedure by making a series of gradual, controlled stops from moderate speeds. This process allows the new pad material to transfer evenly onto the rotor surface, ensuring maximum friction and preventing glazing.
Finally, pay close attention to the condition of the caliper assembly itself. If you discover that the caliper slide pins are seized, the rubber dust boots are torn, or the brake fluid appears dark and contaminated, do not proceed with a simple pad swap. These issues require immediate professional attention, including cleaning, lubrication with specialized silicone grease, or a complete brake fluid flush and bleed to restore safe operation.
Decision Framework: Which Option Fits Your Needs?
To select the right rear brake pads for your Yamaha NMAX V2, use a conditional decision framework based on your typical riding conditions and maintenance priorities. If your daily routine consists of standard city commuting, solo riding, and you prefer a quiet, smooth braking feel with minimal rotor wear, choosing original Yamaha OEM pads or premium organic aftermarket options is your best path. These options provide guaranteed fitment and factory-tested safety margins for everyday scenarios.
If you frequently ride in heavy rain, carry heavy cargo, travel with a pillion passenger, or regularly navigate steep, winding roads, sintered metallic aftermarket pads are the most suitable choice. Their superior heat tolerance and wet-weather performance ensure that you maintain reliable stopping power when the braking system is pushed to its limits. Be prepared for slightly higher rotor wear and occasional brake noise as a trade-off for this enhanced durability.
For riders seeking a premium, quiet, and low-dust experience for urban riding, ceramic aftermarket pads offer an excellent balance. However, before making any purchase, always verify the product packaging for clear compatibility markings and safety certifications. If a product is priced unusually low—such as generic pads sold for under ₱150 on unverified online platforms—or lacks clear brand identification, avoid it entirely, as sub-standard friction materials pose a severe safety hazard.
Keep in mind that no brake pad will perform safely if the underlying mechanical components are compromised. If your rear brake rotor is worn below its minimum thickness limit, or if the caliper slide pins are seized, you must address these mechanical repairs first. Replacing the pads without fixing these issues will not restore your braking performance and may lead to premature component failure.
Frequently Asked Questions (FAQ)
How often should I replace the rear brake pads on my NMAX V2?
You should determine your brake pad replacement interval through regular physical inspections rather than relying solely on a fixed mileage limit. Check the thickness of the friction material against the wear indicator groove cut into the pad; if the groove is no longer visible, or if the material is less than 2mm thick, the pads must be replaced immediately. Additionally, perform a visual check during your periodic maintenance or if you begin to hear squealing, scraping, or metallic grinding noises when applying the rear brake.
Can I use front brake pads for the rear caliper?
No, you cannot use front brake pads in the rear caliper of the Yamaha NMAX V2. The front and rear calipers are designed with entirely different physical dimensions, backing plate shapes, and mounting pin configurations. Attempting to force a front brake pad into the rear caliper is physically impossible without damaging the brake assembly, and any modification to make them fit poses an extreme safety risk that could lead to complete brake failure.

Community discussion
Share your experience or ask a question. Comments are reviewed before publication.