
Choosing the right brake shoes for your Yamaha Mio i 125 requires balancing immediate stopping power with long-term wear resistance. Because the Mio i 125 is a popular daily commuter scooter, its rear drum brake system is constantly subjected to demanding conditions, including heavy stop-and-go traffic, high tropical temperatures, and sudden downpours that flood local streets. Finding the right balance between initial bite and longevity means looking closely at the friction materials, verifying exact compatibility, and choosing reputable brands rather than relying on unverified performance claims.
While many riders look for a single, universal recommendation, the ideal brake shoe depends heavily on your specific riding habits, load capacity, and budget. Genuine original equipment manufacturer (OEM) parts provide a highly reliable baseline of safety and predictable wear, while established aftermarket brands offer specialized friction compounds designed for enhanced wet-weather grip or extended service life. To make an informed decision, you must understand how different materials interact with your scooter’s brake drum and how to verify that the parts you buy are genuine and safe.
Verifying Compatibility and OEM Specifications for Mio i 125
Before comparing brands or friction compounds, you must ensure that the brake shoes you purchase are physically and safely compatible with your specific Yamaha Mio i 125. The Mio lineup includes several models, such as the Mio Sporty, Mio Soul i 125, and Mio Gravis, and while some components are interchangeable, drum brake dimensions and shoe curvatures can vary. Installing an incorrectly sized brake shoe can lead to poor contact with the drum, uneven wear, or even a catastrophic brake failure while riding.
Products mentioned in this guide
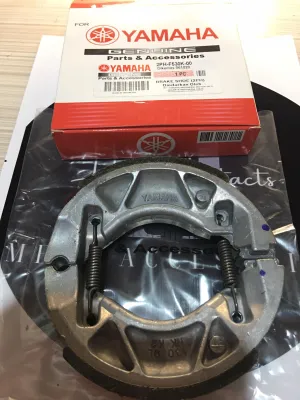
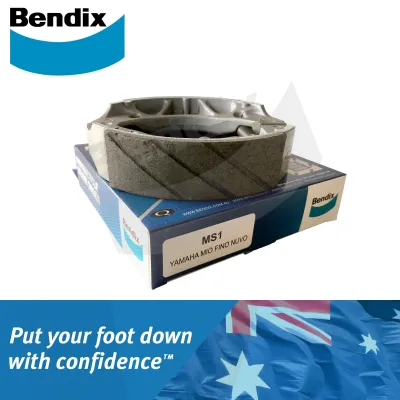
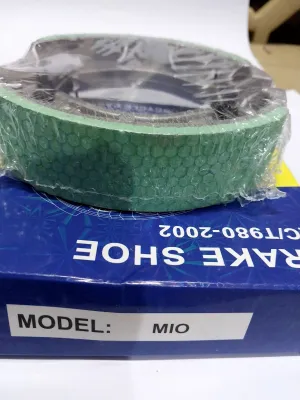
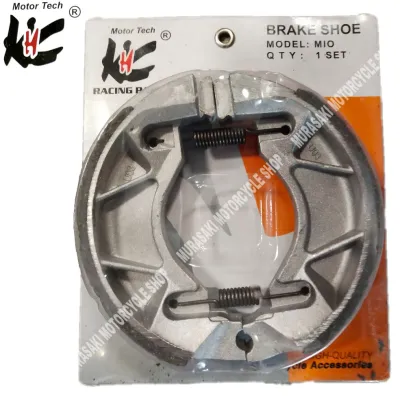
Prices are valid at publication and may change. Please refer to the product page for the latest price.
To guarantee a proper fit, start by checking the exact part number in your Yamaha Mio i 125 owner’s manual or an official parts catalog. When purchasing aftermarket options, cross-reference the manufacturer’s compatibility list to confirm that the product is explicitly designed for the Mio i 125 (often designated under the M3 model family). Do not rely solely on generic labels like “fits most Yamaha scooters,” as even minor differences in width or diameter can prevent the brake assembly from fitting inside the wheel hub.
Additionally, you should verify the physical dimensions of your scooter’s rear brake drum. Over time, the constant friction from braking wears down the inner surface of the drum, increasing its internal diameter. If the drum is worn beyond its service limit—typically specified in the service manual—new brake shoes will not make full contact, resulting in a spongy lever feel and severely reduced stopping power. Always measure the drum’s inner diameter with a vernier caliper before installing new shoes to ensure the hardware is still within safe operating tolerances.
How Friction Materials Impact Stopping Power and Wear
The performance and lifespan of your rear brake shoes are primarily determined by the composition of their friction linings. Manufacturers use different blends of binders, fibers, and fillers to achieve specific performance characteristics, and each material type presents distinct trade-offs. Understanding these differences allows you to choose a compound that matches your daily commute and riding style.

Organic brake shoes are the most common type for small-displacement scooters. Made from a blend of natural fibers, rubber, and resins, these shoes offer a soft, progressive initial bite and operate quietly. They are gentle on the brake drum, preserving the life of your rear wheel hub. However, organic compounds tend to wear down more quickly, especially when subjected to the high heat of stop-and-go traffic or the abrasive road grit common during the rainy season.
Semi-metallic brake shoes incorporate metallic fibers, such as copper or steel wool, into the friction mix. This addition improves heat dissipation and structural strength, making them highly resistant to brake fade during prolonged braking or when carrying heavy loads. Semi-metallic shoes generally last longer than organic ones, but they have a firmer feel at the lever and can cause faster wear on the brake drum itself. They may also produce more brake dust and occasional squealing noises when cold or damp.
When evaluating options, look for friction coefficient ratings printed on the packaging or product documentation, often represented by a two-letter code (such as FF or GG). The first letter represents the normal friction coefficient, while the second indicates the hot friction coefficient. Higher letters denote stronger stopping force. For a daily commuter like the Mio i 125, standard ratings like FF provide a balanced mix of reliable stopping power and moderate wear across a wide range of operating temperatures.
Comparing OEM and Aftermarket Brake Shoe Options
When it is time to replace your rear brakes, you will face a choice between genuine Yamaha OEM brake shoes and aftermarket alternatives. Each path has distinct advantages and risks that you must weigh carefully to ensure both safety and value for your money.
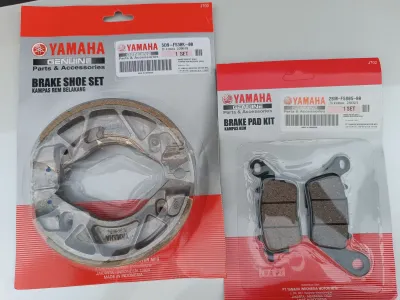
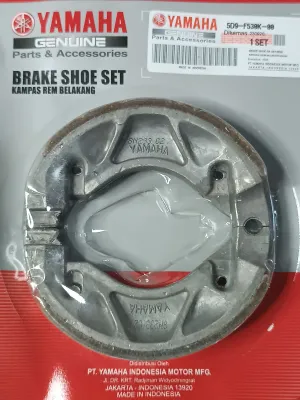
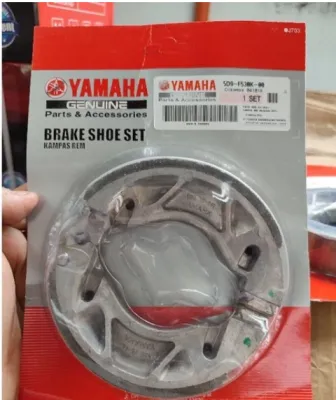
Genuine Yamaha OEM brake shoes are engineered specifically for the Mio i 125’s weight, speed capabilities, and drum metallurgy. By choosing OEM parts, you receive a guaranteed fit, predictable wear rates, and the assurance of rigorous manufacturer testing. The friction compound used in genuine parts is formulated to balance reliable stopping power with minimal drum wear, making them an excellent default choice for riders who prioritize hassle-free maintenance and long-term component durability.
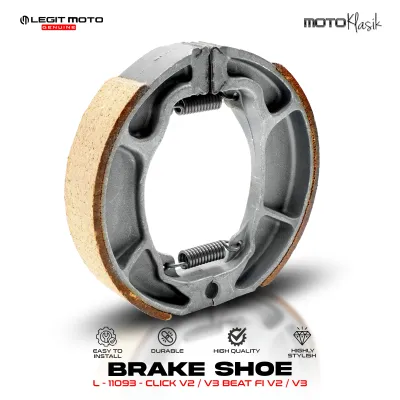
Reputable aftermarket brands, such as Bendix or Federal, offer alternative options that can cater to specific riding preferences. These brands often provide detailed material specifications, clear packaging, and verifiable user feedback. Some aftermarket shoes are designed with specialized grooves to help channel away water and brake dust, which can be highly beneficial when riding through flooded streets or dusty provincial roads.
However, the local market also contains unbranded, counterfeit, or suspiciously cheap brake shoes, often priced under ₱100 on online marketplaces or in unregulated roadside shops. You must avoid these products. Low-cost, unbranded brake shoes frequently suffer from poor manufacturing quality, particularly regarding the adhesive bond between the friction lining and the aluminum shoe backing. If this bond fails under heat or stress, the lining can delaminate and jam inside the drum, causing the rear wheel to lock up instantly—a highly dangerous situation at any speed. Always purchase from authorized dealers or reputable local motorcycle parts shops to ensure you are getting genuine, high-quality components.
Critical Safety, Installation, and Bedding-In Procedures
Because brakes are your scooter’s primary safety system, replacing brake shoes requires strict adherence to proper procedures. If you do not have the necessary mechanical experience, specialized tools, or a clean workspace, you should have the replacement performed by a qualified motorcycle mechanic at a reputable service center.
If you choose to perform the replacement yourself, you must consult the Yamaha Mio i 125 service manual for step-by-step instructions and torque specifications. Pay close attention to the tension springs that hold the brake shoes together; worn, stretched, or improperly installed springs can prevent the shoes from retracting fully, causing the brakes to drag, overheat, and wear out prematurely. Ensure that the brake cam and pivot pins are cleaned and lightly lubricated with high-temperature grease, taking extreme care not to get any grease on the friction linings or the inside of the brake drum.
Once the new brake shoes are installed, you must perform a proper bedding-in, or burnishing, process. New friction linings do not perfectly match the microscopic imperfections of your existing brake drum. To establish maximum contact area, avoid hard, sudden braking for the first 50 to 100 kilometers of riding. Instead, apply the rear brake gently and progressively at low speeds to gradually transfer a thin, even layer of friction material to the drum surface. This process prevents the shoes from glazing—a condition where the lining surface hardens and becomes shiny, severely reducing stopping power.
After installation, remain alert for any immediate warning signs that indicate a problem. If you experience a spongy lever feel, unusual scraping or grinding noises, or a significant reduction in braking force, stop riding immediately. Inspect the assembly to ensure the brake cable is adjusted correctly, the return springs are secure, and the wheel axle nut is torqued to the manufacturer’s specification.
Decision Framework: Selecting the Right Brake Shoe for Your Needs
To choose the right brake shoes for your Yamaha Mio i 125, you should evaluate your typical riding environment, load requirements, and maintenance habits. This structured approach helps you select a product that delivers the best balance of performance and longevity for your specific situation.
If your daily routine consists of standard city commuting, solo riding, and navigating moderate traffic, genuine Yamaha OEM brake shoes or premium organic aftermarket options are highly recommended. These options provide quiet operation, smooth and predictable stopping power, and minimal wear on your rear wheel hub, ensuring that your braking system remains reliable with minimal intervention.
For riders who use their Mio i 125 for commercial deliveries, frequently carry a pillion passenger, or regularly navigate steep, hilly terrain, high-friction semi-metallic aftermarket shoes may be more suitable. These shoes offer greater resistance to heat fade and maintain consistent stopping power under heavy loads. However, you must accept that these harder compounds will accelerate wear on your brake drum, requiring more frequent inspections of the wheel hub assembly.
Before making any purchase, always inspect the condition of your brake drum. If the inner surface of the drum is deeply scored, warped, or worn beyond the maximum diameter limit, installing new brake shoes will not restore safe braking performance. In such cases, you must address the drum wear—which may require replacing the rear wheel hub or the entire wheel assembly—before installing new shoes.
Frequently Asked Questions (FAQ)
How do I know when my Mio i 125 brake shoes need replacing?
You can identify worn brake shoes through several observable signs. Listen for a high-pitched squealing or a harsh, metal-on-metal scraping noise when you apply the rear brake, which indicates the friction material has worn down to the metal backing. Additionally, if you find yourself pulling the rear brake lever almost to the handlebar grip even after tightening the adjustment nut on the brake cable, the shoes are likely near the end of their service life. Many scooters also feature a wear indicator pointer on the brake cam lever; if the pointer aligns with the limit mark on the engine case when the brake is fully applied, immediate replacement is required.
Can I clean my brake shoes instead of replacing them?
You can clean brake shoes only under specific, limited conditions. If the shoes have accumulated dry brake dust but still have ample friction material, you can clean them using a dedicated, non-petroleum-based brake cleaner spray. Never use gasoline, kerosene, diesel, or penetrating lubricants like WD-40, as these petroleum products will permanently ruin the friction material and destroy your braking capability. If the brake shoes have become contaminated with engine oil or gear oil due to a leaking hub seal, or if the friction lining has glazed over or worn thin, cleaning will not restore safety. In these scenarios, you must replace the brake shoes immediately to maintain reliable stopping power.

Community discussion
Share your experience or ask a question. Comments are reviewed before publication.