
Selecting the right motorcycle top box bracket for your scooter in the Philippines is a critical decision that directly impacts your safety, vehicle handling, and cargo security. To find the perfect fit, you must match the bracket to the exact mounting points, load limits, and frame structure of your specific motorcycle model. While universal brackets might seem convenient, they often fail to align with the unique subframe geometries of popular local scooters like the Honda Click, Yamaha NMAX, or Aerox. Ensuring a secure installation requires verifying compatibility down to the specific model year, understanding the material limits under tropical weather conditions, and adhering strictly to manufacturer-recommended load capacities.
Why Model-Specific Compatibility Matters
Scooters are designed with highly integrated bodywork and compact rear frames, meaning that mounting accessories is rarely a one-size-fits-all process. The rear subframe of a scooter is engineered to support specific passenger weights and structural loads, but it is not a uniform platform across different brands or even different model years of the same lineup. For instance, some scooters utilize robust grab rail mounts that bolt directly into the main steel chassis, while others rely on lighter fender extensions or delicate subframe layouts hidden beneath plastic fairings. Attempting to force a non-compatible bracket onto these varied structures can lead to severe mechanical issues.
When you install an ill-fitting bracket, you risk creating uneven weight distribution across the rear of your motorcycle. This imbalance places undue stress on specific mounting bolts, which can shear off under the continuous vibrations of daily riding on uneven roads. Furthermore, a bracket that does not align perfectly with the factory mounting points will often press against the scooter’s plastic body panels. Over time, the constant flexing and road vibration will cause these expensive plastic shells to crack, warp, or break entirely.
Products mentioned in this guide
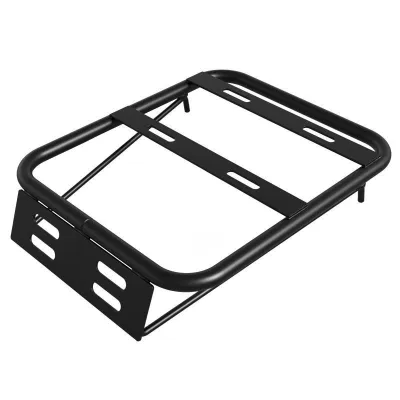
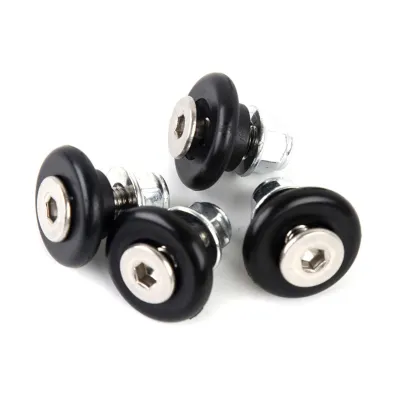
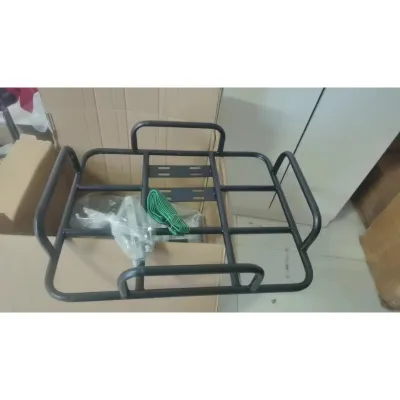
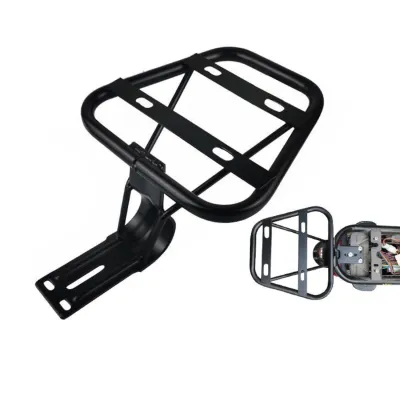
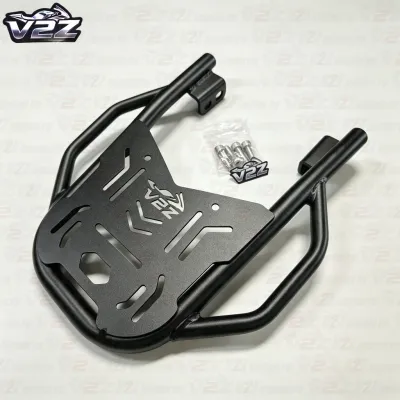
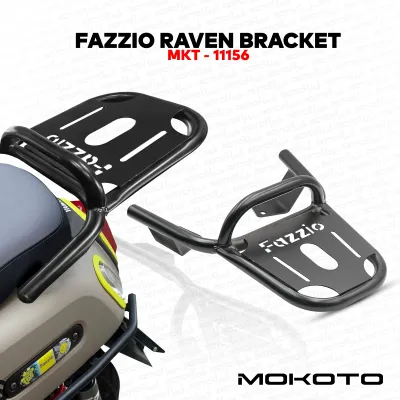
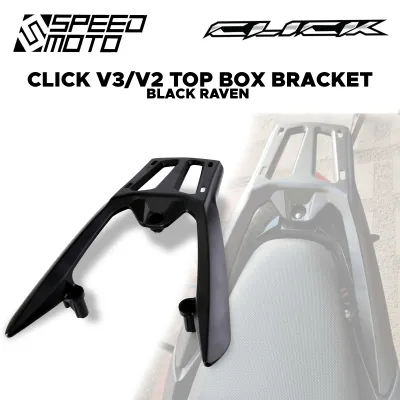
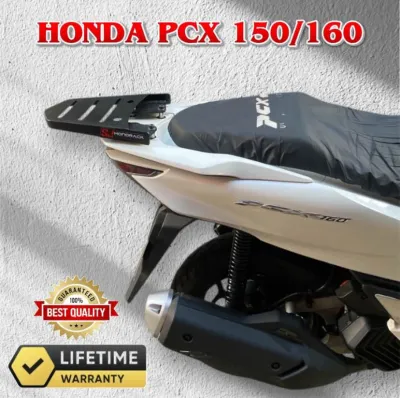
Prices are valid at publication and may change. Please refer to the product page for the latest price.
It is also vital to recognize that minor design updates, facelifts, or variant differences—such as the distinction between ABS and non-ABS models—can alter the rear mounting geometries of a scooter. A bracket designed for an older model year may not clear the updated bodywork or tail light assembly of a newer release. Always verify the exact model year, engine displacement, and variant of your scooter before purchasing a bracket, rather than relying solely on the general model name.
Key Factors When Selecting a Top Box Bracket
Evaluating a motorcycle top box bracket requires looking closely at its materials, load ratings, mounting mechanisms, and impact on passenger comfort. In the Philippines, where high humidity, heavy monsoon rains, and coastal salt air are common, material selection is your first line of defense against structural failure. Tubular steel brackets are highly popular due to their excellent structural rigidity and affordability, but they must feature a high-quality powder-coated finish to prevent rust from weakening the metal over time. On the other hand, aluminum alloy brackets offer superior natural rust resistance and a lighter overall weight, which helps minimize the rear-heavy bias of your scooter, though they may come at a higher price point.

Another critical step is cross-referencing the load capacity of the bracket with both your top box and your scooter’s factory limits. Every motorcycle manufacturer specifies a maximum rear payload rating in the owner’s manual, which represents the total weight the rear subframe can safely carry. This limit includes the weight of the bracket itself, the empty top box, and the cargo inside. If your scooter’s manual states a low rear rack limit, installing a heavy steel bracket and a large top box might consume most of that capacity before you even pack your belongings. Always choose a lightweight yet sturdy bracket that allows you to maximize your actual carrying capacity without exceeding vehicle limits.
The mounting system of the bracket also dictates its daily utility and security. Fixed bolt-on designs are ideal for riders who keep their top boxes permanently attached, offering maximum structural integrity and resistance to theft. Conversely, quick-release base plates allow you to detach the top box easily when you need to carry bulky items directly on the rack or when parking in unsecured areas. Whichever system you choose, ensure the mounting hardware consists of high-tensile steel bolts and self-locking nuts to prevent them from backing out due to engine and road vibrations.
Finally, do not overlook passenger ergonomics when selecting a bracket. A poorly designed bracket can shift the top box too far forward, severely restricting the seating space for a pillion rider or blocking access to the integrated grab handles. Ensure the bracket positions the top box far enough back to allow comfortable seating while keeping the center of gravity as close to the rear axle as possible to maintain stable vehicle handling.
Matching Brackets to Popular Scooter Categories
Different scooter designs present unique mounting challenges, making it essential to understand how your vehicle’s category influences bracket selection. Lightweight commuter scooters and larger maxi-scooters handle rear loads differently due to their distinct frame designs and suspension setups. While general guidelines can help you narrow down your options, you must always verify the specific fitment against the bracket manufacturer’s official compatibility list and your motorcycle’s user manual before making a purchase.
Underbone and Entry-Level Scooters (e.g., Honda Click, Beat)
Lightweight, entry-level scooters like the Honda Click or Honda Beat are highly agile commuter vehicles, but their rear frames are not designed for heavy cargo hauling. On these models, the primary mounting locations for a top box bracket typically involve removing the stock passenger grab rail and utilizing those existing bolt holes, sometimes in combination with mounting points near the rear fender. Because these scooters feature lightweight rear subframes, overloading the rear can easily lead to frame flexing or cracked plastic body panels.
To protect your scooter’s chassis, prioritize brackets that incorporate additional support struts or load-spreading base plates. These design features help distribute the weight of the cargo across a wider area of the frame rather than concentrating all the stress on a few small bolt holes. When riding an entry-level scooter with a top box, it is wise to keep your cargo light and avoid packing heavy tools or dense items that could exceed the delicate subframe’s structural limits.
Maxi and Performance Scooters (e.g., Yamaha NMAX, Aerox)
Mid-to-large maxi scooters and sporty performance models like the Yamaha NMAX or Aerox offer more robust frames, but they also present more complex mounting scenarios. Sportier models often lack traditional passenger grab rails entirely, meaning you cannot simply bolt a standard rack in place of a rail. Instead, these scooters frequently require dedicated tail rack replacements or specialized subframe clamps that secure directly to the main chassis beneath the rear fairings.
While maxi scooters generally have higher payload capacities, their larger physical dimensions mean that a fully loaded top box can significantly shift the vehicle’s center of gravity upward and backward. This shift can affect suspension travel, rear shock performance, and front-wheel traction, especially during sudden acceleration or cornering. When installing a bracket on these models, check for adequate clearance around the exhaust heat shields, rear turn signals, and tail light wiring harnesses to ensure the bracket does not pinch cables or melt under high exhaust temperatures.
Installation Safety and Maintenance Checks
Proper installation and regular maintenance are vital to ensuring your top box bracket remains secure and does not pose a hazard on the road. Before beginning the installation process, thoroughly read both the bracket’s instruction manual and your motorcycle’s user manual. This step is crucial because some brackets require the temporary removal of body panels, the relocation of turn signals, or the modification of original factory spacers. Attempting to install a bracket without understanding these requirements can result in stripped threads, misaligned components, or damaged wiring.
During installation, always use a torque wrench to tighten all mounting bolts to the manufacturer’s exact specifications. Guessing the tightness of bolts can lead to overtightening, which strips the threads in your scooter’s aluminum frame, or undertightening, which allows the bolts to vibrate loose while riding. Applying a medium-strength thread-locking compound to the bolt threads is highly recommended to provide extra security against the constant vibrations of daily commuting.
Maintaining your top box bracket requires a routine inspection checklist that you should perform at least once a month. Check all mounting bolts to ensure they remain tight, and inspect the metal bracket itself for any signs of hairline cracks, metal fatigue, or bending. In the humid climate of the Philippines, pay close attention to any paint chipping or rust formation; clean any affected areas and apply a rust-inhibiting touch-up paint to prevent the corrosion from spreading and weakening the structural integrity of the bracket. If your bracket features a quick-release mechanism, inspect the locking pins and rubber dampeners for wear and tear, replacing them if they show signs of degradation.
Establish clear stop conditions for your setup: if you ever detect cracks in the bracket metal, severe rust that has penetrated the surface, or unusual rattling noises that persist after tightening the bolts, cease using the top box immediately. Do not attempt to ride with a compromised bracket, as a sudden failure at highway speeds can cause your top box to detach, creating an immediate danger to you and other motorists. If you observe any of these issues, consult a qualified mechanic or the bracket manufacturer to inspect the damage and determine if a replacement is necessary before riding again.
Frequently Asked Questions (FAQ)
Can I use a universal bracket for my scooter?
Using a universal bracket is generally not recommended for modern scooters. Universal brackets often require extensive modifications, such as cutting plastic bodywork, welding custom tabs onto your frame, or using unstable adapter plates that do not align with factory load-bearing points. These modifications can compromise the structural integrity of your scooter’s rear frame, void your vehicle’s safety standards, and increase the risk of the bracket detaching while riding. Investing in a model-specific bracket ensures a precise fit, preserves your scooter’s structural integrity, and provides a much safer mounting solution.
Will adding a top box affect my motorcycle's warranty?
Adding an aftermarket top box and bracket can potentially affect your motorcycle’s warranty, depending on how the installation is handled. Using genuine accessories approved by your motorcycle manufacturer typically preserves your warranty status. However, if you install a third-party bracket that requires modifying the frame, splicing into the tail light wiring, or causes structural damage to the subframe due to poor fitment, the manufacturer may void related warranty claims. To protect your warranty, always consult an authorized dealer before installing aftermarket brackets, and choose high-quality, model-specific options that do not require permanent modifications to your vehicle.

Community discussion
Share your experience or ask a question. Comments are reviewed before publication.