
Maintaining the braking system of your Yamaha Mio i 125 is one of the most critical aspects of rider safety, especially when navigating the busy streets and unpredictable weather conditions of the Philippines. The hydraulic front disc brake of this popular scooter relies entirely on brake fluid to transfer the force from your hand at the handlebar lever down to the brake caliper pistons that squeeze the brake pads against the rotor. Over time, this fluid degrades, absorbs moisture from the humid tropical air, and loses its effectiveness, leading to a spongy lever feel or, in extreme cases, complete brake failure. Choosing between DOT 3 and DOT 4 brake fluid is not just a matter of picking a higher number; it requires understanding your scooter’s specific engineering, the environmental demands of your daily commute, and the safety guidelines set by the manufacturer.
How to Verify the Manufacturer's Brake Fluid Specification
Before purchasing any brake fluid or attempting to service your scooter, you must verify the exact fluid specification designated by Yamaha for your specific Mio i 125 model year. The primary and most reliable source for this information is your official Yamaha owner’s manual, which outlines the recommended fluid types, service intervals, and capacity limits. Because manufacturers may update specifications or component designs across different production years, relying on general online forums can lead to using incompatible fluids that might damage your braking system.
If you do not have access to the physical owner’s manual, you can find the required specification directly on the scooter itself. Locate the front brake master cylinder reservoir, which is mounted on the right side of your handlebars near the throttle grip. On the top of the metal reservoir cap, you will find engraved text that specifies the required fluid type, typically stating “Use only DOT 3 or DOT 4 brake fluid” or a similar warning. Ensure you clean any dirt, road grime, or debris off the cap before reading to prevent contaminants from falling into the reservoir if you decide to open it.
Products mentioned in this guide
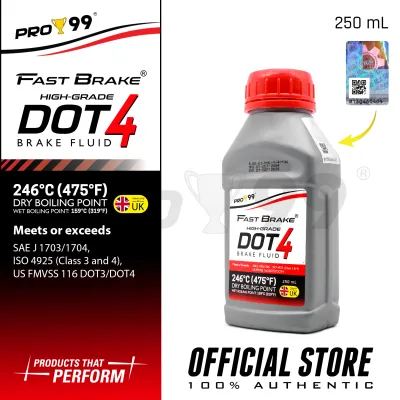
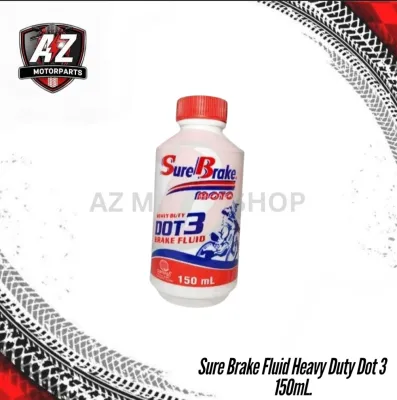
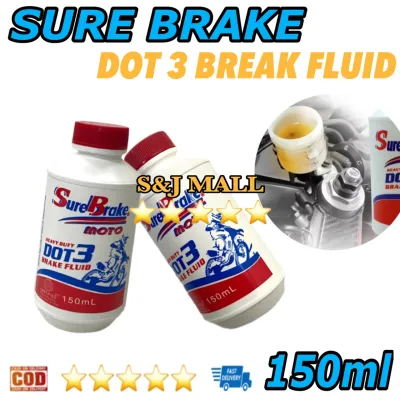
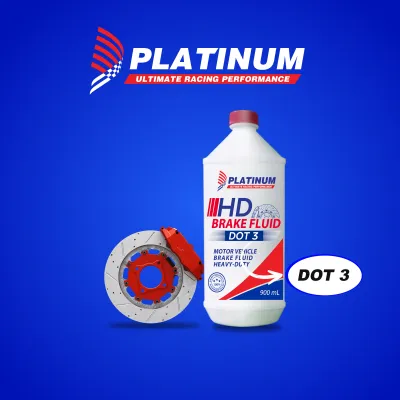
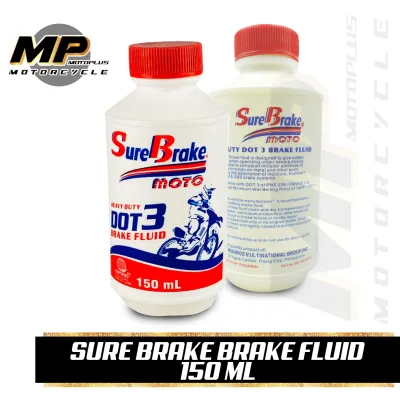
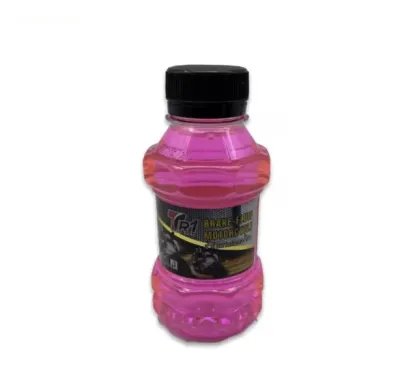
Prices are valid at publication and may change. Please refer to the product page for the latest price.
Additionally, if your scooter has been serviced previously at an authorized Yamaha service center, check your recent service receipts or maintenance logs. These records often detail the exact brand and grade of fluid used during the last brake system flush. If you are still uncertain or if the engravings on your master cylinder cap have become worn and illegible over years of exposure to the sun, consult an authorized Yamaha dealer to confirm the correct specification for your vehicle’s chassis number.
Core Differences Between DOT3 and DOT4 Fluids
To understand why choosing the correct fluid is vital, you must understand the physical and chemical differences between DOT 3 and DOT 4 classifications. Both of these fluids are glycol-ether based, meaning they share a similar chemical foundation, but they differ significantly in their boiling points and chemical additive packages. The Department of Transportation (DOT) sets standards for these fluids based on two critical metrics: the dry boiling point and the wet boiling point.

The dry boiling point refers to the temperature at which the brake fluid will boil when it is fresh out of a sealed bottle, with zero percent moisture content. The wet boiling point represents the boiling temperature once the fluid has absorbed a specific percentage of water from the surrounding atmosphere, typically around 3.7 percent. DOT 4 fluid is formulated with additional borate esters, which chemically bind with moisture and allow it to maintain a higher boiling point even as it absorbs water over time. Consequently, DOT 4 generally offers higher dry and wet boiling points compared to DOT 3, making it more resistant to boiling under extreme heat.
This difference becomes highly relevant in the tropical climate of the Philippines, where high relative humidity accelerates the rate at which brake fluid absorbs moisture. Glycol-based fluids are highly hygroscopic, meaning they naturally attract and absorb water vapor from the air through microscopic pores in the rubber brake hoses and reservoir seals. As moisture accumulates in the fluid, its boiling point drops significantly; if the fluid boils during heavy braking, it creates gas bubbles within the hydraulic lines. Because gas is compressible unlike liquid, this phenomenon—known as vapor lock—results in a sudden loss of braking pressure and a dangerous inability to stop.
Furthermore, the chemical additives in DOT 4 fluids are designed to handle higher thermal loads, but they also alter the fluid’s viscosity. Viscosity refers to the fluid’s thickness and how easily it flows through the small passages and valves within the master cylinder and caliper. While both fluids are designed to operate across a wide temperature range, the specific viscosity profile of DOT 4 is tailored to modern braking systems, whereas DOT 3 is often utilized in older or less thermally demanding configurations.
Safety Rules for Mixing, Upgrading, or Flushing
When maintaining your Yamaha Mio i 125, you must adhere to strict safety boundaries regarding fluid substitution, mixing, and system flushing. Under no circumstances should you mix different DOT ratings or different brands of brake fluid in your reservoir as a quick top-up. While DOT 3 and DOT 4 are chemically compatible because they are both glycol-based, mixing them will immediately compromise the performance of the fluid, reducing the overall boiling point of the mixture close to the lower DOT 3 standard and potentially destabilizing the additive packages.
If your owner’s manual permits the use of either DOT 3 or DOT 4, and you decide to transition from DOT 3 to DOT 4, you must perform a complete brake system flush rather than simply adding the new fluid on top of the old. A complete flush involves draining the entire hydraulic system, cleaning the reservoir, and bleeding fresh DOT 4 fluid through the lines until all traces of the old DOT 3 fluid and any accumulated moisture are entirely purged. This ensures that the new fluid can perform at its rated specifications without contamination.
Conversely, you must never downgrade your brake fluid to a lower rating than what is specified on your master cylinder cap or in your owner’s manual. If your scooter’s braking system was engineered specifically for DOT 4, downgrading to DOT 3 can lead to premature fluid boiling under normal riding conditions, accelerated seal wear, and potential brake failure. The internal rubber seals, O-rings, and hoses in your master cylinder and caliper are designed to be compatible with the specific chemical composition of the recommended fluid; using an incorrect or lower-grade fluid can cause these rubber components to swell, soften, or degrade, leading to dangerous fluid leaks.
Because the braking system is your scooter’s primary safety mechanism, any maintenance involving fluid replacement, flushing, or component disassembly carries inherent risks. Always refer to the original vehicle manufacturer’s instructions before starting any work. If you lack the proper tools, such as a torque wrench, bleed hose, and fresh fluid, or if you are uncomfortable performing hydraulic maintenance, you should have a qualified professional mechanic at an authorized service center perform the fluid replacement to ensure your brakes are safe for the road.
Inspecting and Maintaining Your Scooter's Braking System
A regular inspection routine is essential to catch brake fluid degradation before it leads to a dangerous situation on the road. Start by checking the fluid level and color through the sight glass on your master cylinder reservoir while the scooter is parked on its center stand on level ground. Fresh brake fluid is typically clear with a light amber or yellow tint; as it ages, absorbs moisture, and is subjected to heat, it turns into a dark brown, cloudy, or tea-like color. If you observe dark or murky fluid in the sight glass, it is a clear indicator that the fluid has degraded and needs to be completely flushed and replaced.
Another critical aspect of inspection is monitoring the fluid level. While a gradual drop in the reservoir level is normal as your brake pads wear down and the caliper pistons extend further, a sudden or significant drop indicates a potential leak in the system. Inspect the entire length of the brake hose, the connections at the master cylinder, and the area around the front brake caliper for any signs of wetness or oily residue. If you suspect a fluid leak, do not ride the scooter, as a loss of hydraulic pressure will prevent the brakes from functioning.
Whenever you replace your brake fluid or open the hydraulic system, proper brake bleeding is absolutely mandatory to remove any trapped air pockets. Air in the brake lines acts as a cushion, absorbing the force you apply to the handlebar lever and preventing it from reaching the brake caliper. Bleeding involves pumping the brake lever, holding it down, and opening the bleed valve on the caliper to let fluid and air bubbles escape, then closing the valve before releasing the lever. This process must be repeated until only clean, bubble-free fluid flows through your bleed hose.
You must establish clear stop-conditions where DIY maintenance ends and professional help is required. If you experience a spongy or soft brake lever that pulls all the way to the handlebar grip even after multiple bleeding attempts, this indicates persistent air pockets or internal master cylinder seal failure. Similarly, if you notice fluid weeping from the caliper piston seals, or if your brake lever feels excessively stiff and does not return smoothly, stop riding immediately. These issues require specialized tools and diagnostic expertise, and they must be resolved by a qualified mechanic to guarantee your safety.
Purchasing Checklist for Brake Fluid in the Philippines
When buying replacement brake fluid for your Yamaha Mio i 125 in the Philippines, you must exercise caution to ensure you are purchasing a genuine, high-quality product. The local market contains various automotive fluids, and using counterfeit or substandard brake fluid can severely compromise your safety. Always purchase your brake fluid from authorized Yamaha dealerships, established auto supply stores, or official brand stores on reputable online marketplaces.
Before paying for the product, carefully inspect the packaging for official certification marks and quality seals. Look for international standards such as the DOT 3 or DOT 4 markings clearly printed on the label, along with local compliance indicators like the Philippine Standard (PS) mark or Import Commodity Clearance (ICC) stickers. Ensure that the manufacturer’s brand name, batch number, and manufacturing date are clearly legible; avoid buying bottles that look old, dusty, or have faded labels, as they may have been sitting on shelves for years.
The most critical safety feature to check is the tamper-evident seal under the plastic cap. Because glycol-based brake fluid begins absorbing moisture from the air the moment it is exposed to the atmosphere, a broken or missing foil seal means the fluid is already contaminated and unsafe to use. Never purchase unbranded fluids, loose fluid sold in generic containers, or previously opened bottles. To minimize waste and prevent moisture contamination during storage, buy small container sizes, such as 150ml or 250ml bottles, which contain more than enough fluid to completely flush a scooter’s single front disc brake system without leaving excess fluid to spoil.
Frequently Asked Questions (FAQ)
How often should the brake fluid be replaced on a Yamaha Mio i 125?
You should consult your Yamaha owner’s manual for the official recommended maintenance schedule, which typically advises replacing the brake fluid every two years or every 10,000 to 20,000 kilometers, whichever comes first. However, the tropical climate of the Philippines, characterized by high humidity and heavy seasonal rainfall, can accelerate moisture absorption within the hydraulic system. If you frequently ride in heavy stop-and-go city traffic or navigate steep terrain, you should inspect your fluid color and level every six months and consider replacing it sooner if it appears dark or cloudy.
Will switching to DOT4 improve the braking performance of my scooter?
Switching to DOT 4 brake fluid will not increase the initial stopping power, bite, or responsiveness of your Yamaha Mio i 125’s front brake. The actual stopping force is determined by the mechanical design of your master cylinder, the caliper, the surface area of your brake pads, and the condition of your brake rotor. What DOT 4 does provide is a higher boiling point, which increases your braking system’s resistance to fade and vapor lock under extreme heat, such as during prolonged braking down long hills. You should only make this switch if your owner’s manual lists DOT 4 as an approved fluid and you perform a complete system flush to prevent contamination.

Community discussion
Share your experience or ask a question. Comments are reviewed before publication.