
Finding the most reliable brake shoes for your Honda XRM 125 is essential for maintaining safe stopping power on busy Philippine roads. While many riders search for a single “best” brand, the reality of motorcycle maintenance is that reliability depends on verifying manufacturer specifications, inspecting material labels, and matching exact drum brake dimensions. Because market availability fluctuates and independent laboratory test data for every aftermarket brand is rarely public, choosing the right brake shoe requires a methodical approach to quality verification rather than relying on brand names alone. By understanding what to look for in both genuine Original Equipment Manufacturer (OEM) parts and reputable aftermarket alternatives, you can ensure your underbone motorcycle remains safe, responsive, and durable through daily commutes and challenging weather conditions.
Understanding Brake Shoe Requirements for the Honda XRM 125
The Honda XRM 125 is a workhorse on Philippine roads, frequently subjected to heavy loads, steep terrain, and unpredictable weather. To maintain its stopping power, you must understand the specific mechanical requirements of its rear drum braking system. Unlike front disc brakes that use pads, the rear drum brake relies on a pair of curved brake shoes that expand outward against the inside of a spinning metal drum.
To ensure a perfect fit, always start by locating the correct OEM part number in your motorcycle’s owner’s manual or by inspecting the existing hardware during disassembly. The XRM 125 has specific physical dimensions, pivot point configurations, and spring mounting locations that must match the replacement part exactly. Even a millimeter of variance in the backing plate or the friction lining thickness can cause the shoes to drag, overheat, or fail to engage properly inside the hub.
Products mentioned in this guide
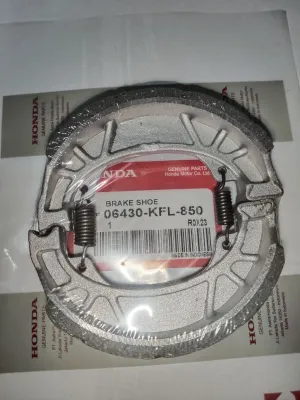
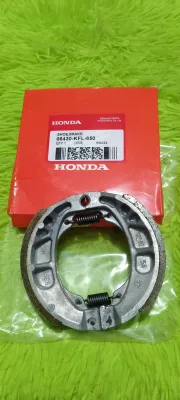
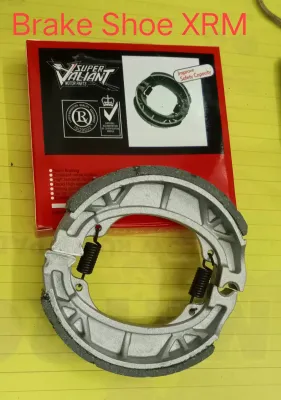
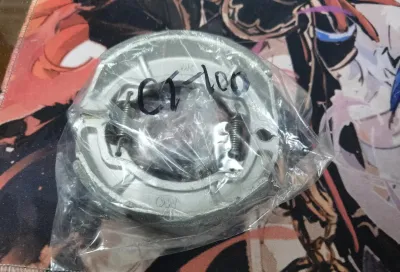
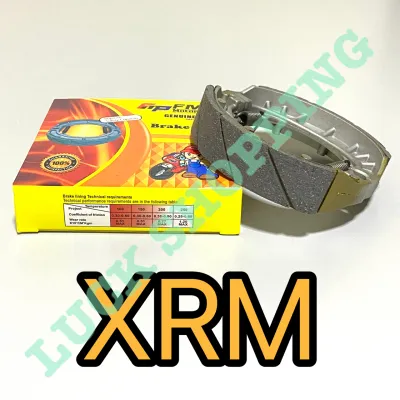
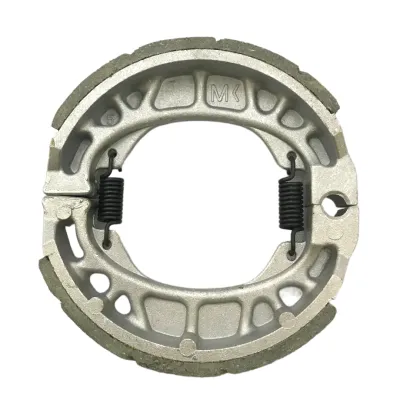
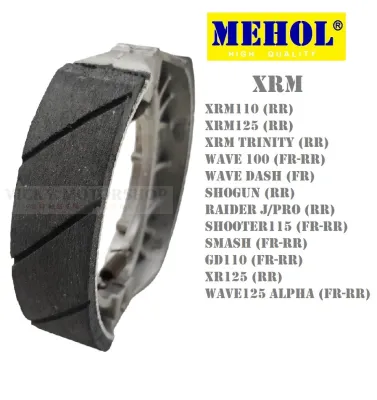
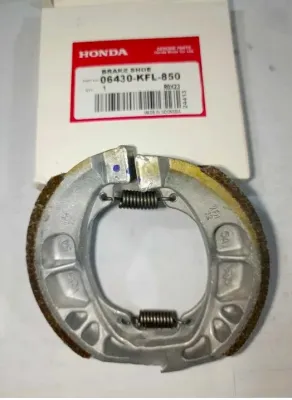
Prices are valid at publication and may change. Please refer to the product page for the latest price.
Local riding conditions play a massive role in how quickly these components wear down. In the Philippines, motorcycles frequently encounter high humidity, heavy monsoon rains, flooded streets, and dusty provincial roads. These environmental factors introduce moisture, grit, and heat into the drum assembly, which accelerates the degradation of the friction material. Choosing a brake shoe designed to withstand these tropical conditions is vital for preventing premature wear and brake fade.
OEM Honda Parts vs. Aftermarket Alternatives
When shopping for replacement brake shoes, you will generally choose between genuine OEM Honda parts and a wide variety of aftermarket alternatives. Genuine OEM parts are manufactured to the exact specifications of the motorcycle’s original design. They feature distinct packaging authenticity markers, such as holographic labels and specific part numbers, which help you verify their origin. OEM friction compounds are formulated for balanced performance, offering consistent stopping power and a predictable wear rate that preserves the life of your brake drum.

Aftermarket brands, on the other hand, offer a broader range of choices and price points. When evaluating these third-party options, it is crucial to check for clear manufacturer details, contact information, and production batches on the packaging. High-quality aftermarket manufacturers use robust friction materials that mimic or sometimes alter the performance characteristics of the original, but lower-tier, unbranded options may use inferior compounds that wear down rapidly or damage the inner drum.
The price-to-value assessment often guides a rider’s final decision. Genuine Honda brake shoes typically command a higher price, often ranging from ₱300 to ₱600, reflecting their guaranteed compatibility, strict quality control, and dealer backing. Aftermarket alternatives can range from budget-friendly options around ₱100 to premium performance-oriented shoes costing upwards of ₱400. While saving money is tempting, extremely cheap parts often compromise on material density and bonding strength, which can lead to sudden failure.
Sourcing your parts safely is just as important as the brand you choose. To avoid counterfeit products, which are common in the motorcycle parts market, always purchase from authorized Honda dealers or highly reputable local motorcycle shops. If you prefer shopping on an online marketplace or ecommerce platform, only buy from official brand stores or highly rated sellers with verified customer feedback and clear return policies.
Key Evaluation Criteria for Brake Shoe Reliability
Evaluating the reliability of a brake shoe before installation requires a close physical inspection of the product. Start by examining the friction material itself. The lining should be evenly molded, with a consistent texture and no visible cracks, chips, or glazing on the surface. Most importantly, inspect the bond line where the friction material meets the metal backing plate; there should be no gaps, adhesive squeeze-out, or signs of separation, as a detached lining can lock up your rear wheel while riding.
The hardware included in the kit is another indicator of overall quality. Reliable brake shoe kits generally include a new set of return springs. These springs must be made of high-tensile steel to ensure they pull the shoes back to their resting position when you release the brake pedal. Reusing old, stretched springs can cause the brakes to drag, leading to excessive heat buildup and rapid wear of both the shoes and the drum.
Look closely at the labeling and certifications printed on the packaging. Reputable manufacturers display clear specifications, material composition indicators (such as non-asbestos labels), and production dates. Avoid products that lack these details or use vague, generic packaging, as they often bypass standard quality control protocols.
Finally, perform a visual quality check on the metal backing plate. The plate should be made of sturdy, cast aluminum or steel with a clean finish, free from sharp burrs or casting defects. Pay close attention to the pivot holes and the anchor pin slots; these areas must be precisely machined to fit securely onto the brake panel without excessive play or binding.
How to Verify Compatibility and Safety Before Installation
Before you begin the installation process, you must verify that the new brake shoes are fully compatible with your specific Honda XRM 125 model year. Start by cross-referencing the physical dimensions of the old shoes with the new ones. Lay them side-by-side to confirm that the width, curvature, pivot points, and spring holes align perfectly.
Next, inspect the inside of the brake drum on your wheel hub. Over time, dirt and worn friction material can score the drum, creating deep grooves or an uneven surface. If the drum is heavily worn, out of round, or exceeds the maximum service limit diameter stamped on the hub, installing new brake shoes will not restore safe braking performance. In such cases, the hub must be machined or replaced entirely.
While replacing brake shoes is a common maintenance task, it directly impacts your safety on the road. If you lack the proper tools, such as a torque wrench and brake spring pliers, or if you feel unsure about any step of the process, stop immediately and consult a qualified motorcycle mechanic. Incorrectly installed shoes can lead to brake failure, wheel lockup, or severe damage to your motorcycle’s rear hub.
Once the new shoes are safely installed, you must perform a critical bedding-in procedure. New friction materials require a brief period of controlled use to seat properly against the drum’s surface. Avoid hard, sudden braking for the first 50 to 100 kilometers of riding. Instead, apply gentle, progressive pressure to the rear brake to gradually transfer a thin layer of friction material to the drum, ensuring optimal stopping power and preventing glazing.
Decision Framework: Choosing the Right Brake Shoe Option
To make the best choice for your Honda XRM 125, use this practical decision framework based on your riding habits, budget, and willingness to perform manual inspections.
Choose Genuine OEM if you prioritize absolute peace of mind, guaranteed compatibility, and factory-tested stopping performance. This option is ideal for daily commuters who rely on their motorcycle for livelihood, carry heavy loads, or prefer a straightforward installation without the need to scrutinize aftermarket material standards.
Choose Reputable Aftermarket if you are working within a tighter budget but are willing to spend time verifying the manufacturer’s reputation. This path is suitable for riders who can physically inspect the parts before purchase, ensure the packaging contains clear certification labels, and confirm that the kit includes high-quality replacement springs.
Verify First if you encounter brake shoes with unusually low prices on online marketplaces, generic packaging lacking manufacturer details, or visible imperfections on the friction lining. If the bonding between the lining and the backing plate looks uneven, or if the metal plate feels exceptionally light or poorly cast, reject the part immediately to protect your safety on the road.
Frequently Asked Questions (FAQ)
How often should I replace the brake shoes on my Honda XRM 125?
There is no fixed mileage interval for replacing brake shoes, as wear depends heavily on your riding style, load, and road conditions. Instead, rely on the wear indicator pointer located on the rear brake panel; when the pointer aligns with the wear limit mark while the brake pedal is fully depressed, the shoes must be replaced. Additionally, listen for any scraping, squeaking, or grinding noises coming from the rear hub, or a spongy feeling in the brake pedal, which are clear signs that the friction material has worn down to the metal backing plate.
Can I mix OEM and aftermarket brake components?
For optimal safety and performance, you should never mix different brands or types of brake shoes within the same drum assembly. Brake shoes must always be replaced as a matched pair to ensure even friction, balanced heat dissipation, and uniform wear across the drum surface. Mixing different friction compounds can lead to uneven braking force, which may cause the rear wheel to slide or lock up unpredictably. Always ensure that the replacement springs and hardware used during the installation are fully compatible with the specific shoes you have selected.

Community discussion
Share your experience or ask a question. Comments are reviewed before publication.