
Checking your motorcycle’s engine oil level using the dip stick is one of the most critical maintenance tasks you can perform. In tropical climates like the Philippines, where high ambient temperatures and heavy stop-and-go traffic put extra thermal stress on your engine, keeping the oil at the correct level is vital to prevent overheating and premature wear. A quick, regular check ensures that your engine components remain fully lubricated, saving you from a costly engine rebuild that could easily run upwards of ₱15,000 in parts and labor.
Preparation and Safety Before Checking the Oil
To get an accurate reading, you must first prepare the motorcycle and its environment. Always park the motorcycle on a flat, level concrete surface. If the ground is sloped, gravity will pull the oil to one side of the crankcase, resulting in an inaccurate reading on your dip stick.
You must hold the motorcycle completely upright. Using the side stand tilts the bike, which pushes the oil away from the dip stick’s measuring path and leads to an artificially low reading. If your motorcycle is equipped with a center stand, deploy it on level ground. If your bike only has a side stand, you will need to carefully balance the motorcycle vertically while taking the reading, or use a secure paddock stand.
Products mentioned in this guide
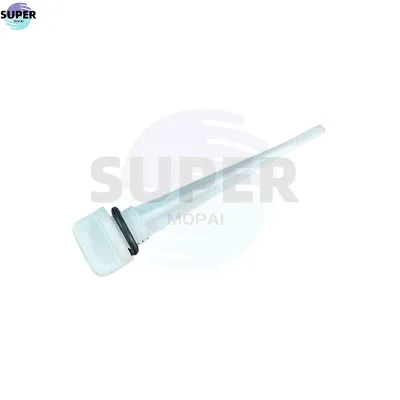
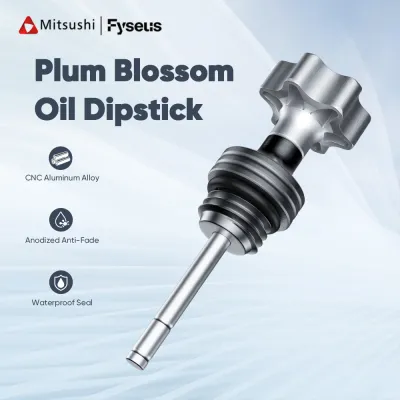
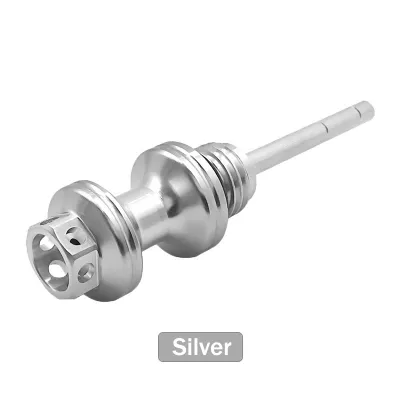
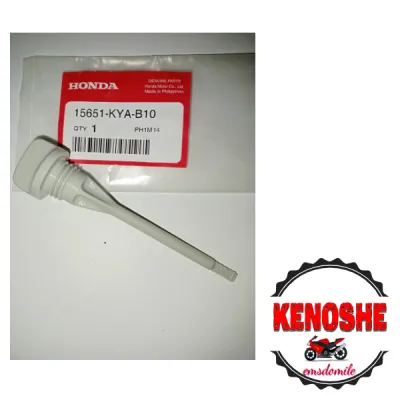
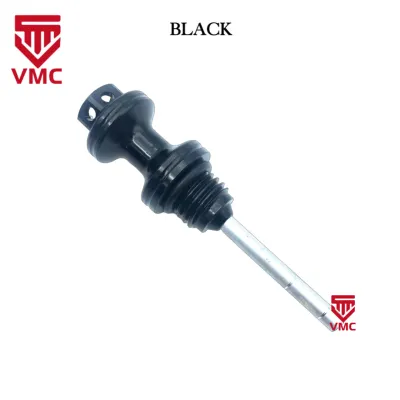
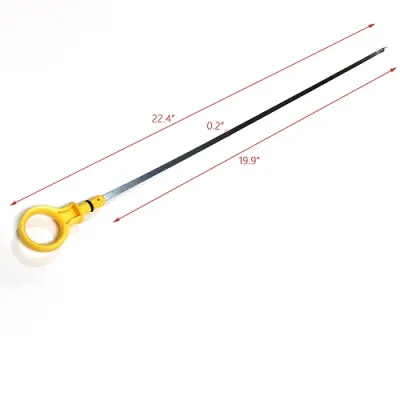
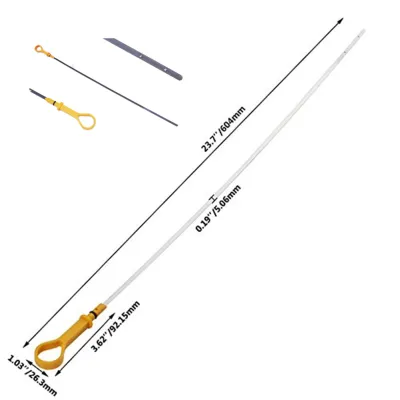
Prices are valid at publication and may change. Please refer to the product page for the latest price.
Engine temperature plays a significant role in how oil settles. You must consult your specific motorcycle owner’s manual to determine whether to check the oil when the engine is cold or warm. Some manufacturers recommend checking the oil after the engine has idled for a few minutes and then rested for another few minutes to allow the oil to drain back into the oil pan. Other manufacturers specify a completely cold check before the first ride of the day.
If your manual requires a warm check, start the engine and let it idle for three to five minutes. Turn off the ignition and let the motorcycle sit upright for another three to five minutes. This brief pause allows the oil circulating through the cylinder head and transmission gears to flow back down into the crankcase reservoir, ensuring the dip stick measures the actual volume of oil available.
Before you touch the dip stick, gather your cleaning materials. You need a clean, lint-free microfiber cloth or a high-quality paper towel. Avoid using old, frayed cotton rags or dirty shop towels, as these can shed tiny fibers or drop abrasive road grit directly into the open oil filler hole, which can damage internal engine bearings.
Step-by-Step Guide to Reading the Dipstick
Locate the dip stick, which is typically integrated into the oil filler cap on the side of the crankcase. Before unscrewing it, wipe the area around the cap clean to prevent dirt, dust, or road grime from falling into the engine opening once the cap is removed.

Carefully unscrew the dip stick counterclockwise and pull it straight out of the engine. At this stage, do not look at the oil level on the stick, as oil splashes around inside the crankcase while the engine is running, coating the dip stick and making this initial reading completely inaccurate.
Wipe the entire length of the dip stick clean using your lint-free cloth, ensuring the measuring tip is completely dry and free of oil. Take note of the markings on the tip of the dip stick. You will typically see two distinct lines, dots, or crosshatched areas representing the upper (maximum) and lower (minimum) limits.
Now, reinsert the dip stick to take the actual measurement. This is where you must follow your manufacturer’s precise instructions. For many motorcycles, you must rest the dip stick on top of the filler hole threads without screwing it in. For other models, you must screw the dip stick in completely until it bottoms out before removing it again. Refer to your owner’s manual to verify which method your specific model requires, as mixing up these methods can lead to a reading error of several millimeters, potentially causing you to run the engine with too little or too much oil.
Pull the dip stick straight out again, keeping it pointed downward so the oil film does not run up or down the shaft and distort the reading. Look closely at the wet line left by the oil on the measuring tip. The oil level should ideally sit right in the middle of the upper and lower limit marks, or slightly below the upper maximum line.
While reading the level, take a moment to inspect the physical condition of the oil on the dip stick. Fresh, healthy motorcycle oil is typically amber or light brown and translucent. If the oil is dark black but still translucent, it is aging but may still be functional, depending on your service interval. However, if the oil is thick, completely opaque black, or gritty, it is time for a complete oil and filter change.
Interpreting the Results and Taking Action
If the oil level is at or below the lower limit mark, you must top it up immediately before riding. Operating a motorcycle with insufficient oil reduces lubrication, increases friction, and prevents proper heat dissipation, which can quickly lead to engine overheating or catastrophic mechanical failure.
When topping up, use only the exact oil grade, viscosity, and specification recommended by your motorcycle manufacturer. For example, most modern motorcycles with wet clutches require oils meeting the JASO MA or MA2 standards to prevent clutch slippage, while automatic scooters typically use JASO MB oils. Pour a small amount of oil—usually 50 to 100 milliliters at a time—into the filler hole, wait a minute for it to drain down, and recheck the level with the dip stick.
Be extremely careful not to overfill the engine. If the oil level rises above the upper maximum mark, it can cause severe mechanical issues. Excess oil in the crankcase gets whipped into a froth by the spinning crankshaft, a process called aeration. Aerated oil contains air bubbles, which cannot be pressurized effectively by the oil pump, leading to a drop in oil pressure and poor lubrication. Furthermore, overfilling increases internal crankcase pressure, which can blow out engine seals, force oil into the airbox through the breather tube, or cause the engine to burn oil and emit blue smoke.
If you find that the oil level is significantly overfilled, you must drain the excess oil before starting the engine. You can do this by carefully loosening the oil drain bolt at the bottom of the engine to let a small amount escape, or by using a clean syringe with a flexible tube to siphon the excess oil out through the filler hole.
Pay close attention to severe warning signs on the dip stick that indicate internal engine problems. If the oil on the dip stick appears milky, cloudy, or resembles a light brown milkshake, it indicates that coolant or water has mixed with the oil. This is a critical stop condition, often pointing to a blown head gasket or a failing water pump seal. Stop riding immediately and consult a qualified mechanic.
Similarly, if the oil smells strongly of gasoline, it suggests that unburnt fuel is bypassing the piston rings and diluting the oil, which destroys its lubricating properties. If you notice shiny metallic flakes or particles suspended in the oil film on the dip stick, this is a sign of severe internal component wear. In both cases, do not run the engine; seek professional mechanical assistance to diagnose the root cause.
Common Mistakes to Avoid When Using a Dipstick
One of the most frequent errors riders make is checking the oil level while the motorcycle is resting on its side stand. Because the bike is leaning, the oil pools to one side of the crankcase, away from the dip stick. This makes the oil level appear much lower than it actually is, leading many riders to mistakenly add too much oil, resulting in an overfilled engine once the bike is upright.
Another common mistake is failing to verify the correct dip stick insertion method. Assuming that all motorcycles require you to screw the dip stick in—or conversely, assuming they all require just resting it on the threads—can lead to significant reading errors. For instance, if your bike requires resting the dip stick on the threads but you screw it in, you will get an artificially high reading and may unknowingly run your engine with low oil.
Using dirty, dusty, or lint-heavy rags to wipe the dip stick is another easily avoided mistake. Tiny fibers, dust particles, or sand from a dirty rag can cling to the dip stick and get introduced directly into the engine’s oil gallery. Over time, these contaminants can clog small oil passages or act as an abrasive paste, wearing down delicate engine components. Always use clean, lint-free materials.
Frequently Asked Questions (FAQ)
How often should I check my motorcycle's engine oil?
You should consult your motorcycle’s owner’s manual for the manufacturer’s recommended inspection intervals. As a general rule of thumb, it is highly recommended to check your oil level at least once a week, or before any long-distance ride. If you ride daily in severe conditions—such as heavy stop-and-go traffic in hot, humid tropical environments, or on dusty unpaved roads—you should check the oil level more frequently, as these conditions accelerate oil consumption and degradation.
Can I mix different brands or viscosities of engine oil in an emergency?
In an emergency situation where your oil level is dangerously low and the exact oil is unavailable, it is better to top up with a different brand or slightly different viscosity than to run the engine dry. When doing so, prioritize matching the required API and JASO standards (such as JASO MA2 for wet clutches) over the brand name. However, because different oil brands use distinct additive packages that may not mix perfectly, you should perform a complete oil and filter change as soon as possible after an emergency top-up to restore optimal engine protection.

Community discussion
Share your experience or ask a question. Comments are reviewed before publication.