
Choosing the right oil drain valve for your motorcycle is a practical upgrade that simplifies routine maintenance, but it requires careful planning to ensure a perfect fit. To select the correct model, you must match the exact thread size and pitch of your motorcycle’s original equipment manufacturer (OEM) drain plug, verify the physical clearance around the oil pan, and choose a valve body style that accommodates your engine’s layout. Taking these steps prevents oil leaks and protects your engine from damage during operation.
In the Philippines, where motorcycles navigate diverse road conditions—ranging from smooth highways to flooded streets, deep potholes, and high speed humps—ensuring a secure and low-profile fit is essential. A mismatched or poorly positioned valve can catch on road debris, leading to catastrophic oil loss. By taking the time to measure your components and verify clearances, you can enjoy cleaner oil changes without compromising your bike’s safety.
Understanding Your Motorcycle's Oil Pan Specifications
Before purchasing any aftermarket drain valve, you must determine the exact specifications of your motorcycle’s oil pan drain port. The most reliable source for this information is your motorcycle’s official service manual or owner’s manual, which typically lists the thread diameter and pitch of the drain plug. If this documentation is unavailable, you can carefully remove your existing OEM drain plug during your next oil change and measure it using a thread pitch gauge and a vernier caliper.
Products mentioned in this guide
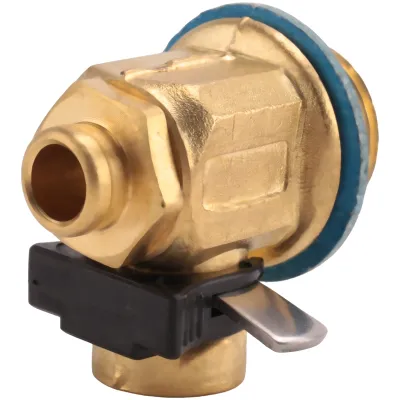
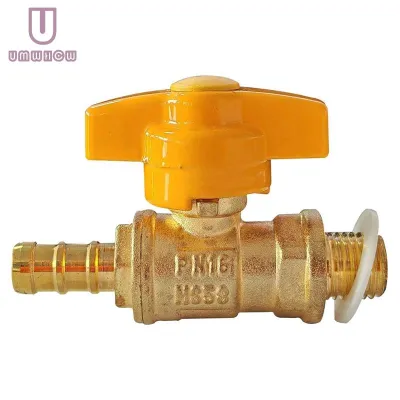
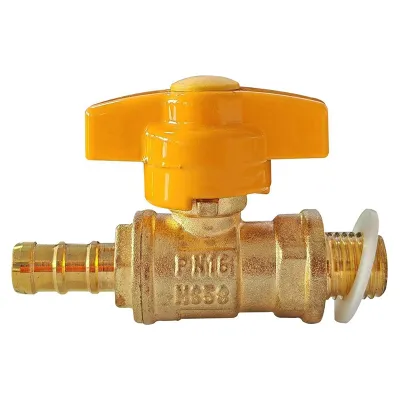
Prices are valid at publication and may change. Please refer to the product page for the latest price.
Physical space around the drain port is another critical factor that dictates which valve model will fit. Motorcycle engines are highly compact, with exhaust pipes, frame rails, lower fairings, and skid plates often positioned close to the oil pan. Use a flashlight to inspect the area around the drain hole, noting any potential obstructions that might prevent a valve from threading in or interfere with the operation of the valve lever.
Relying on visual estimates or guessing your thread size is a recipe for severe engine damage. Attempting to force a valve with the wrong thread pitch into your oil pan can easily strip the soft aluminum threads, leading to a loose fit, persistent oil weeping, or a complete thread failure while riding. A stripped oil pan can turn a simple maintenance task into an expensive repair costing upwards of ₱5,000 for a replacement pan or professional thread repair.
Decoding Fumoto Valve Specifications for Motorcycles
Fumoto valves are engineered with specific thread sizes, body lengths, and lever configurations to accommodate different machinery, making it vital to decode these specifications for your specific motorcycle. The valve threads must match your oil pan exactly without the use of universal adapters, as adapters add unnecessary length and create additional potential leak points. Ensuring a direct, flush fit is the first step toward a leak-free installation.

The physical dimensions of the valve body—specifically the length and profile—are crucial for maintaining adequate ground clearance. For motorcycle applications, short-body or low-profile models are generally preferred over standard automotive versions. A shorter valve body minimizes the distance the unit protrudes beneath the oil pan, reducing the risk of the valve striking speed humps, road debris, or loose gravel during your daily commute.
Lever type and orientation also play a major role in usability and safety. Some valve models feature a standard lever, while others utilize a short lever or require a plastic safety clip to lock the mechanism in place. You must choose a configuration that allows you to easily reach and operate the lever with your fingers or a small tool, while ensuring that the lever is shielded from accidental deployment by wind, road debris, or vibration.
Step-by-Step Model Selection and Verification
To find the correct valve model, start by consulting the manufacturer’s official fitment guide or an authorized application catalog. Input your motorcycle’s exact make, model, and year to generate a list of compatible candidate part numbers. Because motorcycle designs can change slightly between model years, always double-check that the catalog matches your specific production year rather than relying on a general model generation.
Once you have identified a candidate valve model, perform a physical mock-up or visual check on your motorcycle. Compare the dimensions of the candidate valve against the actual clearance space around your drain port, paying close attention to the proximity of heat shields and lower fairings. Ensure there is enough rotational clearance to spin the valve into place during installation without hitting surrounding engine components.
If you encounter conflicting specification data, if your motorcycle’s oil pan threads are already damaged, or if you are unsure about clearance limits, stop the selection process immediately. Do not attempt to force a fitment that seems incorrect. Instead, consult a qualified professional motorcycle mechanic who can inspect your oil pan, verify the thread dimensions, and recommend the safest course of action.
Installation Safety and Maintenance Boundaries
When installing your new valve, always prioritize safety and follow the original vehicle manufacturer’s guidelines. You must use a new, compatible crush washer or the gasket supplied with the valve to ensure a proper seal. Tighten the valve strictly to the torque specifications recommended by the valve manufacturer or your motorcycle’s service manual, using a calibrated torque wrench to avoid over-tightening and cracking the oil pan.
Pay close attention to how the valve behaves during the initial installation steps. The valve should thread into the oil pan smoothly by hand for several turns; if you encounter immediate resistance, back it out to prevent cross-threading. Once installed and the engine is refilled with oil, run the engine at idle and inspect the area closely for any signs of weeping or slow leaks before taking the motorcycle out on the road.
Incorporate a quick visual inspection of the valve into your routine pre-ride maintenance checklist. Regularly check that the valve lever is fully closed, the safety clip is securely in place, and there is no oil accumulation around the base of the valve. This simple habit is especially important after riding through heavy tropical downpours, muddy roads, or rough terrain where debris could potentially impact the underside of your engine.
Frequently Asked Questions (FAQ)
Can I use a standard automotive valve on a motorcycle?
While some cars and motorcycles share identical drain plug thread sizes, using a standard automotive valve on a motorcycle is highly discouraged due to ground clearance and space limitations. Automotive valves often feature longer bodies and larger levers designed for spacious car undercarriages. On a motorcycle, these larger profiles protrude too far down, significantly increasing the risk of impact damage from road hazards, which can lead to sudden, catastrophic oil loss.
Do I need to remove the valve for every oil change?
No, the valve is designed to remain permanently installed on your motorcycle’s oil pan. To change your oil, you simply open the integrated lever mechanism to let the oil drain, and then close and lock it once empty. You should only remove the valve temporarily if you need to inspect the oil pan’s internal threads, perform a deep flush to remove heavy sediment, or if required by specific professional maintenance procedures.

Community discussion
Share your experience or ask a question. Comments are reviewed before publication.