
Choosing the right primary clutch for your Honda XRM 125 FI requires focusing on exact mechanical compatibility, material durability, and your specific riding demands. In the Philippines, where motorcycles frequently navigate dense stop-and-go traffic, high tropical humidity, and steep terrain, the transmission system undergoes significant thermal and physical stress. To ensure smooth power delivery and prevent premature wear, you must verify the physical dimensions, spline counts, and material specifications of any replacement clutch against your motorcycle’s original equipment manufacturer (OEM) standards.
Verify Exact Fitment and OEM Part Compatibility
Ensuring a precise physical fit is the most critical step when purchasing a replacement primary clutch. The Honda XRM 125 FI utilizes a specific transmission configuration that may differ from older or carbureted variants of the same model family. Before finalizing any purchase, cross-reference the manufacturer’s part number with your motorcycle’s exact model year and engine code. Relying solely on a generic product title on an online marketplace can result in receiving a component that does not align with your engine’s internal architecture.
To guarantee a secure installation, verify the inner hub spline count and the shaft diameter of the replacement clutch. Even a minor discrepancy in the spline profile will prevent the clutch from sliding onto the transmission input shaft, or worse, cause stripping under load. You must also confirm the outer diameter of the clutch basket and the tooth count on the primary drive gear. These dimensions must match the crankshaft gear accurately to maintain the correct gear ratio and prevent severe gear whine or catastrophic engine damage. Always consult your vehicle’s official service manual or an authorized dealer to verify these physical specifications.
Products mentioned in this guide
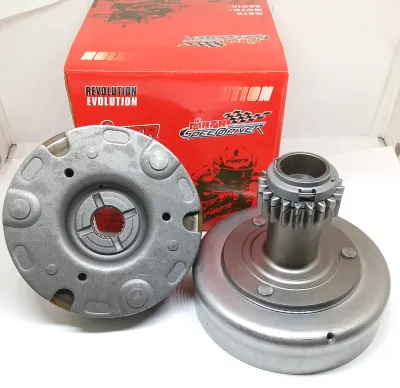
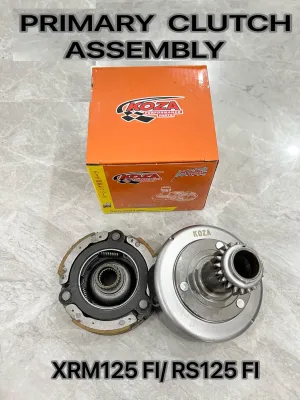
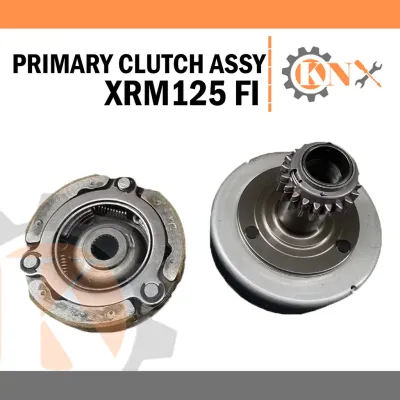
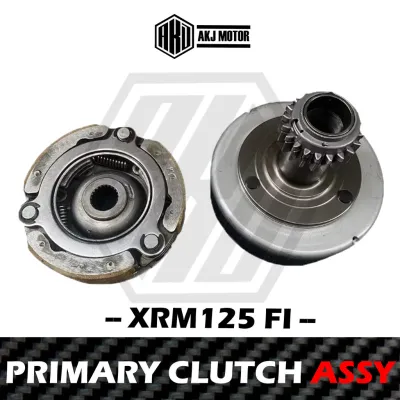
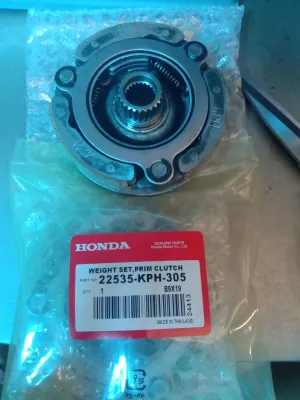
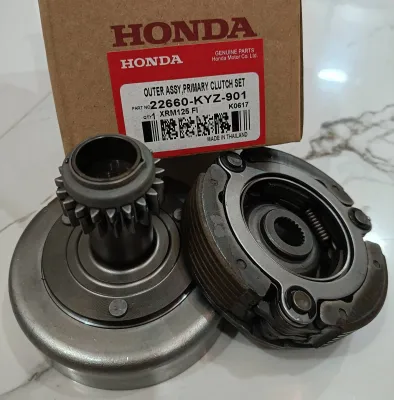
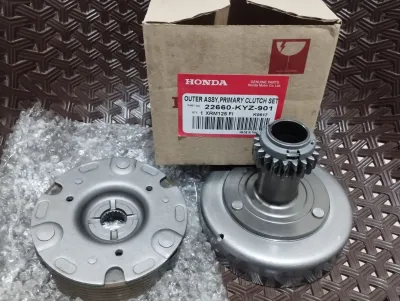
Prices are valid at publication and may change. Please refer to the product page for the latest price.
Evaluate Friction Materials and Spring Tension
The choice of friction materials directly influences how your clutch handles heat, delivers power, and holds up over time. Standard organic or cork-based friction plates offer smooth engagement and are highly suitable for daily, light-duty commuting. However, if you frequently carry heavy loads, ride with a passenger, or navigate hilly provincial roads, you might consider heavy-duty materials like Kevlar or sintered metal. These materials provide high heat resistance and a stronger grip, though they may result in a firmer lever feel and faster wear on the steel separator plates.

Clutch spring tension is another vital factor that dictates both rider comfort and transmission performance. Stiffer aftermarket springs increase the clamping force on the clutch pack, which effectively prevents clutch slippage when accelerating hard or carrying heavy cargo. The trade-off is a heavier clutch lever pull, which can quickly cause hand fatigue during long rides in congested urban traffic. For most daily riders, maintaining the OEM spring tension specification offers a reliable balance of comfort and engagement.
Additionally, you must verify the overall clutch stack height, which is determined by the combined thickness and number of the friction plates and steel separator plates. Installing a kit with the incorrect stack height can prevent the clutch from fully disengaging or cause it to slip constantly. Refer to the manufacturer’s specifications to ensure the replacement kit matches the exact plate count and thickness required for the XRM 125 FI engine.
Inspect Kit Completeness and Build Quality
When shopping for a primary clutch, evaluate the completeness of the kit to avoid mid-installation delays. Some packages are sold as basic friction plate sets, while others are comprehensive rebuild kits that include friction plates, steel separator plates, heavy-duty springs, and a replacement crankcase gasket. Opting for a complete kit is generally recommended, as replacing worn friction plates while leaving warped steel plates or fatigued springs in the engine will quickly compromise the performance of your new parts.
Before installing any new components, perform a thorough visual and physical inspection for manufacturing defects. Lay the steel separator plates on a flat surface, such as a sheet of glass, to check for warping or unevenness. Inspect the friction plates to ensure the friction material is bonded uniformly to the core and that there are no chipped edges or loose fragments. Examine the splines on the clutch hub and basket for any burrs, sharp edges, or machining debris that could hinder smooth movement along the shaft.
Choosing components from reputable brands that explicitly state compliance with or exceedance of OEM standards is crucial for long-term reliability. In demanding riding environments, low-quality aftermarket parts often suffer from rapid friction material degradation, leading to contaminated engine oil and potential oil pump blockage.
Prepare for Installation and Recognize Safety Limits
Replacing a motorcycle clutch is a precise mechanical task that requires adherence to safety boundaries and original-vehicle instructions. Before beginning, ensure you have a clean, dust-free workspace and the necessary tools. You will need to drain the engine oil completely and carefully remove the right-side crankcase cover. Take extreme care not to damage the aluminum mating surfaces of the engine case when scraping away old gasket material, as any imperfections will lead to persistent oil leaks.
A critical step that must never be skipped is pre-soaking the new friction plates. Before assembly, submerge the friction plates in clean, motorcycle-specific four-stroke (4T) engine oil for at least several hours—ideally overnight. Installing dry friction plates will cause them to burn out almost instantly upon starting the engine, ruining the new clutch before you even leave your driveway.
Be aware of your technical limits and the tools required for this job. Removing the clutch center nut safely typically requires a specialized clutch holding tool or an impact wrench; attempting to lock the engine using makeshift methods can easily chip gear teeth or crack the engine casing. Furthermore, if you inspect your existing clutch basket and find deep grooves worn into the fingers where the plates ride, the basket itself must be replaced. If you lack the proper tools, a flat workspace, or mechanical experience, always have the installation performed by a qualified professional mechanic to ensure road safety and proper vehicle operation.
Frequently Asked Questions (FAQ)
Can I use a primary clutch from an older XRM 125 carburetor model on the FI version?
No, you should not assume that a primary clutch designed for an older, carbureted Honda XRM 125 will fit the fuel-injected (FI) version. While the model names are similar, Honda introduced subtle but critical engineering updates to the engine internals, transmission shafts, and spline configurations when transitioning to fuel injection. Always verify the exact engine code and cross-reference the OEM part numbers for your specific model year to ensure compatibility before purchasing.
How do I know if my current clutch is slipping or just needs adjustment?
Before purchasing a replacement clutch, check the clutch cable free-play at both the handlebar lever and the engine bracket according to your owner’s manual. If there is no free-play, the clutch may be partially engaged, causing it to slip under load. If adjusting the cable to the recommended free-play does not resolve the issue, and you still experience high engine RPMs without a corresponding increase in road speed—especially when accelerating uphill—your friction plates are likely worn out and require replacement.

Community discussion
Share your experience or ask a question. Comments are reviewed before publication.