
Installing a muffler clamp properly on an aftermarket exhaust is a critical step in securing your motorcycle’s exhaust system, preventing toxic gas leaks, and ensuring compliance with local road regulations. In the Philippines, the Land Transportation Office (LTO) actively monitors and inspects motor vehicles for excessive noise levels, making a secure and leak-free exhaust joint essential for passing roadside checks and annual registrations. A loose or poorly fitted clamp allows exhaust gases to escape prematurely, which alters backpressure, creates harsh rattling noises, and significantly increases the overall decibel output of your motorcycle.
Achieving a professional-grade seal requires careful attention to component sizing, proper surface preparation, and precise torque application. By taking the time to select the correct clamp style and install it systematically, you can protect your aftermarket investment, maintain optimal engine performance, and ride with confidence knowing your vehicle meets national noise standards.
Understanding Muffler Clamp Sizing and Types
Selecting the correct muffler clamp begins with precise measurement rather than relying on general estimates. Use a vernier caliper to measure the outer diameter of the exhaust pipe and the outer diameter of the muffler’s inlet pipe where they overlap. Because aftermarket exhaust systems often feature unique tube thicknesses and slip-fit tolerances, even a fraction of a millimeter difference can prevent a clamp from sealing properly or cause it to crush the tubing.
Products mentioned in this guide
![[DOKI MOTO] MUFFLER CLAMP ALLOY](https://img.lazcdn.com/g/p/db82c339bc7da6a3c4307b442fc5eb3b.jpg_400x400q80.jpg_.webp)
Prices are valid at publication and may change. Please refer to the product page for the latest price.
Different clamp styles serve distinct purposes depending on your exhaust design. U-bolt clamps are common and provide high clamping force, but they concentrate pressure in a narrow band, which can easily crimp or deform thin-walled aftermarket pipes. This deformation can make future disassembly or adjustment extremely difficult without damaging the components.
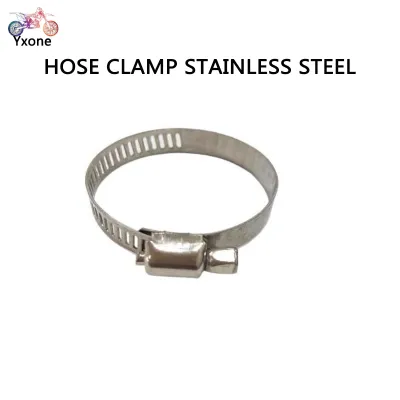
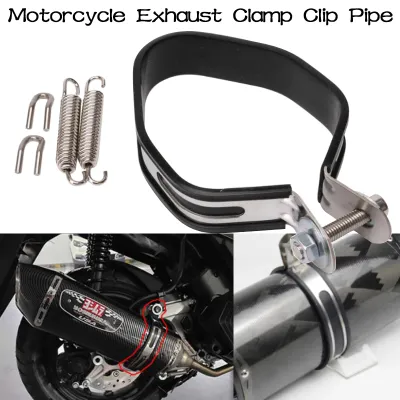
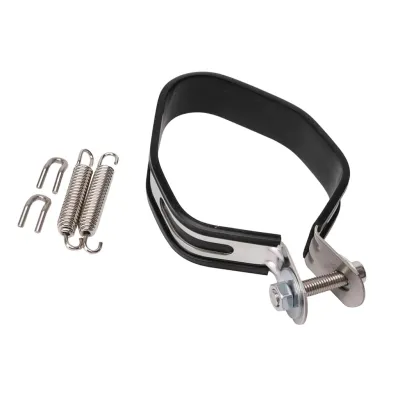
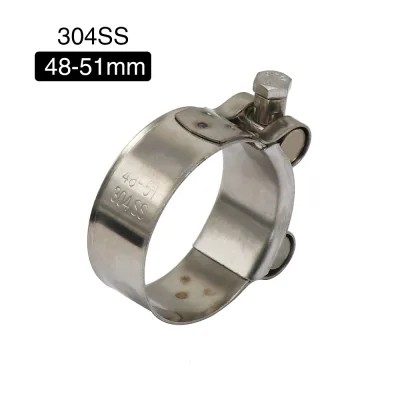
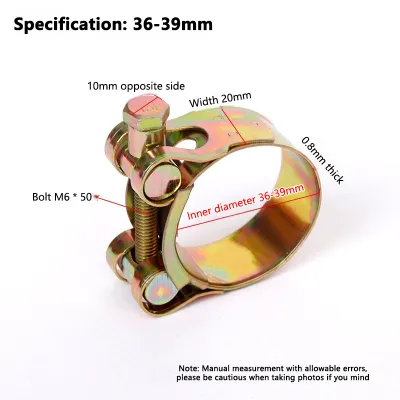
For most aftermarket slip-fit joints, band clamps or T-bolt clamps are highly recommended. Band clamps distribute the clamping force evenly over a wider surface area, minimizing the risk of pipe deformation while creating a highly secure seal. T-bolt clamps feature a heavy-duty bolt and a solid metal band that provides high, uniform tension, making them ideal for high-vibration environments.
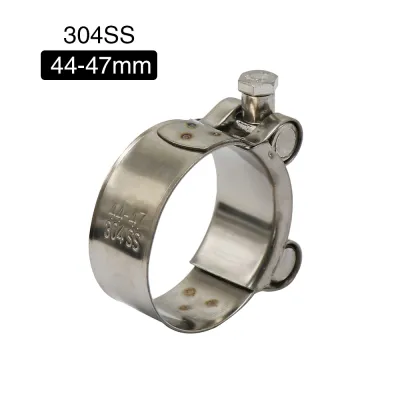
When choosing a clamp, always check your aftermarket exhaust manufacturer’s specifications for recommended hardware and sizing. In the humid, tropical climate of the Philippines, road moisture, heavy rains, and salt air can rapidly corrode low-grade steel hardware. Opting for high-grade stainless steel clamps, such as 304 stainless steel, ensures long-term durability and prevents rust-induced structural failures.
Tools and Safety Preparation
Before beginning the installation, gathering the correct tools and establishing a safe working environment is essential for preventing personal injury and component damage. You will need a set of vernier calipers for verification, a socket set with a ratchet, combination wrenches, and a calibrated torque wrench. Using a torque wrench is critical, as guessing the tightness of the hardware often leads to under-tightening, which causes leaks, or over-tightening, which strips threads or deforms the exhaust pipes.

Safety must be your top priority when working on any vehicle exhaust system. Exhaust components operate at extremely high temperatures and retain heat long after the engine is turned off. Always ensure the motorcycle is parked on a flat, stable surface, secured on its center stand or a reliable paddock stand, and allowed to cool completely for several hours before beginning work.
Personal protective equipment is also necessary to prevent injuries during the installation process. Wear safety glasses to protect your eyes from falling rust, road debris, or metal shavings that may dislodge from the undercarriage of the motorcycle. Heavy-duty, heat-resistant work gloves will protect your hands from sharp metal edges and any residual heat in the metal.
Please note that modifying or replacing exhaust components can alter your vehicle’s emissions, engine backpressure, and road legality. Always consult your vehicle’s original manufacturer instructions and verify local road safety regulations before making modifications. If you are unfamiliar with motorcycle mechanics, lack the necessary calibrated tools, or are unsure of your vehicle’s compatibility, seek the assistance of a qualified professional mechanic before purchasing or installing aftermarket parts.
Step-by-Step Muffler Clamp Installation
To begin the physical installation, start by thoroughly cleaning the mating surfaces of the exhaust pipe and the muffler inlet. Use a mild abrasive pad or a wire brush to remove any old gasket material, carbon buildup, dirt, or rust from the slip-fit joint. Ensuring these surfaces are completely clean allows the pipes to slide together smoothly and helps the clamp create a tight, uniform seal.
Next, align the aftermarket exhaust pipe and the muffler inlet carefully. Slide the muffler inlet onto the exhaust pipe, ensuring they overlap fully according to the manufacturer’s design. The joint should slip together smoothly without requiring excessive force, hammering, or bending of the metal. Forcing misaligned components can crack the thin-walled tubing, damage internal baffles, or create stress points that will eventually crack under engine vibration.
Once the pipes are aligned, slide the muffler clamp over the joint. Position the clamp so that it sits completely over the slotted portion of the slip-fit joint, typically about 5 to 10 millimeters from the edge of the outer pipe. This positioning ensures that the clamping force is applied directly to the overlapping section of the metal, compressing the outer pipe evenly around the inner pipe.
Begin tightening the clamp hardware by hand to ensure the threads are properly engaged and not cross-threaded. Once hand-tight, use your socket wrench to snug the bolts. If you are using a clamp with multiple bolts, tighten the nuts gradually and evenly in an alternating, crisscross pattern. This prevents the clamp from cocking to one side, which would result in uneven pressure and a persistent exhaust leak.
Finally, use a calibrated torque wrench to tighten the hardware to the manufacturer’s specified torque rating. Tightening the clamp to the exact specification ensures a secure hold without risking damage to the exhaust tubing.
During this process, you must be prepared to halt the installation immediately if you encounter any stop conditions. Stop tightening if you feel the threads beginning to strip, notice the exhaust pipe deforming or crimping under the pressure, observe the clamp bottoming out (where the clamp ends meet before a tight seal is achieved), or if the alignment of the muffler shifts out of its designated mounting position. If any of these issues occur, loosen the hardware, inspect the components for damage, and correct the alignment before attempting to tighten the clamp again.
Verifying the Seal and LTO Noise Compliance
Once the muffler clamp is fully installed and torqued to specification, you must verify that the joint is completely sealed and complies with general noise regulation principles. Begin with a thorough visual and tactile inspection of the joint while the engine is off. Look closely for any visible gaps, misalignments, or uneven spacing around the circumference of the clamp. If you are inspecting a system that has been run previously, look for black soot marks or dark residue near the joint, which are clear indicators of escaping exhaust gases.
Next, perform a cold start and idle test to check for leaks under operating pressure. Start the motorcycle engine and let it idle. While wearing your heavy-duty work gloves, carefully pass your hand near the clamped joint without making direct contact with the hot metal. Feel for any escaping air, puffs of exhaust gas, or sudden temperature changes around the perimeter of the clamp.
At the same time, listen closely to the sound of the exhaust. A leaking joint often produces a distinct high-pitched whistling, ticking, or hissing sound that is separate from the deep note of the muffler. You should also listen for any metallic rattling or buzzing noises, which indicate that the clamp, mounting brackets, or heat shields are loose and vibrating against the frame.
In the Philippines, the Land Transportation Office (LTO) enforces strict noise limits to maintain road safety and reduce noise pollution. Under standard testing procedures, motorcycles must not exceed specific decibel levels when measured at a designated distance, angle, and engine RPM. A leaking exhaust joint allows high-pressure gases to escape before passing through the muffler’s baffling system, which alters the exhaust note and can easily cause your motorcycle to exceed legal decibel limits during an inspection.
To ensure your motorcycle is fully compliant and avoid costly fines or registration delays, always consult the current official LTO guidelines or visit an accredited Motor Vehicle Inspection Center (MVIC). These centers use calibrated decibel meters to verify that your aftermarket exhaust system operates within the legal noise limits under standardized testing conditions.
Troubleshooting Common Exhaust Leak and Rattle Issues
If you experience persistent rattling or exhaust leaks after completing the installation, systematic troubleshooting can help you identify and resolve the issue. Rattling noises are commonly caused by loose mounting brackets, contact between the exhaust pipe and the motorcycle frame, or a missing exhaust gasket. Inspect the entire length of the exhaust system to ensure all mounting bolts are tight and that the rubber vibration dampeners in the mounting brackets are intact and functioning properly.
Minor exhaust leaks can often be resolved by loosening the clamp, adjusting its alignment, and cleaning the mating surfaces again. If the slip-fit joint has a slight gap, check if the manufacturer recommends using a high-temperature exhaust sealant or a specific graphite sleeve gasket. Only use sealants and care products that are explicitly authorized by the product labels and manufacturer instructions, as incompatible chemicals can damage catalytic converters, sensors, or exhaust finishes.
If the exhaust tubing has become slightly out of round due to previous overtightening, the clamp will not be able to create a uniform seal. In such cases, you may need to use a specialized pipe expander tool to carefully restore the roundness of the pipe before reinstalling the clamp.
For complex fitment issues, cracked welds, structural damage, or if you suspect the exhaust system requires welding or custom fabrication, do not attempt to force a temporary fix. Seek the assistance of a professional motorcycle mechanic or a specialized exhaust fabrication shop to ensure the structural integrity and safety of your vehicle.
Frequently Asked Questions (FAQ)
Can I reuse an old muffler clamp on a new aftermarket exhaust?
It is highly recommended to use a new, manufacturer-approved clamp when installing a new aftermarket exhaust system. Over time, muffler clamps are subjected to extreme heat cycles, road vibrations, and environmental moisture, which cause metal fatigue and stretch the hardware. Reusing an old clamp often results in a significant loss of clamping force, preventing you from achieving a reliable, leak-free seal and increasing the risk of the exhaust joint loosening while riding.
Do I need an exhaust gasket when using a muffler clamp?
Whether you need an exhaust gasket depends entirely on the design of your specific aftermarket exhaust joint. Many slip-fit joints are engineered with extremely tight tolerances and do not require a gasket, relying instead on the clamping force of a band or T-bolt clamp to seal the metal-on-metal connection. However, other designs require a graphite, mesh, or copper sleeve gasket to fill the gap between the pipes. Always check your aftermarket exhaust manufacturer’s instructions to determine if a gasket is required for your specific model.
Will an aftermarket exhaust automatically fail the LTO inspection?
An aftermarket exhaust will not automatically fail an LTO inspection simply because it is an aftermarket part, provided it meets all legal requirements. To pass inspection, the exhaust system must be properly installed without leaks, securely mounted to prevent safety hazards, and must not exceed the maximum decibel limits established by the Land Transportation Office. To ensure compliance, verify that your exhaust system is designed for road use, keep any official registration or certification documents handy, and consult current LTO memorandums or visit an accredited MVIC to verify your motorcycle’s decibel levels.

Community discussion
Share your experience or ask a question. Comments are reviewed before publication.