
Upgrading the exhaust system on a Rusi TC 150 is a popular modification for riders looking to customize their motorcycle’s sound, reduce overall weight, or update its classic aesthetic. While the process is highly rewarding, it requires careful preparation, the right tools, and a systematic approach to ensure a secure fit and reliable performance. Working on a motorcycle’s exhaust system involves handling critical engine-adjacent components that are subject to extreme heat and vibration. If you are unsure about your mechanical skills, tool handling, or the specific requirements of your motorcycle, consult a qualified professional mechanic before starting the installation. Always refer to the original vehicle documentation and the aftermarket manufacturer’s instructions to verify compatibility, mounting positions, and road legality.
In the tropical climate of the Philippines, high humidity and frequent rain can accelerate rust and corrosion on exhaust fasteners, making the removal of factory parts more challenging than in drier regions. Taking your time and using the correct techniques will prevent damage to the engine block and ensure your new pipe for Rusi TC 150 is installed safely. This step-by-step guide outlines the entire process, from initial preparation to the final road test, helping you achieve a professional-grade installation at home.
Preparing for the Exhaust Upgrade
Before picking up any tools, safety must be your primary concern. Allow the motorcycle to sit idle until the engine, cylinder head, and factory exhaust pipe are completely cool to the touch. Attempting to work on a hot engine can result in severe burns and increases the risk of stripping threads in the heated aluminum cylinder head. Park the motorcycle on a flat, level surface and secure it on its center stand to provide a stable working platform. Working on a side stand is not recommended, as it tilts the bike and makes aligning the new exhaust components much more difficult.
Products mentioned in this guide
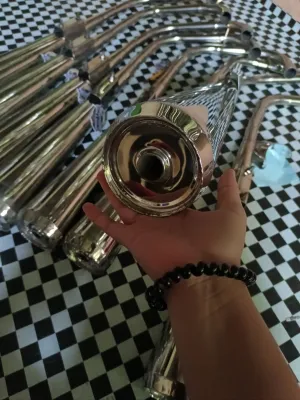
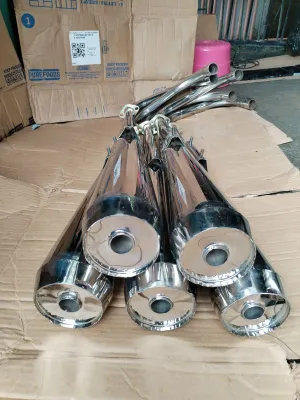
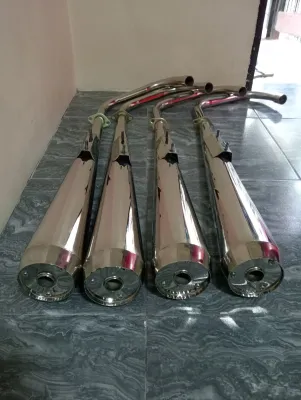
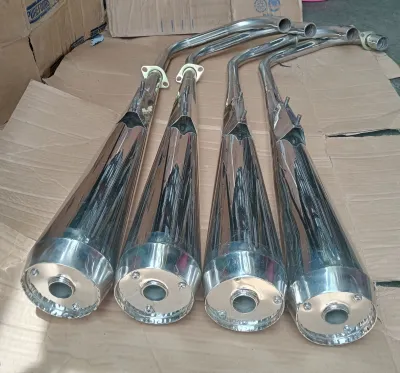
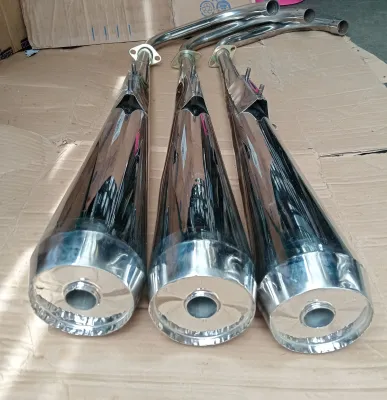
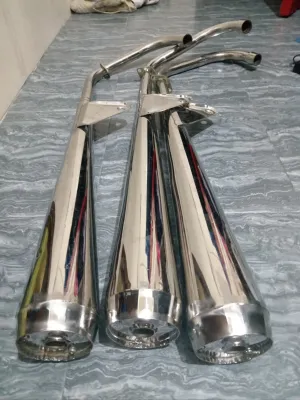
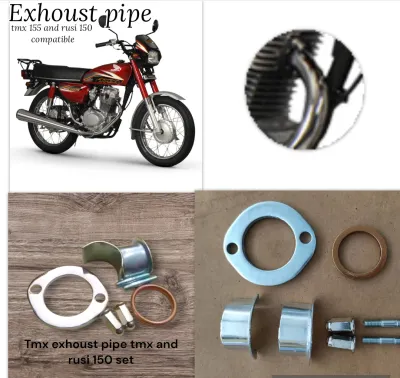
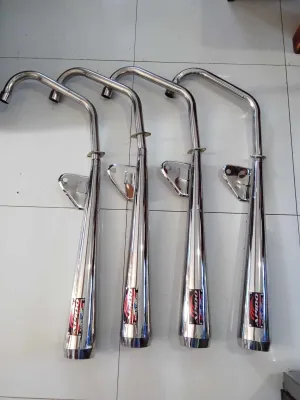
Prices are valid at publication and may change. Please refer to the product page for the latest price.
Gather all the necessary hand tools and safety equipment before you begin. You will typically need a metric socket set containing 10mm, 12mm, and 14mm sockets, matching open-ended wrenches, a spring puller tool if your aftermarket pipe utilizes tension springs, and a torque wrench to ensure fasteners are tightened to specification. Additionally, keep a can of high-quality penetrating oil, a tube of medium-strength thread locker, a new exhaust gasket, and clean rags nearby. Wearing safety glasses and protective gloves is highly recommended to shield your eyes from falling debris and protect your hands from sharp metal edges.
Verify the specifications of your new aftermarket exhaust pipe against your Rusi TC 150’s model year and frame configuration. Because manufacturers occasionally update frame mounts or engine port dimensions, never assume a generic pipe will fit without verification. Check the aftermarket manufacturer’s documentation to confirm that the flange thickness, pipe diameter, and bracket locations match your motorcycle’s layout. Lay out all the included hardware, brackets, and springs to ensure no parts are missing before you disassemble your daily transport.
Removing the Factory Exhaust System
To begin the removal process, apply a generous amount of penetrating oil to the exhaust studs at the cylinder head and the mounting bolts along the frame. Because these fasteners are subjected to extreme heat cycles and environmental moisture, they are highly susceptible to seizing and rusting. Let the penetrating oil penetrate the threads for at least 15 to 30 minutes before attempting to loosen them. Forcing a seized nut can easily snap the exhaust stud off inside the cylinder head, resulting in an expensive and complicated repair that requires specialized extraction tools.

Carefully inspect the entire length of the factory exhaust system to identify any attached components or routing constraints. While the Rusi TC 150 features a straightforward mechanical design, check for any aftermarket sensors, heat shields, or nearby wiring harnesses that could be damaged during the removal process. Disconnect or move these components out of the way according to the original manufacturer’s routing guidelines, taking care not to strain any electrical connections or scratch the motorcycle’s frame paint.
Support the weight of the exhaust system manually or with a temporary stand, such as a wooden block or a car jack, before removing the final mounting bolts. The factory exhaust assembly is surprisingly heavy, and letting it drop unsupported can bend the cylinder head studs or crack the aluminum engine casing. Loosen the cylinder head flange nuts first, backing them off gradually and evenly. Once the flange is free, support the muffler body while removing the main frame mounting bolts, then gently slide the entire exhaust assembly forward and away from the engine port.
Installing the New Aftermarket Exhaust Pipe
With the old exhaust removed, inspect the exhaust port on the cylinder head and locate the original exhaust crush gasket. This gasket is designed to deform and create a gas-tight seal when compressed by the exhaust flange. Always replace this gasket with a brand-new copper or composite crush gasket during installation; reusing a worn, flattened gasket almost guarantees an exhaust leak. Clean any carbon buildup or debris from the exhaust port using a soft wire brush or a clean rag, taking care not to scratch the mating surfaces of the cylinder head.
Position the new aftermarket header pipe into the exhaust port, ensuring the new crush gasket remains properly seated. Thread the cylinder head flange nuts onto the studs by hand to prevent cross-threading, but do not tighten them completely. Next, slide the mid-pipe and the muffler body into position, aligning the mounting brackets with the motorcycle’s frame hangers. Keeping all the fasteners loose at this stage is critical, as it allows the components to self-align and prevents physical tension from building up across the system, which can cause stress fractures on the welds over time.
Once the entire exhaust system is aligned and hanging naturally without tension, begin tightening the fasteners. Tighten the cylinder head flange nuts gradually and evenly in an alternating, crisscross pattern to ensure the crush gasket compresses uniformly. Refer to your motorcycle’s service manual or the aftermarket manufacturer’s instructions for the specific torque limits, as over-tightening can easily strip the threads in the aluminum cylinder head. Apply a small amount of medium-strength thread locker to the frame mounting bolts, then tighten them securely to prevent them from backing out due to engine vibrations.
Post-Installation Checks and Road Testing
Before starting the engine, wipe down the entire surface of the new exhaust pipe with a clean cloth dampened with rubbing alcohol or a mild degreaser. Any grease, oil, or fingerprints left on the metal will burn into the finish once the pipe heats up, leaving permanent, unsightly stains on the chrome or stainless steel. Once the pipe is clean and dry, start the engine in a well-ventilated outdoor area and let it idle. Listen closely near the cylinder head flange and any slip-on joints for any unusual hissing, ticking, or popping sounds that indicate an exhaust leak, and carefully feel for escaping air without touching the hot metal.
Check the physical clearance of the newly installed exhaust system across its entire length. Ensure there is adequate space between the pipe and the rear suspension swingarm, the rear tire, the rear brake pedal, and the passenger footpegs. The exhaust must not contact any of these components, even when the rear suspension is fully compressed under a heavy load. Additionally, verify that the routing of the pipe does not bring it dangerously close to the rider’s or passenger’s legs, which could lead to accidental burns during daily riding.
Review local traffic regulations in the Philippines regarding aftermarket exhaust systems before taking your motorcycle onto public roads. The Land Transportation Office (LTO) and local government units enforce strict regulations regarding motorcycle noise levels, and operating a motorcycle with an excessively loud exhaust can result in fines of ₱1,000 or more, along with the confiscation of the non-compliant part. If your aftermarket exhaust includes a removable silencer or decibel killer, keep it installed to ensure compliance with local decibel limits and to maintain a respectful volume in residential areas.
Frequently Asked Questions (FAQ)
Do I need to remap the ECU after installing a new exhaust pipe?
The Rusi TC 150 typically utilizes a carburetor rather than an Electronic Control Unit (ECU), meaning there is no computer to remap. However, installing a free-flowing aftermarket exhaust pipe alters the engine’s backpressure and increases airflow, which can cause the engine to run leaner. While a simple slip-on muffler might not require immediate adjustments, a full exhaust system upgrade often requires tuning the carburetor—such as adjusting the fuel mixture screw or changing the jet sizes—to maintain optimal engine performance. If you notice flat spots in acceleration, engine hesitation, or excessive popping during deceleration, consult a professional mechanic to adjust your carburetor’s fuel delivery.
What should I do if the new exhaust brackets do not align perfectly?
If the aftermarket exhaust brackets do not line up with your motorcycle’s frame mounts, do not force the bolts into place or bend the brackets. Forcing the fitment introduces severe structural tension that can lead to cracked welds, broken brackets, or damaged frame threads under the influence of engine vibrations. First, loosen all the fasteners from the cylinder head to the rear hanger, as minor adjustments at the front of the pipe can significantly shift the alignment at the rear. Check if the installation kit includes specific spacers, washers, or alternative brackets that need to be positioned between the exhaust and the frame. If the misalignment persists, double-check that you received the correct part number for your specific Rusi TC 150 model year, or contact the manufacturer for assistance.

Community discussion
Share your experience or ask a question. Comments are reviewed before publication.