
Installing an aftermarket exhaust tail pipe on your motorcycle is a highly rewarding DIY project that can enhance your bike’s sound, aesthetics, and overall riding experience. Doing it properly requires systematic preparation, the right tools, and careful attention to alignment and torque specifications to prevent exhaust leaks or mechanical damage.
By following a structured approach, you can complete this upgrade safely in your own garage. This guide walks you through the entire process, from initial safety checks and tool selection to the physical installation and post-install leak testing.
Before You Start: Compatibility, Safety, and Legal Checks
Working on a motorcycle’s exhaust system requires strict adherence to safety protocols. First and foremost, ensure that the engine and the entire exhaust system are completely cold before starting. Touching a hot pipe can cause severe, deep third-degree burns; allow the motorcycle to sit for at least two hours after your last ride before attempting any work.
Products mentioned in this guide
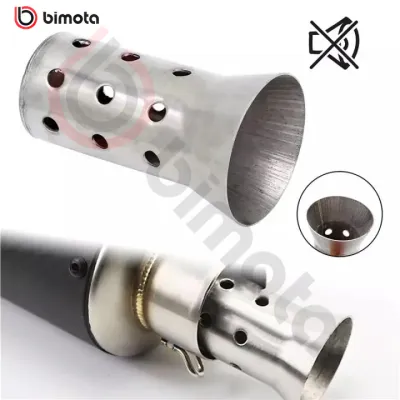
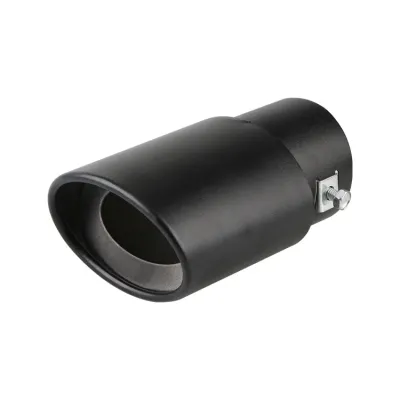
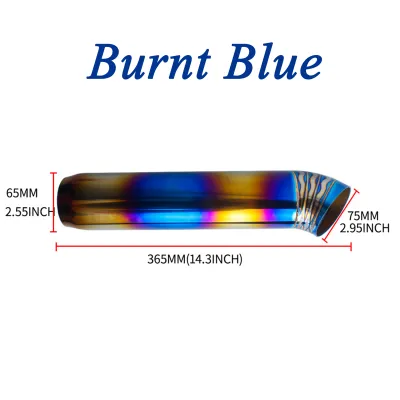
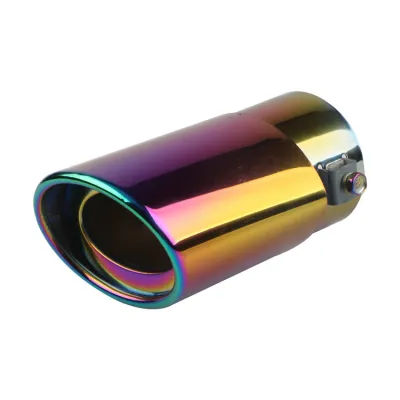

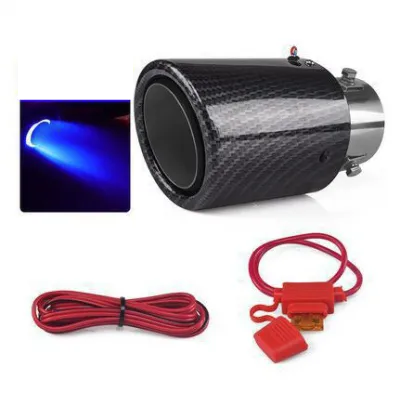
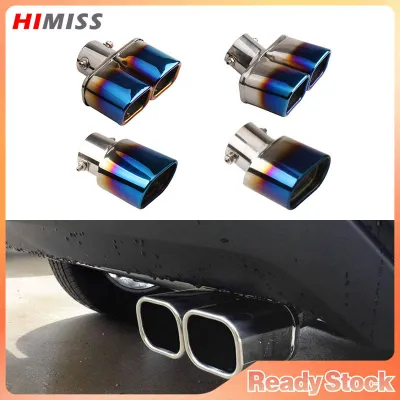
Prices are valid at publication and may change. Please refer to the product page for the latest price.
Next, verify that your chosen aftermarket exhaust tail pipe is explicitly designed for your motorcycle’s exact make, model, and production year. Universal fitments often look tempting online, but they frequently require cutting, welding, or unsafe bracket modifications that can compromise your bike’s structural integrity or exhaust flow. Always review the aftermarket manufacturer’s specific installation instructions alongside your motorcycle’s owner manual. If these instructions conflict, or if you are unsure of the compatibility, stop and consult a qualified professional before proceeding.
In the Philippines, the Land Transportation Office (LTO) enforces strict regulations regarding motorcycle modifications and noise levels. Under local laws, aftermarket exhaust systems must comply with specific decibel limits to remain street-legal. Installing an excessively loud pipe without a proper silencer or db-killer can lead to heavy fines, roadside apprehensions, and vehicle impounding. Ensure your new setup is compliant with local environmental and noise standards before hitting public roads.
Finally, consult your motorcycle’s official service manual before loosening any bolts. This document provides critical exhaust routing diagrams, fastener locations, and the exact torque specifications required for your specific chassis.
Tools and Materials Required
Having the correct tools on hand prevents stripped bolts, rounded nuts, and unnecessary frustration. You will need a high-quality metric socket set (typically covering 8mm to 17mm sizes), a set of matching combination wrenches, socket extensions to reach recessed header bolts, and most importantly, a calibrated torque wrench. Using a torque wrench is non-negotiable to ensure you do not over-tighten and damage the delicate aluminum threads on your engine block.

For consumables, never reuse old exhaust crush gaskets or O-rings. Once compressed, these copper or graphite gaskets lose their ability to form a gas-tight seal, making a leak highly likely if reused. You will also need high-temperature anti-seize compound to coat fastener threads, and a quality penetrating oil to loosen stubborn, heat-cycled factory bolts.
Depending on your aftermarket pipe design, you may need replacement exhaust hangers or rubber vibration-damping mounts. Finally, protect yourself by wearing heavy-duty mechanic gloves to shield your hands from sharp metal edges and safety glasses to keep falling debris or rust out of your eyes while working underneath the chassis.
Step-by-Step Installation Process
A successful installation is divided into three distinct, manageable phases: safely removing the factory components, preparing and dry-fitting the new assembly, and finally securing all connections to specification. Taking your time through each phase ensures a leak-free seal and professional-looking alignment.
Always work in a spacious, well-ventilated area, preferably outdoors or in an open garage to handle penetrating oil fumes and initial engine startup gases. Ensure the motorcycle is exceptionally stable by placing it on its center stand or a dedicated rear paddock stand on flat, level ground. A tipping motorcycle can cause severe physical injury and extensive damage.
Removing the Stock Exhaust
Before grabbing your wrenches, inspect the factory exhaust fasteners. If your motorcycle has seen wet weather or high humidity, the header nuts and mounting bolts will likely have surface rust. Spray these fasteners generously with penetrating oil and let it sit for a few hours to break down the corrosion and ease removal.
When you are ready to disassemble, always work from the back to the front. Loosen and remove the rear mounting bracket bolts first while supporting the weight of the muffler. Once the rear is loose, carefully back off the header flange nuts at the cylinder head. Removing fasteners in this order prevents the heavy exhaust assembly from dropping suddenly, which could bend the header studs or crack the engine casing.
If a bolt or nut feels seized, do not force it with a cheater bar or impact wrench. Excessive torque can easily snap a steel stud right inside the soft aluminum engine block, turning a simple DIY project into an expensive professional extraction job. If a fastener refuses to budge, apply more penetrating oil, tap it gently with a mallet to help the oil penetrate, and try again later.
Once the stock pipe is completely removed, look inside the exhaust port of the cylinder head. Use a small pick or flathead screwdriver to carefully pry out the old, compressed crush gasket, taking care not to scratch the soft aluminum mating surfaces. Use a brass wire brush or a clean rag with a mild solvent to remove carbon deposits and debris from the port, ensuring a perfectly clean surface for the new gasket.
Prepping and Mounting the Aftermarket Pipe
Before assembling the new parts, apply a very thin layer of high-temperature anti-seize compound to the threads of all mounting bolts and header studs. This simple step prevents the fasteners from galling or seizing due to the extreme heat cycles of the exhaust. Be careful not to get any anti-seize on the actual exhaust mating surfaces, gaskets, or inside the pipe.
Insert your brand-new crush gasket or O-ring directly into the engine’s exhaust port. You can use a tiny dab of grease to help hold the gasket in place temporarily if it keeps falling out before you can position the header pipe.
Carefully slide the new aftermarket exhaust tail pipe into position. Start by aligning the header flange with the engine studs, then position the mid-pipe and rear mounting brackets. It is highly recommended to have a helper support the weight of the muffler during this step to avoid putting unnecessary stress on the engine studs.
Thread all nuts and bolts in by hand for a few turns to ensure they are not cross-threading. Leave all fasteners loose at this stage. Do not fully tighten any single bolt or nut yet. Keeping everything loose allows the entire system to settle naturally into its optimal alignment, preventing internal tension that could crack brackets or cause premature weld failures once the system heats up.
Securing Connections and Checking Clearances
Once everything is aligned and finger-tight, begin the final tightening sequence. Start at the engine block by tightening the header flange nuts evenly in a progressive, crisscross pattern. This ensures the crush gasket compresses uniformly to create a perfect seal. Once the header is snug, move rearward to tighten the mid-pipe clamps and finally the rear mounting bracket bolts.
Always use a calibrated torque wrench to tighten every fastener to the exact torque values specified in your motorcycle’s service manual. Over-tightening can easily warp the exhaust flanges, strip the aluminum threads in the engine head, or snap the mounting brackets. Conversely, under-tightening will lead to loose bolts and exhaust leaks due to engine vibration.
Before starting the engine, perform a thorough physical and visual clearance check. Ensure there is adequate space (typically at least 15mm to 20mm) between the hot exhaust pipe and any plastic fairings, electrical wiring harnesses, brake lines, the rear tire, and the rear shock absorber. Remember to account for suspension travel by compressing the rear suspension to make sure the swingarm or tire will not contact the pipe when riding over bumps.
Post-Installation Checks and Leak Testing
Move your motorcycle to a well-ventilated outdoor area away from flammable materials. Start the engine and let it idle smoothly; do not rev the engine immediately. As the metal begins to warm up, listen closely near the cylinder head and pipe joints. A distinct ticking, popping, or hissing sound indicates an exhaust leak where gases are escaping past a loose joint or a poorly seated gasket.
To verify the seal, mix a small amount of liquid dish soap with water in a spray bottle. While the exhaust pipe is still relatively cool to the touch (within the first 30 seconds of starting), spray the soapy mixture generously around the header flange and joint connections. If you see bubbles rapidly forming and expanding, you have an exhaust leak. Turn off the engine immediately, let it cool down, and adjust the alignment or tighten the fasteners slightly.
Let the motorcycle run until it reaches normal operating temperature, allowing the new metal and gaskets to undergo their first complete heat cycle. You may notice some light smoke or a burning smell as manufacturing oils and anti-seize settle; this is completely normal. Turn off the engine and let it cool down completely. Once the metal is cold, use your torque wrench to re-check every fastener. Thermal expansion and contraction will cause the new gaskets to compress further, often requiring a final snug to maintain the correct torque.
Common Mistakes and When to Seek Professional Help
Many amateur mechanics make critical mistakes that lead to costly damage. The most common error is attempting to reuse the old, flattened factory crush gaskets, which almost guarantees a persistent exhaust leak. Other frequent blunders include cross-threading the delicate nuts on the engine block by using power tools instead of starting them by hand, ignoring tight clearances against plastic bodywork (which will melt rapidly), and relying on guesswork instead of a torque wrench.
Know your limits as a DIYer. You must stop immediately and consult a qualified professional mechanic if you experience any of the following:
- Snapped Studs: A header stud snaps off flush inside the engine cylinder head.
- Stripped Threads: The threads on the engine block strip out completely during installation.
- Alignment Issues: The aftermarket pipe does not align properly with the mounting brackets and requires physical bending, cutting, or custom welding to fit.
- Warning Lights: The motorcycle’s check engine light illuminates after installation, which often indicates an issue with the oxygen (O2) sensor placement or wiring.
Frequently Asked Questions (FAQ)
Upgrading your motorcycle’s exhaust system often brings up questions regarding warranty coverage and performance tuning. Below are answers to the most common concerns riders face after installing an aftermarket exhaust tail pipe.
Will an aftermarket tail pipe void my motorcycle's warranty?
Installing an aftermarket slip-on exhaust tail pipe generally does not void your entire motorcycle’s factory warranty. Under standard consumer protection principles, a manufacturer cannot void your warranty unless they can prove that the aftermarket part directly caused the failure of a specific component. However, the warranty for the original exhaust system itself will be voided, and any damage to engine sensors, brackets, or valves directly linked to an improper installation will not be covered. Always consult your local dealer and carefully read your warranty booklet before making modifications to a brand-new motorcycle.
Do I need to remap the ECU after installing a slip-on tail pipe?
If you are only installing a slip-on tail pipe (which replaces only the muffler section while keeping the stock header pipes and catalytic converter intact), you generally do not need to remap your Engine Control Unit (ECU). The stock ECU can easily adjust the fuel-to-air ratio within its factory parameters to accommodate the minor change in backpressure. However, if you are installing a full exhaust system (replacing both headers and muffler) or removing the catalytic converter, the exhaust flow increases dramatically. In this scenario, a fuel management tune or ECU remap is absolutely essential to prevent the engine from running dangerously lean, which can cause overheating and severe engine damage over time.

Community discussion
Share your experience or ask a question. Comments are reviewed before publication.