
Replacing a motorcycle muffler pipe gasket during an exhaust modification is a critical step to ensure a gas-tight seal, maintain engine backpressure, and prevent exhaust leaks. When swapping out a stock muffler for an aftermarket slip-on or full system, the connection joint between the header pipe and the muffler is highly vulnerable to escaping gases. A fresh pipe gasket acts as a compressible barrier that fills microscopic imperfections between the metal mating surfaces. Failing to replace this gasket or installing it incorrectly can lead to popping noises, loss of low-end torque, and potential violations of local noise regulations.
To achieve a successful installation, you must follow a systematic process of preparation, careful disassembly, thorough cleaning, precise alignment, and proper torque application. Because motorcycles operate under extreme thermal cycles and environmental stress, skipping any of these steps can quickly compromise the integrity of your new exhaust system. This guide provides a comprehensive, step-by-step walkthrough to help you navigate the gasket replacement process safely and effectively.
Preparation and Safety Checks Before Starting
Before you pick up any tools, safety must be your absolute priority. Exhaust systems operate at extremely high temperatures, often exceeding several hundred degrees Celsius. Working on a recently ridden motorcycle carries a severe risk of deep thermal burns. Allow the motorcycle to sit turned off in a well-ventilated area until the header pipes and muffler are completely cool to the touch.
Products mentioned in this guide
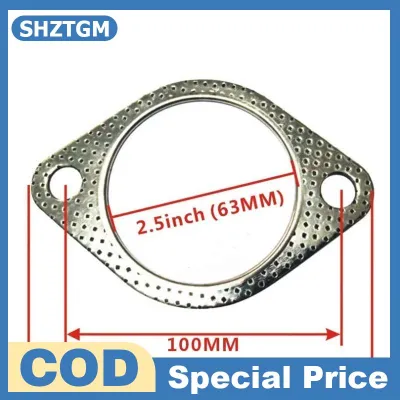
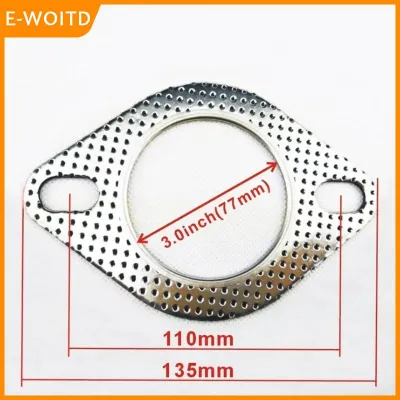
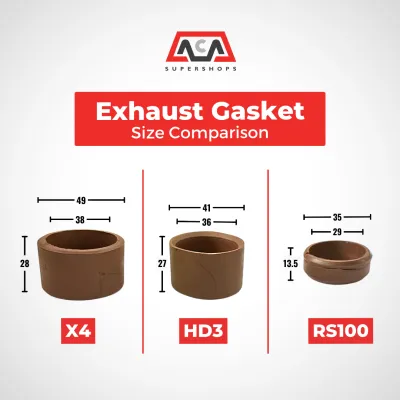
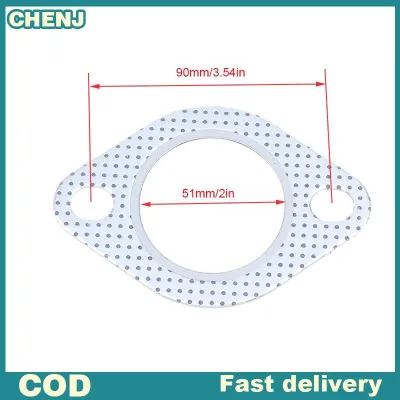
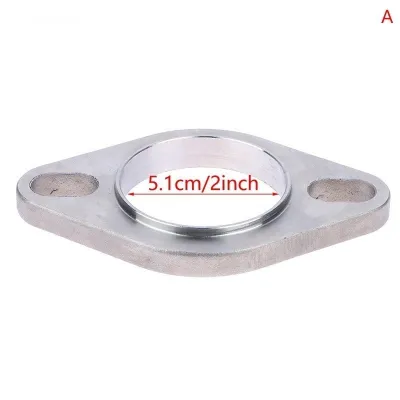
Prices are valid at publication and may change. Please refer to the product page for the latest price.
While the engine cools, verify that your replacement gasket matches the exact specifications required for your setup. Exhaust gaskets are not universally interchangeable; they vary significantly in inner diameter, outer diameter, and thickness. Check the manufacturer’s documentation to see if your aftermarket muffler requires an OEM-spec gasket or a proprietary size. Never attempt to force an ill-fitting gasket into place, as this will lead to immediate leaks or damage to the exhaust pipe flanges.
Gather all necessary tools and materials beforehand to ensure a smooth workflow. You will typically need a metric socket set, a reliable torque wrench, a plastic or brass gasket scraper, safety glasses, heavy-duty gloves, and a high-quality penetrating oil. In the tropical climate of the Philippines, high humidity and seasonal rains accelerate rust and corrosion on undercarriage components. Having a can of penetrating oil ready is essential for loosening stubborn, seized fasteners without snapping the exhaust studs.
Removing the Old Muffler and Exhaust Gasket
Apply a generous amount of penetrating oil to all exhaust joint clamps, flange nuts, and frame mounting bolts. Let the oil soak for at least 15 to 30 minutes to allow it to penetrate the thread interfaces. Forcing a rusted bolt can easily shear the fastener, turning a simple gasket replacement into a complex extraction job.

Once the penetrating oil has done its work, carefully loosen the clamp securing the muffler to the header pipe. Next, support the weight of the muffler with one hand or a soft stand while removing the main frame mounting bolts. Supporting the muffler prevents it from dropping suddenly, which could bend the header pipe, scratch the swingarm, or strain the engine’s exhaust port studs. Gently wiggle the muffler backward to slide it off the header pipe connection.
Locate the old pipe gasket, typically seated inside the muffler inlet or pressed onto the end of the header pipe. Because these gaskets are designed to crush and deform to create a seal, the old gasket may look flattened, charred, or fused to the metal. Use a specialized gasket pick or a flathead screwdriver to gently pry the old gasket out of its seat. Work slowly and patiently to avoid scratching or gouging the inner walls of the exhaust pipes.
After extracting the old gasket, you must clean the mating surfaces thoroughly to prepare them for the new seal. Carbon buildup, rust, and old sealant residue will prevent a new gasket from seating flatly. Use a plastic scraper or a soft brass wire brush to clean the inside of the muffler inlet and the outside of the header pipe joint. Avoid using steel wire brushes or aggressive abrasive pads on aluminum or thin-walled stainless steel pipes, as deep scratches can create permanent leak paths that a new gasket cannot fill.
Installing the New Pipe Gasket and Reassembling the Exhaust
Before installing the new gasket, inspect it closely for any manufacturing defects, cracks, or shipping deformities. Some gaskets feature a directional design, with a tapered or stepped edge that must face a specific direction to seal correctly. Refer to the installation manual for your specific exhaust system to confirm the correct orientation before proceeding.
Slide the new gasket into the muffler inlet or onto the header pipe joint, ensuring it sits flush against the internal shoulder. The gasket should fit snugly; if it is loose or requires excessive force to insert, double-check your measurements against the manufacturer’s specifications. Once the gasket is positioned, carefully align the muffler with the header pipe and slide the joint together, taking care not to pinch, tear, or displace the new gasket.
With the components joined, hand-thread all mounting bolts and clamp fasteners back into their respective positions. Do not tighten any single bolt completely at this stage. Hand-threading allows the entire exhaust system to align naturally with the motorcycle’s frame mounts and engine ports. If you tighten the joint clamp before aligning the frame mounts, you may introduce structural tension into the system, which can cause the gasket to crush unevenly or lead to cracked brackets down the road.
Once everything is aligned, use a torque wrench to tighten the fasteners to the exact torque values specified in your motorcycle’s service manual. Tighten the bolts in a gradual, alternating sequence rather than tightening one fully before moving to the next. This even distribution of force ensures that the new gasket compresses uniformly, creating a robust, long-lasting seal. Never rely on guesswork or impact tools, as over-tightening can easily strip the soft threads in aluminum engine casings or crush the gasket beyond its functional limits.
Post-Installation Leak Testing and Noise Compliance
Perform a thorough leak test before taking the motorcycle out for a ride. Start the engine while the bike is parked in a well-ventilated outdoor area. While the exhaust is still cool, carefully pass your hand around the gasket joint—without touching the hot metal—to feel for any escaping puffs of air. Alternatively, you can spray a small amount of soapy water onto the joint before starting the engine; any escaping exhaust gas will immediately create visible, bubbling foam.
If you detect a leak, turn off the engine and allow the system to cool completely before adjusting the fasteners. It is common for some service manuals to recommend a re-torque procedure after the first heat cycle. This involves letting the engine run until it reaches normal operating temperature, allowing it to cool completely, and then re-checking the torque on all bolts to account for the thermal expansion and contraction of the metal components.
Achieving a perfect, leak-free seal is not only vital for engine performance but also for regulatory compliance. In the Philippines, the Land Transportation Office (LTO) and local government units strictly enforce noise limits on modified motorcycle exhausts. An exhaust leak at the gasket joint allows high-pressure exhaust gases to escape before passing through the muffler’s baffling system, resulting in a harsh, excessively loud exhaust note that can lead to heavy fines and confiscated registration plates. Furthermore, a proper seal maintains the correct engine backpressure, ensuring optimal fuel efficiency and smooth power delivery across the rev range.
Troubleshooting Common Gasket and Exhaust Leak Issues
If you experience exhaust leaks or popping noises after installing a new gasket, you may be dealing with underlying structural issues. Inspect the header pipe and muffler inlet for warped flanges or out-of-round tubing. If a previous crash or improper installation bent the mounting brackets, the exhaust pipes may be held at an angle that prevents the mating surfaces from sitting perfectly parallel, making a proper seal impossible.
High-temperature silicone or exhaust assembly pastes should only be used as a temporary measure or when explicitly recommended by the manufacturer. Sealants can degrade, dry out, and blow out under the extreme pressure and heat of the exhaust stream. Additionally, excess sealant squeezed into the pipe can break off and travel down the exhaust tract, potentially obstructing gas flow or damaging sensitive components like oxygen sensors.
If you encounter stripped threads, severely misaligned components, or structural cracks in the header pipe, stop the installation immediately. Forcing ill-fitting parts together will only cause more severe and expensive damage to your motorcycle’s engine block. In these situations, it is highly recommended to consult a qualified professional mechanic or a specialized exhaust fabricator who can repair the threads or realign the mounting brackets safely.
Frequently Asked Questions (FAQ)
Can I reuse the old pipe gasket if it looks intact?
No, you should never reuse an old exhaust pipe gasket, even if it appears to be in good condition. Exhaust gaskets are designed as crushable components made of soft materials like copper, graphite, or composite fibers. Once they are compressed during the initial installation, they deform permanently to match the unique microscopic imperfections of the mating surfaces. Reusing a compressed gasket means it will lack the elasticity required to seal the joint again, leading to a high probability of immediate exhaust leaks. Given that replacement gaskets are highly affordable, typically costing under ₱200, it is always best to install a fresh one during any exhaust modification.
Do I need to use exhaust sealant with a new pipe gasket?
Under normal circumstances, a high-quality, correctly sized new pipe gasket does not require any additional exhaust sealant. The gasket itself is engineered to compress and create a complete, gas-tight seal when tightened to the manufacturer’s specified torque. Applying liquid sealant or paste can actually interfere with the proper seating of the gasket. Furthermore, excess sealant can squeeze inward during assembly, hardening inside the exhaust tract where it can restrict exhaust gas flow or break loose and damage downstream components. Only use sealant if the aftermarket exhaust manufacturer’s instructions specifically direct you to do so.

Community discussion
Share your experience or ask a question. Comments are reviewed before publication.