
Using rubbing compound is one of the most effective ways to restore your vehicle’s paint, but it requires a careful, methodical approach to avoid damaging the clear coat. Rubbing compound contains microscopic abrasives that act like liquid sandpaper, leveling the surrounding clear coat to match the depth of light scratches and swirl marks. When done correctly, this process eliminates surface defects and restores a smooth, reflective finish. However, because you are physically removing a thin layer of paint, understanding the limits of your clear coat and using the proper technique is essential to prevent permanent damage.
In tropical climates like the Philippines, temperature and humidity play a significant role in how car care products behave. High ambient temperatures cause liquid compounds to dry out rapidly, which can lead to severe marring or make the residue incredibly difficult to buff off. To achieve professional-grade results at home, you must work in a shaded, well-ventilated area on panels that are completely cool to the touch.
Assess the Damage: Is Rubbing Compound the Right Fix?
Before reaching for a bottle of rubbing compound, you must determine if the scratch is a candidate for DIY correction. Modern automotive paint consists of three primary layers: the primer coat on the bare metal, the base coat which provides the color, and the clear coat which protects the paint and provides gloss. Rubbing compound is designed to work exclusively within the top clear coat layer. If a scratch has penetrated through the clear coat and into the color or primer, compounding will not fix it and may actually worsen the damage.
Products mentioned in this guide
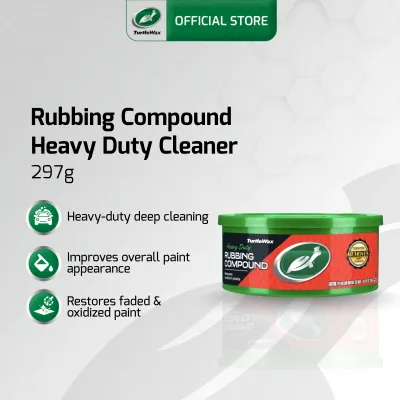
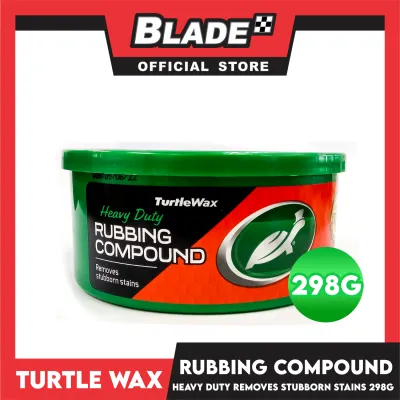
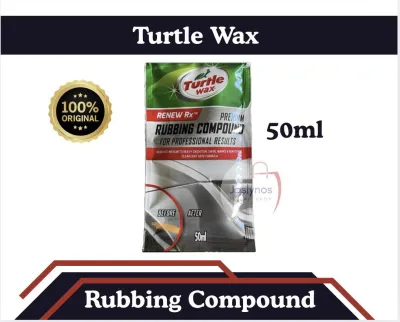
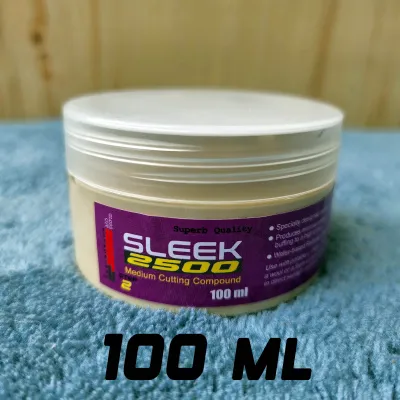
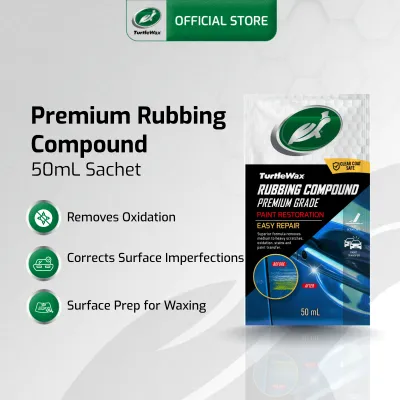
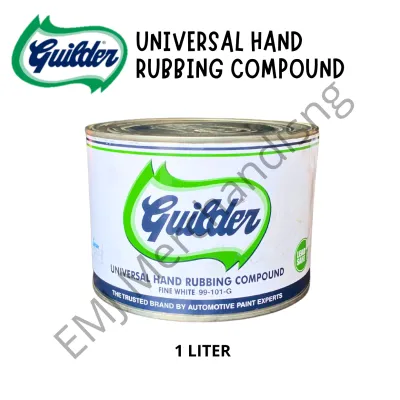
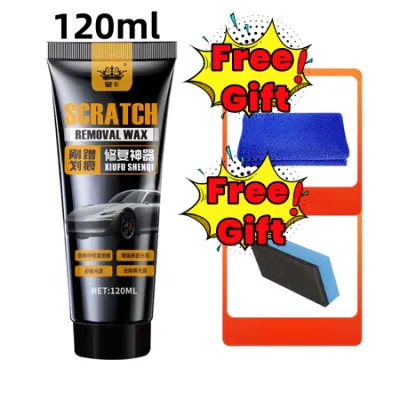
Prices are valid at publication and may change. Please refer to the product page for the latest price.
To evaluate the depth of the scratch, perform the fingernail test. Gently run your fingernail across the scratch at a ninety-degree angle. If your fingernail glides over the defect without catching, the scratch is shallow and resides safely within the clear coat. If your fingernail catches or drops into a distinct groove, the scratch is too deep for rubbing compound alone. Deep scratches that expose a white, grey, or metallic sub-layer require touch-up paint or professional body shop intervention.
Swirl marks, which are circular micro-scratches typically caused by improper washing techniques or dusty wiping cloths, are ideal candidates for rubbing compound. These fine defects sit on the very surface of the clear coat and can be leveled easily. Keep in mind that rubbing compound is a heavy-cut abrasive; if your paint only has very light hazing, a milder finishing polish should be your first choice to preserve as much clear coat as possible.
Tools and Materials You Will Need
Having the right tools on hand prevents mid-process interruptions and minimizes the risk of introducing new scratches to your paint. Always select a high-quality rubbing compound formulated for modern clear coats, and read the manufacturer’s label carefully to verify compatibility with your specific paint type.

Gather the following materials before you begin:
- Car wash soap and two buckets: For a thorough, scratch-free wash.
- Clay bar and clay lubricant: To remove embedded surface contaminants.
- Rubbing compound: A dedicated clear-coat-safe formula.
- Applicator pads: High-quality foam or microfiber applicator pads.
- Microfiber towels: Several clean, plush, borderless microfiber cloths.
- Masking tape: Standard automotive painter's tape to protect trim.
- Finishing polish and wax: To restore gloss and protect the bare paint afterward.
Using clean, high-quality microfiber towels is non-negotiable. Cheap or dirty cloths can easily scour the freshly leveled paint, undoing all your hard work. Additionally, masking tape is crucial for covering black plastic trim, rubber window seals, and chrome emblems. Rubbing compound will stain textured plastic and rubber, leaving behind an unsightly white residue that is incredibly difficult to clean once dry.
Step-by-Step Guide to Applying Rubbing Compound
Compounding is a physical process that requires patience, a steady hand, and a systematic workflow. To maintain control over the product and monitor your progress, always work in small, manageable sections of about one to two square feet at a time rather than attempting to compound an entire panel at once.
Preparing the Surface and Testing
Never apply rubbing compound to a dirty or dusty car. Any loose dirt, road grit, or dust left on the paint will get trapped under your applicator pad, acting like coarse sandpaper and creating deep, severe scratches across your panel. Wash the vehicle thoroughly using the two-bucket method, rinse it completely, and dry it with a clean microfiber drying towel. For the best results, run a clay bar over the target area to pull out bonded contaminants like tree sap, industrial fallout, or asphalt.
Once the surface is clean and dry, use your painter’s tape to cover all adjacent plastic trim, rubber seals, and sharp panel edges. This step saves you from tedious cleanup later and protects sensitive materials from abrasive wear.
Before proceeding to the main panels, perform a test spot in an inconspicuous area, such as the lower portion of a bumper or rocker panel. Apply a small amount of compound and work it into the test area to observe how your specific paint reacts. Some vehicle manufacturers use soft clear coats that correct quickly, while others use hard clear coats that require more effort. This test spot helps you gauge the aggressiveness of your compound and adjust your pressure accordingly.
Applying the Compound and Buffing
Apply three to four pea-sized drops of rubbing compound directly onto your foam or microfiber applicator pad. Do not apply the compound directly to the car paint, as this can lead to uneven distribution and product overloading. Press the pad against the target section of the panel in a few spots to distribute the compound evenly before you begin buffing.
Using moderate, even pressure, work the applicator pad over the paint in a cross-hatch pattern. This means moving the pad in straight, overlapping vertical lines, followed by straight, overlapping horizontal lines. Avoid rubbing in circular motions, as circles can create uneven pressure points and leave behind new swirl marks.
Keep a close eye on the state of the compound as you work. As the abrasives break down, the wet paste will begin to turn into a thin, translucent film. You must stop buffing before the compound dries completely into a hard, dusty crust. Buffing dry compound against bare paint creates intense friction heat and can cause micro-marring, making the surface look dull and hazy.
Wiping and Inspecting the Results
Immediately after you finish buffing a section, take a clean, dry microfiber towel and gently wipe away the remaining compound residue. Use light pressure and fold the towel frequently to expose a clean side, preventing the spent abrasive particles from dragging across the freshly corrected paint.
Inspect the area under direct, bright lighting. A dedicated LED work light or direct sunlight is ideal for revealing whether the scratches and swirl marks have been successfully leveled. If the defects are gone and the paint looks smooth, you can move on to the next section.
If the scratches are still visible, you may perform a second pass. However, you must evaluate the paint carefully before doing so. Every pass removes a small amount of clear coat. If the scratch is still highly visible after two controlled passes, it is likely too deep for safe DIY removal, and continuing will risk burning through the clear coat.
Crucial Safety Boundaries and When to Stop
DIY paint correction has strict physical limits, and knowing when to stop is the difference between a beautiful finish and an expensive trip to the body shop. The clear coat on modern vehicles is incredibly thin, often comparable to the thickness of a sticky note. Once this protective layer is gone, the underlying base coat is exposed to rapid oxidation, fading, and peeling.
Be extremely cautious around panel edges, body lines, style curves, and corners. During the manufacturing process, paint naturally flows away from sharp edges, leaving these areas with a significantly thinner layer of clear coat. When hand-buffing, the pressure concentrates on these raised edges, making it incredibly easy to accidentally rub completely through the paint in just a few strokes. Keep your applicator pad flat and avoid applying direct pressure to any sharp body lines.
Watch out for signs of clear coat failure or thinning. If your applicator pad begins to take on the color of your car’s paint, stop immediately. This indicates that you have rubbed completely through the clear coat and are now abrading the color coat. Other warning signs include a sudden dulling of the paint, a patchy appearance, or a change in texture. If you encounter deep scratches, heavy oxidation, or clear coat peeling, stop your DIY efforts and consult a professional detailer or a qualified body shop.
Post-Compound Protection: Restoring Your Clear Coat
Because rubbing compound is highly abrasive, it strips away all existing waxes, paint sealants, and ceramic coatings, leaving your clear coat completely bare and vulnerable. Bare clear coat is highly susceptible to environmental damage, including acid rain, bird droppings, and intense ultraviolet (UV) radiation. In tropical regions, leaving paint unprotected under the harsh sun will cause rapid fading and oxidation within a matter of weeks.
Compounding also leaves behind a slight haze or micro-marring, which is a normal byproduct of heavy abrasives. To restore maximum optical clarity and a deep, mirror-like shine, you should follow up with a fine finishing polish. Apply the polish using a clean foam pad in the same cross-hatch pattern, then wipe away the residue with a fresh microfiber towel. This step refines the surface and prepares it to bond with a protective layer.
Once the paint is polished and clean, apply a dedicated protective coating. You can choose a high-quality carnauba wax for a warm, deep gloss, a synthetic paint sealant for long-lasting durability, or a ceramic spray coating for superior water-beading properties. While a bottle of compound and protection products is a modest investment of a few hundred pesos ₱, a professional respray to fix burned paint can cost thousands of pesos ₱. Taking the time to properly polish and seal your paint ensures your hard work is preserved and your vehicle remains protected against the elements.
Frequently Asked Questions (FAQ)
Can I use rubbing compound on matte or satin paint finishes?
No, you must never use rubbing compound, polish, or any abrasive product on matte or satin paint finishes. Matte paint achieves its flat appearance through a textured clear coat that scatters light instead of reflecting it. Applying an abrasive compound will permanently flatten this texture, creating shiny, glossy patches that cannot be undone. To care for matte finishes, always consult your vehicle manufacturer’s specific care instructions and use only specialized, non-abrasive matte cleaners and protectants.
How often should I use rubbing compound on my car?
Rubbing compound should only be used when absolutely necessary to remove distinct paint defects, rather than as a routine maintenance step. Because compounding physically removes a microscopic layer of your clear coat, frequent use will eventually thin the paint to the point of failure. For regular maintenance, rely on gentle washing, claying, and non-abrasive polishes or glazes. Limit heavy compounding to once or twice during the vehicle’s lifetime, or spot-treat specific scratches only when they occur.

Community discussion
Share your experience or ask a question. Comments are reviewed before publication.