
When you spot dark spots under your parked motorcycle, determining whether you need to replace the entire drain pan engine oil reservoir or simply perform a quick, low-cost fix is your first priority. Many riders assume that any sign of oil pooling at the bottom of the crankcase demands an expensive new oil pan (also known as the oil sump). Fortunately, the vast majority of lower engine leaks originate from minor, easily replaceable wear items rather than a ruined pan.
A full replacement of the oil pan is typically reserved for severe, irreversible structural damage. Most localized leaks are actually caused by a worn drain plug gasket, a flattened crush washer, an aged O-ring, or a degraded pan-to-block sealing gasket. By systematically diagnosing the leak, you can avoid unnecessary parts purchases and target the exact component causing the issue.
Critical Safety Warnings Before You Inspect
Riding a motorcycle with an active oil leak presents severe safety hazards that must not be ignored. The most immediate threat is the loss of tire traction. Because of the motorcycle’s layout, oil dripping from the bottom of the engine is easily blown backward by the wind, directly coating the rear tire. This can cause an instantaneous loss of grip, leading to a dangerous low-side or high-side crash, especially when cornering or riding on wet asphalt.
Products mentioned in this guide
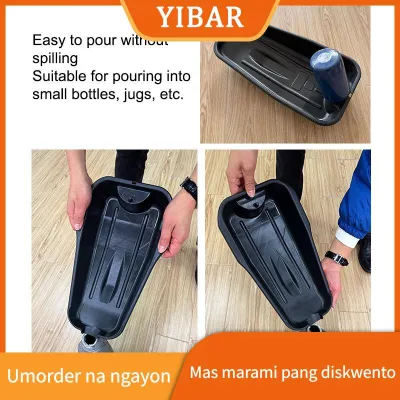
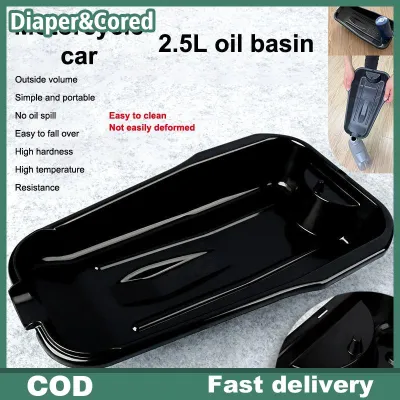
![[CISWGE Automobile] Oil Drain Pan 2.5L Premium PP Construction No Warping for Car Motorcycle Mechanic Garage Use](https://img.lazcdn.com/g/p/dcd73c1435d57e009254517ba2353ca7.jpg_400x400q80.jpg_.webp)
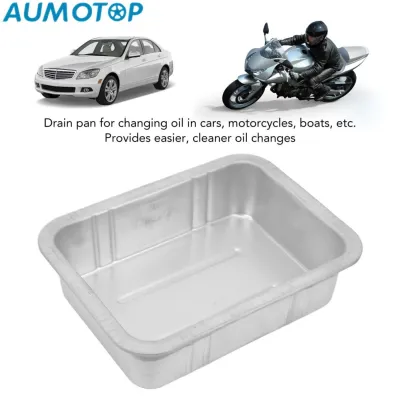
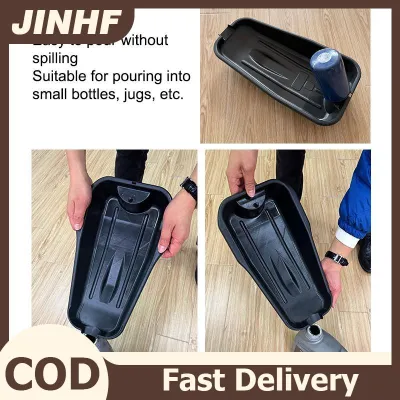
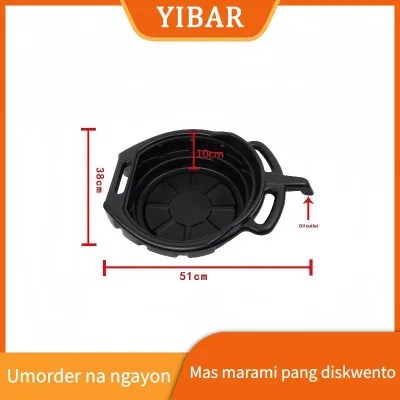
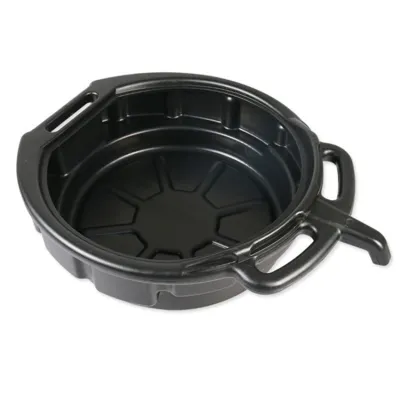
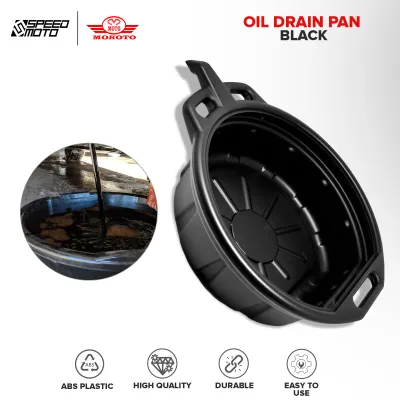
Prices are valid at publication and may change. Please refer to the product page for the latest price.
Beyond the physical danger to the rider, an oil leak threatens the life of your engine. Running an engine with insufficient oil volume or low oil pressure will cause rapid, catastrophic internal wear. Without a protective film of oil, high-friction components like the pistons, cylinder walls, and camshafts can overheat and seize within minutes, resulting in an expensive engine rebuild.
Before you attempt any diagnostic steps or start the engine, place the motorcycle on a level surface and check the oil level. Use the built-in sight glass or the engine dipstick to verify that the oil level is within the manufacturer’s safe operating range. If the oil is below the minimum fill line, top it up with the recommended oil grade before proceeding.
If your diagnosis reveals a very slow, minor seep that does not actively drip onto the ground or the rear tire, it is generally safe to ride the motorcycle cautiously to a local workshop for repair. However, if you notice an active drip, a spraying leak, or oil pooling near the rear wheel, do not ride the motorcycle. In these cases, the bike must be transported on a trailer or flatbed to prevent engine damage or a serious accident.
How to Pinpoint the Exact Source of a Drain Pan Engine Oil Leak
To identify the true source of an oil leak, you must start with a clean canvas. Road grime, chain lube, and old oil accumulation can easily mask the origin of a fresh leak, leading to an incorrect diagnosis. Begin by thoroughly cleaning the entire lower engine area, focusing on the oil pan, the drain plug, and the mating seams where the pan meets the engine block.

Before applying any cleaning agents, check the product label of your chosen motorcycle-safe degreaser and consult your motorcycle’s owner’s manual. Ensure the cleaner is fully compatible with your engine’s aluminum alloys, painted surfaces, and rubber seals to prevent accidental damage. Spray the degreaser onto the soiled areas, agitate gently with a soft brush if necessary, rinse thoroughly with low-pressure water, and dry the entire area completely with a clean microfiber cloth.
Once the engine is clean and dry, start the motorcycle and let it idle in a well-ventilated area for several minutes, or take a very short, cautious ride around the block. Park the motorcycle on a clean piece of cardboard and use a bright flashlight to inspect the undercarriage. Trace any emerging wetness upward to its highest point of origin, as gravity and wind will naturally carry oil downward and backward.
Observe where the oil begins to pool or weep to distinguish between common leak paths:
- Around the drain plug: If the oil is concentrated solely around the head of the drain plug bolt, the issue is almost certainly a failed crush washer or a loose plug.
- Along the mating flange: If oil is weeping from the seam where the oil pan connects to the main engine block, the pan-to-block gasket or liquid RTV sealant has degraded.
- Through the metal body: If oil is actively seeping directly through the metal walls of the pan itself, the pan has suffered structural damage and must be replaced.
In tropical environments with high humidity, the exterior of a steel oil pan may develop surface rust over time. It is important to distinguish harmless surface oxidation from deep, structural pitting. Surface rust can usually be cleaned and touched up with heat-resistant paint, whereas deep pitting that weakens the metal or causes pinhole leaks requires an immediate replacement of the pan.
Key Signs Your Drain Pan Must Be Replaced
While many oil leaks can be resolved with simple maintenance, certain conditions compromise the physical integrity of the oil pan. In these scenarios, replacing the pan is the only safe and reliable course of action.
Cracks, Punctures, or Impact Damage
Motorcycle oil pans are highly vulnerable to road hazards due to their low mounting position. Flying road debris, scraping over tall speed bumps, or bottoming out on uneven roads can easily crack a brittle cast aluminum pan or puncture a stamped steel pan. While temporary trail repairs using steel-reinforced epoxy can help you get home in an emergency, they are not reliable long-term solutions. A cracked or punctured oil pan must be replaced to prevent sudden oil loss while riding.
Severe Corrosion and Structural Pitting
Constant exposure to moisture, road salt, coastal air, and standing water can cause severe rust on steel oil pans. If you notice that the metal around the drain plug or along the mounting flange is flaking, thinning, or crumbling when lightly touched with a mechanical pick tool, the pan has lost its structural strength. A corroded pan is at high risk of bursting under pressure or cracking during your next oil change, making a replacement necessary.
Stripped Threads That Cannot Be Safely Repaired
Because motorcycle engine casings and oil pans are often made of soft aluminum, over-tightening the steel drain plug can easily strip the internal threads of the pan. If the drain plug spins continuously without tightening, or if it leaks despite having a fresh crush washer, the threads are damaged. While professional thread repair inserts (such as Helicoils) can resolve minor thread stripping, a replacement pan is required if the drain hole is excessively enlarged, cross-threaded deeply, or if the surrounding metal is too thin to support an insert safely.
Warped or Damaged Sealing Surfaces
The mounting flange of the oil pan must be perfectly flat to create a liquid-tight seal with the engine block. If the oil pan has been bent during an impact, or if the metal has warped due to severe engine overheating, a new gasket will not be able to compensate for the gap. If you remove the pan and verify with a machinist’s straightedge that the mating surface is warped, you must install a replacement pan to stop the leak.
When a Simple Repair or Resealing Is Enough
If your visual inspection reveals that the oil pan itself is structurally sound, free of cracks, and has healthy threads, you do not need to replace the pan. Instead, one of these standard maintenance procedures will resolve the leak.
Replacing the Crush Washer or O-Ring
The drain plug crush washer is a soft metal washer (typically copper or aluminum) designed to deform and crush when tightened, filling any microscopic gaps between the plug and the pan. Because it deforms permanently to create this seal, it is a single-use component. Reusing an old, hardened crush washer is the single most common cause of minor oil drips. Replacing this inexpensive washer during every single oil change is an essential practice to maintain a leak-free seal.
Resealing the Pan-to-Engine Block Joint
If oil is weeping from the mating seam but the pan is undamaged, the existing gasket or liquid sealant has failed. To fix this, you must drain the oil, remove the oil pan bolts, and carefully detach the pan. Clean all traces of the old gasket material or silicone sealant from both the engine block and the pan flange using a plastic gasket scraper to avoid scratching the aluminum. Before reassembly, check the sealant or gasket product label to ensure compatibility with your specific engine oil type and operating temperatures, then install a fresh gasket or apply the manufacturer-specified RTV sealant.
Correcting Drain Plug Torque
When confronted with a minor drip, many riders make the mistake of using a standard wrench to over-tighten the drain plug. This extra force rarely stops the leak and often leads to stripped threads or cracked pans. To prevent this damage, always use a calibrated torque wrench to tighten the drain plug. Refer to your motorcycle’s service manual for the exact torque specification (typically measured in Newton-meters or foot-pounds) and tighten the bolt precisely to that value.
Action Plan: What to Do Next
To resolve your motorcycle’s oil leak efficiently, follow this step-by-step decision matrix:
- Step 1: Clean and verify the leak source. Do not order any replacement parts until you have thoroughly degreased the engine and traced the exact origin of the wetness using a flashlight.
- Step 2: Address minor leaks first. If the leak is originating from the drain plug or the mating seam, purchase the correct original equipment manufacturer (OEM) crush washer, O-ring, or replacement gasket. Perform the resealing process and torque the plug to specification.
- Step 3: Source a compatible replacement pan if needed. If your diagnosis reveals cracks, deep structural pitting, warped flanges, or ruined threads, you must replace the pan. Before purchasing, verify your motorcycle's exact make, model, year, and engine code from your official vehicle documentation to ensure perfect compatibility. Never rely solely on generic category terms.
- Step 4: Know when to seek professional help. If you discover that the threads on the main engine block itself are damaged, if the manufacturer's service instructions conflict with your tools, or if you lack the appropriate paddock stands to safely lift and support the motorcycle, stop and consult a qualified professional mechanic to perform the repair.
Frequently Asked Questions (FAQ)
Can I use an oil stop-leak additive to fix a drain pan leak?
No, you should not use oil stop-leak additives to fix an oil pan leak. These chemical additives are designed to swell and soften old, hardened rubber seals, such as crankshaft seals or valve stem seals. They cannot repair physical cracks in metal, porous aluminum castings, stripped threads, or a deformed metal crush washer. Relying on additives can also alter your engine oil’s chemistry and potentially harm wet clutch performance.
How often should I replace the drain plug crush washer?
You should replace the drain plug crush washer every single time you perform an oil change. Because crush washers are designed to deform permanently to create a tight seal, reusing a compressed washer significantly increases the risk of slow leaks and can tempt you to over-tighten the drain plug, risking damage to the pan’s threads.
Is it safe to ride my motorcycle with a slow oil drip?
It is not safe to ride a motorcycle with an active oil drip. Even a slow drip can be blown onto your rear tire by the wind while riding, causing an immediate and dangerous loss of traction. Additionally, if the drip escalates into a larger leak while you are riding, you risk running the engine low on oil, which can cause severe, irreversible internal engine damage. If you detect an active drip, diagnose and repair the issue before riding again.

Community discussion
Share your experience or ask a question. Comments are reviewed before publication.