
Choosing between an Original Equipment Manufacturer (OEM) caliper bracket and an aftermarket alternative for your Yamaha Mio i 125 is a decision that directly impacts your motorcycle’s stopping power and overall road safety. While genuine OEM Yamaha brackets provide guaranteed fitment, factory-tested metallurgical strength, and hassle-free compatibility, high-quality aftermarket options can serve as viable alternatives if you possess the tools and expertise to rigorously verify their physical specifications. Because the caliper bracket is a critical structural component of your front braking system, making the right choice requires understanding the trade-offs between out-of-the-box reliability and the hands-on inspection required for aftermarket parts.
Why the Caliper Bracket Matters for Braking Safety
The caliper bracket serves as the vital structural bridge that anchors your front brake caliper to the motorcycle’s front fork assembly. When you pull the front brake lever on your Mio i 125, hydraulic pressure forces the brake pads to clamp onto the spinning disc rotor. This action generates immense kinetic friction, which is immediately converted into torsional stress. The caliper bracket must absorb and transfer this intense rotational force directly to the suspension without flexing, shifting, or cracking.
If a caliper bracket fails or flexes under load, the consequences can be catastrophic. Even minor structural flexing can cause the brake caliper to misalign with the rotor, leading to uneven brake pad wear, reduced stopping power, and a spongy feel at the brake lever. In extreme cases, a low-quality or fractured bracket can cause the caliper to bind against the wheel spokes or detach entirely, resulting in a sudden, complete loss of front braking capability or an immediate wheel lockup.
Products mentioned in this guide
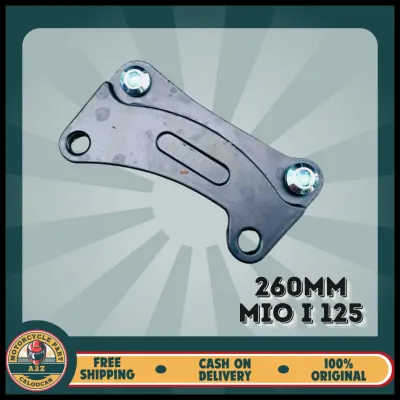
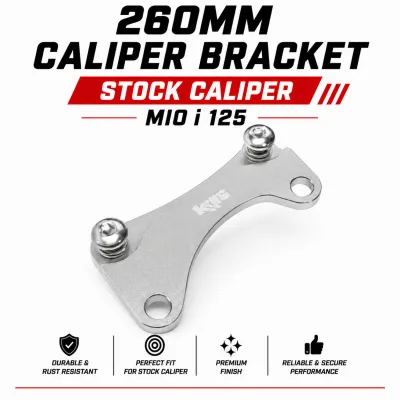
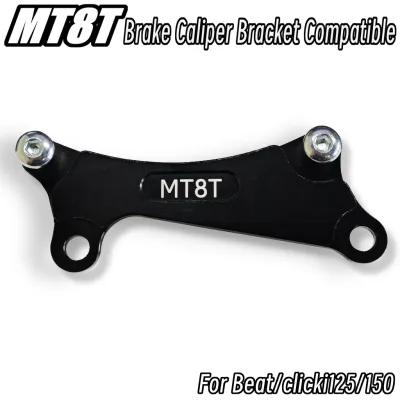
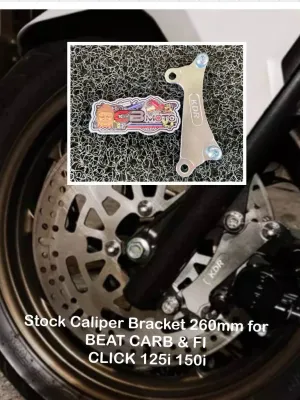
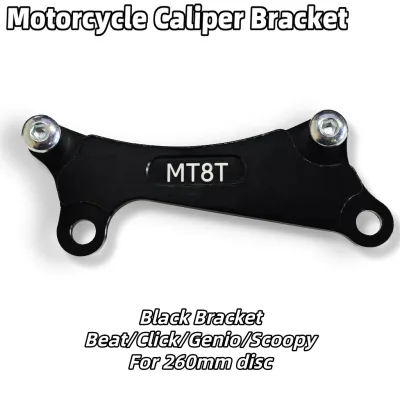
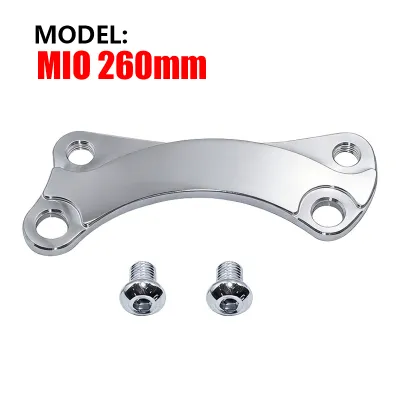
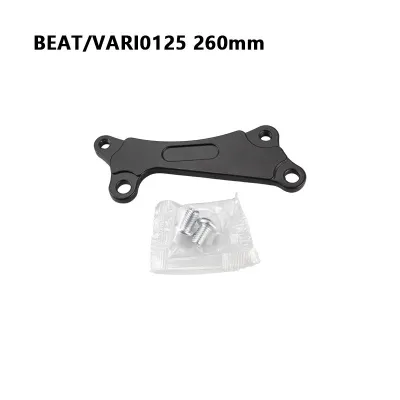
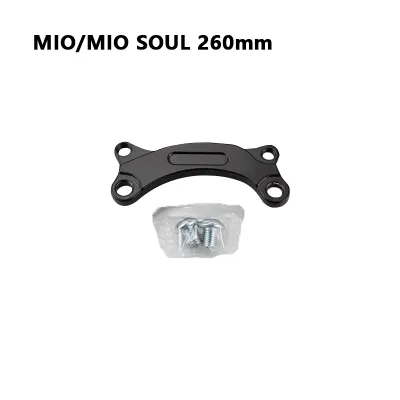
Prices are valid at publication and may change. Please refer to the product page for the latest price.
The front fork and axle assembly of the Mio i 125 are engineered to incredibly tight tolerances. A variance of just a fraction of a millimeter in the bracket’s mounting alignment can cause the brake pads to drag constantly against the rotor. This dragging generates excessive heat, which can warp the brake disc, accelerate wear on the wheel bearings, and degrade the front suspension seals over time.
Evaluating Genuine OEM Yamaha Brackets
Genuine OEM Yamaha caliper brackets are engineered specifically for the Mio i 125, utilizing precise metallurgical compositions designed to withstand years of thermal cycles and mechanical stress. These brackets undergo rigorous factory testing to ensure they can handle emergency braking scenarios without structural deformation. When you install a genuine OEM bracket, you are guaranteed perfect alignment with the factory front fork and the standard 190mm brake rotor.

To ensure you are purchasing a genuine OEM Yamaha bracket, you must follow a strict verification process. Always source your parts from authorized Yamaha 3S shops or reputable, established motorcycle dealers. Inspect the packaging carefully; genuine Yamaha parts are sealed in high-quality plastic or branded boxes featuring a distinct red-and-white label with clear part numbers. Look for the official holographic security sticker on the packaging, which should display clean, sharp details and shift colors when tilted under direct light.
Despite these clear safety advantages, choosing OEM parts does come with specific trade-offs. Genuine components command a higher price in local currency ₱ compared to budget aftermarket alternatives. Additionally, depending on your location in the Philippines, local service centers may occasionally experience stock shortages, requiring you to wait days or weeks for a replacement part to arrive from a central warehouse.
How to Inspect and Verify Aftermarket Options
If you decide to explore aftermarket caliper brackets—whether due to budget constraints or because you are upgrading to a larger aftermarket brake rotor—you must treat physical verification as a mandatory safety step. Never rely solely on brand names, marketing claims, or positive reviews on online marketplaces. Because these platforms host a wide variety of unverified sellers, the responsibility of ensuring part safety rests entirely on your physical inspection before installation.
Begin your inspection by comparing the aftermarket bracket side-by-side with your removed OEM unit. Use a digital caliper to measure the critical dimensions: the center-to-center distance of the fork mounting holes, the spacing of the caliper mounting threads, and the depth and diameter of the sliding pin bores. Any deviation from the original measurements indicates a high risk of misalignment.
Next, conduct a thorough visual and tactile quality check. Inspect the casting or CNC machining finish; high-quality aftermarket brackets feature smooth, uniform surfaces and clean edges. Red flags include visible porosity or tiny air bubbles in the metal casting, heavy machining burrs, uneven paint or anodizing, and misaligned or shallow mounting threads. Additionally, feel the weight of the part; a bracket that feels significantly lighter than the OEM unit often indicates the use of a cheaper, less dense aluminum alloy that may fail under high torsional loads.
Comparing OEM and Aftermarket Brackets: What to Check
To make an informed decision, you must contrast the two options across verifiable physical and operational dimensions rather than unproven performance claims.
| Verifiable Attribute | Genuine OEM Yamaha Bracket | Aftermarket Caliper Bracket |
|---|---|---|
| Physical Dimension Matching | Guaranteed exact fitment to factory specifications | Requires manual measurement and verification |
| Material Disclosure | Certified high-tensile alloy | Variable; requires checking seller specifications |
| Corrosion Resistance | Factory-tested anti-rust coating | Highly variable; must verify anodizing or plating |
| Warranty & Return Policy | Supported by authorized dealer policies | Dependent on online marketplace return windows |
| Required Inspection Effort | Minimal; plug-and-play installation | High; requires digital calipers and visual audit |
In the tropical climate of the Philippines, environmental factors play a massive role in the longevity of your braking components. High humidity, coastal salt air, and frequent exposure to standing water during the monsoon season accelerate rust and corrosion. A caliper bracket with poor surface treatment will quickly develop rust in the sliding pin bores, causing the caliper to seize and the brakes to drag. When evaluating aftermarket options, prioritize brackets that feature high-quality anodizing or robust powder coating, and consult the seller’s material disclosures to confirm the use of corrosion-resistant alloys.
Your specific riding profile should also dictate your tolerance for part variance. If your daily commute involves navigating the dense, stop-and-go traffic of urban areas, your front brakes experience constant heat build-up and high-frequency wear. For riders who use their Mio i 125 for heavy-load deliveries or long-distance touring across provincial highways, the structural demands on the braking system are even higher, leaving absolutely no room for bracket failure.
Installation Safety Boundaries and Post-Fitment Checks
Because the front braking system is a critical safety assembly, you must establish strict safety boundaries during the installation process. Always refer to your original-vehicle service manual for the exact torque specifications required for the caliper mounting bolts and fork bolts. If you do not possess the necessary tools, such as a calibrated torque wrench, or if you lack experience with motorcycle braking systems, you must seek qualified professional installation at a registered service center.
Before mounting the new bracket, thoroughly clean the fork mounting threads and inspect them for any signs of stripping or cross-threading. Apply a thin, even layer of high-temperature silicone grease to the caliper sliding pins to ensure smooth lateral movement.
Define clear stop conditions during the installation process. If the caliper bracket does not align perfectly with the fork mounts without applying physical force, or if the mounting bolts do not thread smoothly by hand, stop the installation immediately. Never attempt to file down the bracket, force the alignment, or over-tighten the bolts to compensate for a poor fit, as this can permanently damage your front fork threads or cause the bracket to crack under tension.
Once the installation is complete and all bolts are torqued to specification, perform a mandatory post-fitment safety check. With the motorcycle on its center stand, spin the front wheel by hand to ensure it rotates freely without dragging or binding. Next, conduct a low-speed braking test in a closed, safe environment, such as a quiet side street. Ride at a walking pace and gently apply the front brake several times to verify that the caliper aligns correctly and that there are no abnormal vibrations, clicking noises, or sudden drops in lever pressure.
Decision Framework: Choosing the Right Bracket for Your Ride
To choose the safest and most practical caliper bracket for your Mio i 125, apply this structured decision framework based on your technical capabilities and riding needs.
Choose a genuine OEM Yamaha bracket if:
- You prioritize maximum safety and want a direct, plug-and-play installation without the need for manual measurements.
- You want guaranteed long-term durability and factory-tested resistance to tropical weather conditions.
- You do not own precision measuring tools or prefer to avoid the effort of verifying aftermarket material quality.
Choose an aftermarket caliper bracket if:
- You are on a strict budget but possess the digital calipers and mechanical knowledge required to perform a rigorous physical audit of the part.
- You are upgrading your Mio i 125 with a larger aftermarket disc rotor or a non-standard caliper that physically requires a custom bracket size.
- The aftermarket manufacturer provides transparent material specifications, clear rust-resistance details, and a reliable return policy.
As a strict safety baseline, if you cannot independently verify the origin, material specifications, or physical dimensions of an aftermarket bracket, default immediately to the genuine OEM Yamaha bracket. Before finalizing any purchase, always double-check that the part matches the exact model year and variant of your Mio i 125 to avoid compatibility issues.
Frequently Asked Questions (FAQ)
Can I use a caliper bracket from a different Yamaha scooter model?
No, you should never assume that a caliper bracket from another Yamaha scooter model will fit your Mio i 125, even if they look visually identical. Different scooter models often feature variations in front fork spacing, brake caliper offset, axle diameters, and standard disc rotor sizes. Attempting to force a bracket from a different model can lead to severe caliper misalignment, brake drag, or structural failure. Always verify compatibility by checking the official Yamaha parts catalog or consulting a professional mechanic before purchasing.
How do I know if my current caliper bracket needs replacement?
Your caliper bracket should be inspected regularly and replaced immediately if you observe any of the following warning signs: visible hairline cracks or stress fractures along the metal body, a bent or warped bracket shape (often occurring after a minor collision or fall), or stripped mounting threads that prevent bolts from tightening securely. Additionally, look for severe corrosion pitting or deep wear grooves inside the sliding pin bores; if the sliding pins cannot move smoothly even after thorough cleaning and lubrication, the bracket must be replaced to prevent dangerous brake binding.

Community discussion
Share your experience or ask a question. Comments are reviewed before publication.