
Selecting the correct spark plug cap for the Suzuki Raider 150 carburetor model is a vital maintenance decision that directly influences engine efficiency, ignition reliability, and electronic stability. The Raider 150 carb requires a specialized spark plug cap with an integrated 5-kilohm (5kΩ) resistor to maintain compatibility with its factory capacitor discharge ignition (CDI) system. Physical compatibility depends on matching the cap to the high-tension lead terminal connection—typically a threaded screw-on pin—and the specific terminal style of the installed spark plug. For daily commuting and long-distance riding in tropical climates, choosing an OEM or a high-quality aftermarket resistor cap is the most dependable path, whereas premium material upgrades should only be installed if they preserve proper weather sealing and match the original electrical specifications.
Verifying Compatibility for Your Raider 150 Carburetor
The Suzuki Raider 150 carburetor engine features a Double Overhead Camshaft (DOHC) layout, which places the spark plug deep within a recessed tunnel in the center of the cylinder head. Because of this deep-well design, standard short or straight spark plug caps cannot reach the plug terminal or seal the tunnel opening. The Raider 150 carb requires an elongated, long-reach spark plug cap, typically featuring a 90-degree or 120-degree elbow. This specific geometry allows the cap to extend fully down the spark plug well while clearing the motorcycle’s frame rails, carburetor intake boot, and secondary air system plumbing.
High-Tension Lead Connection
The high-tension lead, or ignition coil wire, delivers high-voltage current from the ignition coil to the spark plug cap. On the Raider 150 carb, this connection is established via a threaded screw-on terminal inside the collar of the cap. The center of the cap’s receiving end features a sharp, threaded brass pin resembling a wood screw. To secure the connection, the high-tension wire is pushed onto this pin and rotated clockwise, forcing the screw threads to bite directly into the copper or conductive fiber core of the wire. Before purchasing a replacement cap, you must verify that its receiving collar matches this threaded screw-on design, as push-on or crimp-style aftermarket caps will not secure properly to the stock ignition wire.
Products mentioned in this guide
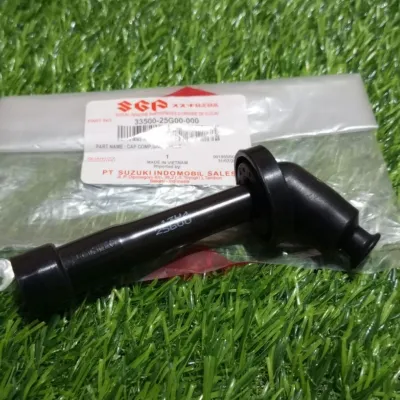
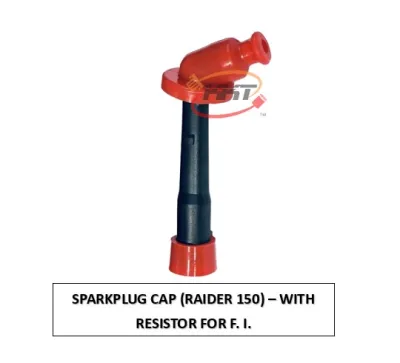
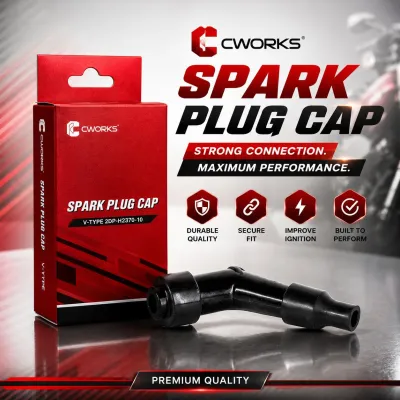
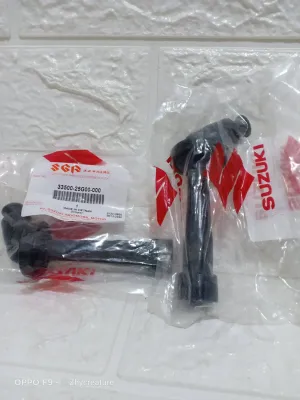
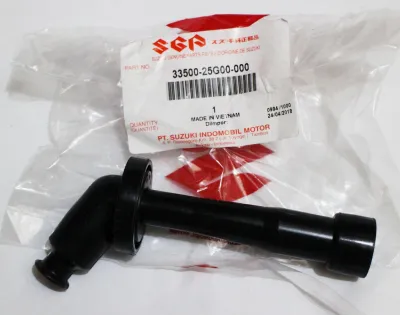
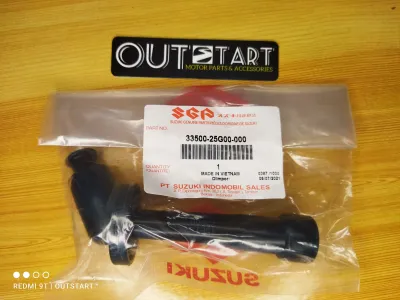
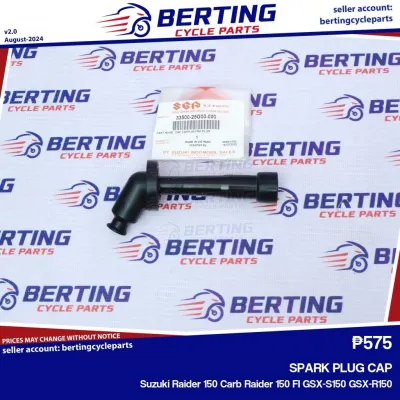
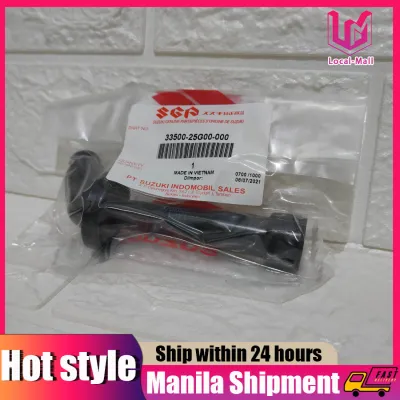
Prices are valid at publication and may change. Please refer to the product page for the latest price.
Spark Plug Terminal Match
The connection at the base of the spark plug cap must correspond precisely with the terminal type of the spark plug installed in your engine. Standard spark plugs compatible with the Raider 150 carb, such as the NGK CR8E, feature a threaded post terminal at the top. Some aftermarket spark plugs or alternative brands come with a solid, non-removable terminal nut. The internal metal clip of the spark plug cap must be designed to snap securely onto whichever terminal style your plug uses. Standard Raider 150 caps are designed for a threaded post; forcing this type of cap onto a solid terminal nut will bend and ruin the internal brass clip, while using a solid-nut cap on a bare threaded post results in a loose, vibrating connection that causes severe electrical arcing.
Verification Step
To prevent purchasing an incompatible part, begin by inspecting the physical markings on your existing spark plug cap. Look for stamped manufacturer part numbers or brand logos, and use a caliper or ruler to measure the overall length of the cap shaft and the outer diameter of the sealing boots. Because the Raider 150 carb has undergone various production runs in the Philippines, minor changes in aftermarket ignition coils or previous repairs may have altered the high-tension wire thickness. Always cross-reference your measurements with the official Suzuki Raider 150 service manual or a reputable parts catalog to guarantee that the replacement cap’s length, angle, and sealing gaskets will fit your specific model year perfectly.
Comparing Spark Plug Cap Options
When sourcing a replacement spark plug cap, riders generally choose between original equipment manufacturer (OEM) parts, high-quality aftermarket replacements, and caps constructed from non-traditional materials. Evaluating these options requires looking past marketing claims of increased horsepower and focusing on material durability, electrical insulation, and weatherproofing.

OEM vs. High-Quality Aftermarket Replacements
OEM Suzuki spark plug caps are engineered specifically for the physical tolerances and thermal demands of the Raider 150’s DOHC cylinder head. They feature a rigid phenolic resin body wrapped in thick, multi-lipped rubber seals. The internal 5kΩ ceramic resistor is highly stable, maintaining its precise resistance value across a wide temperature range. This resistance is critical because it dampens the high-frequency electromagnetic noise generated during spark discharge, preventing radio frequency interference (RFI) from disrupting the CDI unit’s timing circuits. Using a genuine OEM cap ensures that your ignition timing remains stable, protecting the engine from high-RPM stuttering or premature CDI failure.
High-quality aftermarket caps from established manufacturers like NGK or Denso offer an excellent alternative to OEM parts. These caps are built to identical electrical specifications, utilizing premium phenolic shells and heavy-duty silicone rubber seals. Many riders opt for reputable aftermarket caps because they are widely available in local motorcycle shops and often feature updated outer boot designs that provide a tighter seal around the spark plug’s ceramic insulator.
Warning: Avoid ultra-cheap, unbranded “racing” spark plug caps that claim to offer zero electrical resistance. While a 0-ohm cap theoretically allows a fractionally higher voltage discharge at the plug gap, removing the 5kΩ resistance eliminates the damping of electromagnetic interference. Without this resistor, high-frequency electrical noise back-feeds into the Raider’s wiring harness, causing erratic ignition timing, rough idling, speedometer glitches, and potential long-term damage to the CDI and stator coils.
Standard Rubber vs. Upgraded Materials
Standard spark plug caps utilize a combination of hard phenolic resin for the structural body and flexible rubber or silicone for the sealing boots. Phenolic resin is an exceptional electrical insulator with high dielectric strength, meaning it can withstand the 20,000 to 30,000 volts delivered by the ignition coil without allowing the current to punch through the cap wall. The flexible rubber boots provide excellent natural moisture resistance and allow the cap to absorb engine vibrations without loosening or cracking over time, making this design highly practical for daily commuting.
Upgraded materials, such as silicone-molded bodies, CNC aluminum sleeves, or carbon fiber outer shells, are popular choices for riders looking to customize their Raider 150. Full silicone caps offer superior thermal stability and flexibility, resisting the hardening and cracking that can occur after years of exposure to intense engine heat. CNC aluminum-sleeved or carbon fiber caps provide a rugged, premium aesthetic and excellent physical protection against external impacts or abrasion.
Trade-offs: Rigid metal or carbon fiber outer sleeves do not flex and conduct electricity if an insulation failure occurs. If the internal rubber or silicone liner of an aluminum-sleeved cap degrades or develops micro-cracks, the high-voltage ignition current will take the path of least resistance, arcing directly from the internal brass connector through the cracked insulation to the metal sleeve, and then grounding out against the cylinder head. This grounding completely kills the spark at the plug. Additionally, many decorative alloy caps lack the tight, multi-lipped rubber boots of standard caps, making them highly susceptible to water intrusion during heavy rains or high-pressure bike washes.
Critical Selection Factors for Daily and Tropical Riding
Operating a motorcycle in the Philippines requires selecting components that can withstand extreme environmental demands. The combination of intense tropical heat, high humidity, and severe seasonal rainfall means that your Raider 150’s spark plug cap must perform reliably under harsh physical conditions.
The Importance of the Resistor
The 5kΩ resistor inside the spark plug cap is not an optional feature; it is a fundamental component of the motorcycle’s electrical ecosystem. When the ignition coil discharges, it creates a rapid, high-current spike that emits strong electromagnetic waves. The ceramic resistor acts as a low-pass filter, smoothing out this electrical spike and suppressing RFI. Aside from protecting the CDI unit from timing errors, this suppression prevents electrical interference from disrupting nearby electronic accessories, such as aftermarket digital instrument panels, GPS routing devices, or mobile phones mounted to the handlebars.
Moisture and Weather Sealing
During the monsoon season, riders frequently face heavy downpours, deep puddles, and flooded streets. Because the Raider 150’s cylinder head is positioned forward and exposed to road spray, water easily finds its way into the spark plug tunnel. A high-quality spark plug cap must feature robust, multi-lipped rubber or silicone seals at both ends. The top seal must completely block water from entering the cylinder head tunnel, while the bottom seal must grip the ceramic insulator of the spark plug with a watertight seal. If water penetrates these barriers, it creates a highly conductive path, causing the high-voltage spark to bypass the spark plug gap and ground out against the cylinder head, resulting in immediate engine stalling in the middle of traffic.
Heat Management
The Raider 150’s DOHC engine runs hot, particularly when idling in dense urban traffic in cities like Manila or Cebu, where airflow through the oil cooler is minimal. The air temperature inside the recessed spark plug tunnel can easily exceed 120°C during prolonged idling. The spark plug cap must be constructed from materials rated to withstand these high temperatures without degrading. Low-quality plastics or cheap rubber boots will quickly dry out, harden, and become brittle under constant thermal cycling, leading to micro-fractures that allow moisture ingress and electrical arcing.
Safe Inspection and Installation Guidelines
Regular inspection and proper installation of the spark plug cap are essential to maintaining optimal engine performance and preventing unexpected breakdowns.
Inspection
To diagnose a suspected spark plug cap failure, use a digital multimeter to measure its internal resistance. Remove the cap from the spark plug and unscrew it counterclockwise from the high-tension wire. Set your multimeter to the 20k-ohm (Ω) resistance scale. Place one multimeter probe inside the spark plug terminal end of the cap, making contact with the internal metal clip, and place the other probe on the threaded brass pin at the high-tension wire end.
- Normal Reading: The multimeter should display a reading close to 5.0kΩ (typically between 4.5kΩ and 5.5kΩ).
- Abnormal Reading: A reading of infinity (open circuit) or a resistance value significantly higher or lower than the specification indicates that the internal ceramic resistor has failed or that the brass contacts have corroded. In this case, the cap must be replaced immediately.
In addition to electrical testing, perform a thorough visual inspection. Look for hairline cracks along the phenolic body, hardening or tearing of the rubber boots, and green copper corrosion (copper carbonate) or black carbon tracking inside the metal terminal clips.
Installation Steps
To install a new spark plug cap safely, follow these step-by-step instructions:
- Preparation: Ensure the ignition switch is turned off, the engine is completely cold, and the motorcycle is securely parked on its center stand.
- Clean the Area: Use compressed air or a clean brush to remove any dirt, sand, or debris from around the spark plug tunnel opening before removing the old cap, preventing contaminants from falling into the cylinder head.
- Remove the Old Cap: Gently grasp the body of the old spark plug cap and unscrew it counterclockwise from the high-tension wire.
- Inspect and Trim the Wire: Examine the exposed end of the high-tension wire. If the copper core appears green, corroded, or frayed, use a sharp wire cutter to trim exactly 5mm off the end of the wire to expose fresh, clean copper strands. Do not trim more than necessary, as the wire must remain long enough to reach the spark plug without being stretched tight.
- Mount the New Cap: Align the threaded brass pin of the new cap with the center of the high-tension wire core. Push the wire onto the pin and rotate the cap clockwise until it is snug and firmly seated. Do not overtighten, as this can strip the threads in the wire core.
- Apply Dielectric Grease: Apply a very thin, controlled smear of high-quality dielectric grease to the inner sealing lips of the rubber boot that slides over the spark plug's ceramic body. Warning: Do not apply dielectric grease inside the metal terminal clip itself, as this grease is an insulator and can block or degrade the electrical connection.
- Secure the Cap: Push the spark plug cap firmly down into the cylinder head tunnel until you feel and hear a distinct "click," indicating that the internal metal clip has locked onto the spark plug terminal. Ensure that the top rubber boot forms a tight, flush seal against the cylinder head opening.
Safety Boundary
Always consult the Suzuki Raider 150 service manual for specific torque specifications, safety warnings, and wiring diagrams. If the high-tension wire itself is cracked, brittle, or too short to safely trim, do not attempt to splice, tape, or repair the high-voltage wire. Ignition systems generate high voltages that can deliver severe electrical shocks and present a fire hazard if insulated improperly. If the wire is damaged, the entire ignition coil assembly must be replaced, or you should consult a qualified motorcycle mechanic before operating the vehicle.
Frequently Asked Questions (FAQ)
Can I use a non-resistor spark plug cap on my Raider 150?
No, you should not use a non-resistor (0-ohm) spark plug cap on a Raider 150 carburetor model. The factory ignition system is designed to operate with a 5kΩ resistor cap to suppress electromagnetic interference (EMI). Running a non-resistor cap allows high-frequency electrical noise to feed back into the motorcycle’s electrical system, which can disrupt the CDI unit, cause erratic ignition timing, trigger high-RPM misfires, and potentially lead to permanent damage of the CDI or other onboard electronics.
How often should I replace the spark plug cap?
Unlike spark plugs, spark plug caps do not have a strict mileage-based replacement interval. Instead, they should be inspected during every routine spark plug change or scheduled engine tune-up. You should replace the spark plug cap immediately if a visual inspection reveals physical cracking, hardening or tearing of the rubber boots, or internal corrosion. Additionally, replace the cap if it fails the multimeter resistance test, or if the motorcycle experiences unexplained misfires and stalling during wet weather.

Community discussion
Share your experience or ask a question. Comments are reviewed before publication.