
Replacing the engine support mount on your Honda Click V3 is a critical maintenance task that restores ride comfort, stabilizes handling, and protects your scooter’s frame from structural stress. This process involves securing the vehicle, supporting the engine block to relieve tension, removing the worn hanger assembly, and installing a new mount using precise torque specifications. Because the engine mount serves as a primary structural link between the engine and the frame, any errors during installation can compromise road safety and vehicle stability. If you lack the necessary mechanical experience or specialized tools, seeking qualified professional installation is highly recommended before attempting this repair.
Signs Your Click V3 Engine Mount Needs Replacement
The tropical climate and road conditions in the Philippines, such as frequent potholes, uneven asphalt, and heavy rains, accelerate the wear of rubber components. The engine support mount, often called the engine hanger, uses rubber bushings to isolate the frame from engine vibrations. Over time, these bushings degrade due to constant heat cycles and mechanical stress.
You will first notice excessive vibration transferring directly to the handlebars, floorboard, and footpegs. While some vibration is normal for a single-cylinder scooter engine, a failed mount causes a harsh, high-frequency buzz that makes long rides uncomfortable and can even loosen body panels or fairings.
Products mentioned in this guide
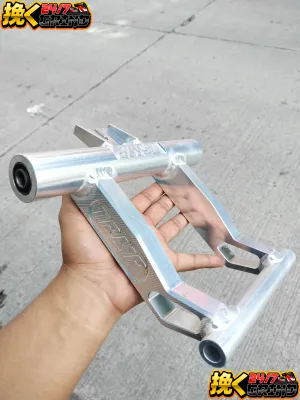
23 Lazada user ratings
High-quality motorcycle frame part, Made in Vietnam with quality,
ayos legit tama ang dumating mauulit k dito
Ideal for enhanced engine stability,
Professional-grade motorcycle part,
bznsbajakz d ammzz vsuzbx
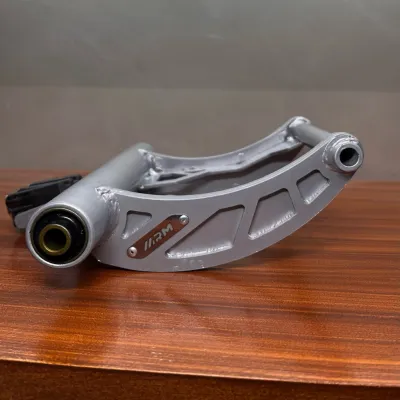
2 Lazada user ratings
🛠️Durability:Upon unbox my item, I am surprised & amazing because (What you see, is what you get) it is a legitimate & genuine honda click AR…Read full reviewShow less
🛠️Durability:Upon unbox my item, I am surprised & amazing because (What you see, is what you get) it is a legitimate & genuine honda click ARM engine support (heavy duty "mabigat")👍
5 Lazada user ratings
gggg Appearance:k
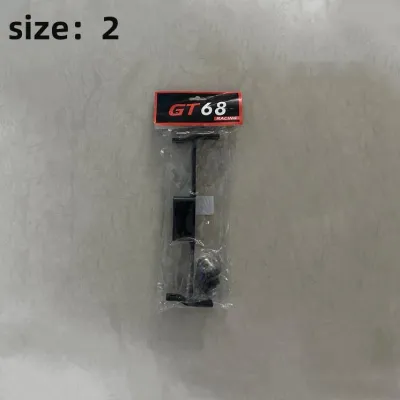
131 Lazada user ratings
Pangit ng pinadala nyu saken nakakadismaya order di sya fit sa click v3 ko hays wag na kayung omorder dito sayang lang Pera nyu ok sana Kong…Read full reviewShow less
Pangit ng pinadala nyu saken nakakadismaya order di sya fit sa click v3 ko hays wag na kayung omorder dito sayang lang Pera nyu ok sana Kong ibabalik ung Pera hays nakakabweset
🔨Durability:good 🔌Compatibility:good 🛠️Ease of Installation:good Mabilis din na deliver. Ty po!
Dikopa nakabit kaya dipa honest rate to, pero ok kausap si seller mabiles mag reply
Fast delivery. Items as ordered, not disappointed. The shop is very trustworthy
Plug and play installation, good
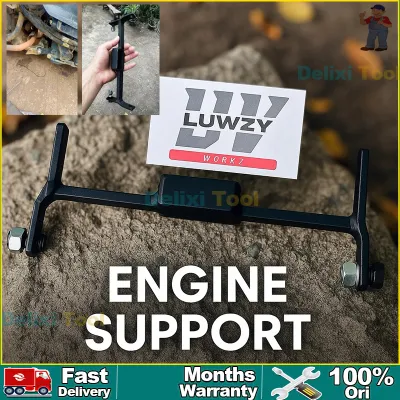
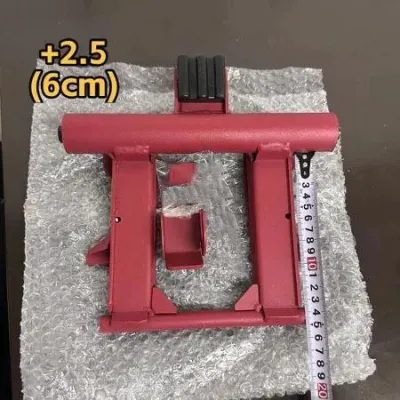
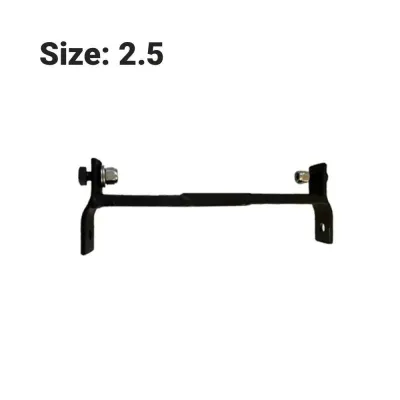
36 Lazada user ratings
Easy installation with free bolts, Ideal for low-budget riders, Ideal for low-budget riders, Simple and practical solution, Simple and pract…Read full reviewShow less
Easy installation with free bolts, Ideal for low-budget riders, Ideal for low-budget riders, Simple and practical solution, Simple and practical solution, No brand, but high quality, No brand, but high quality, Perfect fit for Honda Click and Beat, Perfect fit for Honda Click and Beat, Ideal for low-budget riders,
Received in good condition. At double na ung bakal nya sa gitna. Di ko pa nakakabit pero edit ko review ko kpag nakabit na. At kung matibay …Read full reviewShow less
Received in good condition. At double na ung bakal nya sa gitna. Di ko pa nakakabit pero edit ko review ko kpag nakabit na. At kung matibay ba lalo sa byahe at lubak
goods na goods 2.5 extension tapos naka plus .5 na mismong es ko bale plus 3 pero walang sayad ubox at sa shock nasayo nalang if want mo mag…Read full reviewShow less
goods na goods 2.5 extension tapos naka plus .5 na mismong es ko bale plus 3 pero walang sayad ubox at sa shock nasayo nalang if want mo magbracket
Maganda at tatagal cguro ayos sakin to salamat seller swak na swak sa budget meal 5 star sakin to
Appearance: rugged Quality: ⭐⭐⭐⭐ Suitability: perfect
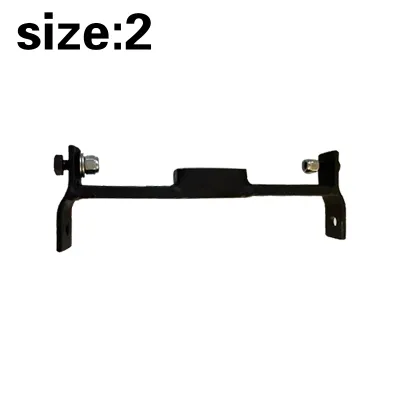
90 Lazada user ratings
The Item is Good and ang ganda ng quality niya, let’s see if the item is matibay. Pero as you can see maganda yung item and quality talaga. …Read full reviewShow less
The Item is Good and ang ganda ng quality niya, let’s see if the item is matibay. Pero as you can see maganda yung item and quality talaga. Sobrang bait pa ni seller at madaling kausap, thank you again seller!
🛠️Ease of Installation:High quality support, Fast shipping, Perfect fit for Honda, ok nman mura pa.. matibay sya.. gamit ko sya pang mc taxi …Read full reviewShow less
🛠️Ease of Installation:High quality support, Fast shipping, Perfect fit for Honda, ok nman mura pa.. matibay sya.. gamit ko sya pang mc taxi rider goods nman
ok naman, madali lang ikabit 9/10 pansamantala muna ehehehe 🔨Durability:8 🔌Compatibility:9 🛠️Ease of Installation:9 easy
ligit item safety packaging secured by bable wrap, solid material use highly recommend this shop happy customer here 🙃
Mukhang matibay all goods
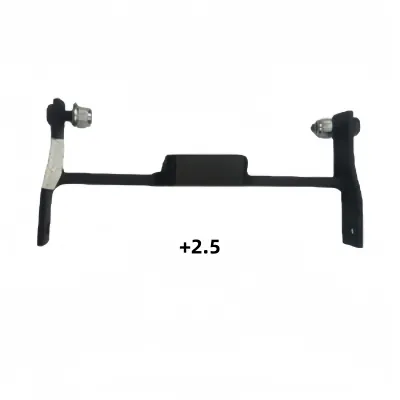
11 Lazada user ratings
makapal tapos tamang size dumating pero may mga iilang kalawang sa weld pag dating
panget walang tibay ib p dumating Hindi ung ns ad.scum
Easy plug and play,
sobrang ganda
Prices are valid at publication and may change. Please refer to the product page for the latest price.
Listen for clunking or metallic knocking sounds when you accelerate from a complete stop, decelerate suddenly, or ride over speed bumps. This noise occurs when the rubber inside the bushing has completely collapsed, allowing the metal inner collar of the mount to strike the outer bracket or the mounting bolt.
Put the scooter on its center stand and inspect the engine alignment. A failed mount often causes the engine block to sag, tilt, or sit misaligned relative to the frame. Look closely at the rubber bushings; if you see visible cracks, tears, dry rot, or if the rubber has separated from its metal sleeve, the mount must be replaced immediately to prevent further damage to the crankcase or frame.
Tools and Safety Preparations
Before starting, gather all necessary tools to ensure a smooth workflow. You will need a heavy-duty center stand or a rear paddock stand to keep the scooter perfectly upright and stable. A complete socket wrench set, a breaker bar for stubborn bolts, and basic hand tools like pliers and screwdrivers are essential.

A calibrated torque wrench is non-negotiable for this job. The engine mount bolts are critical structural fasteners that must be tightened to the exact specifications defined in the official Honda Click V3 service manual. Under-tightening can cause the bolts to back out under vibration, while over-tightening can strip the threads in the aluminum engine casing or stretch the steel bolts beyond their yield strength.
Personal safety is paramount when working under a scooter. Wear heavy-duty mechanic gloves to protect your hands from sharp metal edges, hot engine parts, and pinches. Put on clear eye protection to guard against falling road grime, rust flakes, or residual fluids when working beneath the frame.
Position the scooter on a flat, level concrete surface. Avoid working on dirt or uneven ground where the stands could sink or slip. Once the scooter is securely elevated on its center stand, disconnect the negative terminal of the battery. This standard electrical safety precaution prevents accidental short circuits or starter engagement while you are working near the main wiring harness and engine block.
Step-by-Step Removal of the Old Engine Support Mount
To access the engine support mount on the Honda Click V3, you must first clear any obstructing components. Depending on your specific tools and workspace, removing the exhaust pipe assembly and the rear shock absorber can provide much-needed clearance. Refer to your vehicle’s documentation to safely unbolt the exhaust flange from the cylinder head and remove the mounting brackets without damaging the oxygen sensor or exhaust gasket.
Before loosening any engine mount bolts, you must support the weight of the engine block. Place a hydraulic scissor jack or a trolley jack directly beneath the flat section of the crankcase. Always place a thick wooden block between the jack pad and the aluminum engine casing to distribute the load and prevent cracking or scratching the metal. Raise the jack just enough to take the weight off the suspension without lifting the entire scooter off its stand.
Locate the main pivot bolt that connects the engine hanger to the frame, as well as the bolts connecting the hanger to the engine block. Carefully loosen these bolts using your socket wrench and breaker bar. Keep track of the original position, orientation, and length of each bolt, spacer sleeve, and washer. Taking photos with your phone at each stage of disassembly is an excellent way to ensure everything goes back exactly where it belongs.
Slowly slide the main pivot bolts out of their sleeves. If a bolt feels stuck, do not force it with a heavy hammer, as this can damage the threads or bend the mounting brackets. Instead, gently wiggle the engine jack up or down to find the sweet spot where the tension on the bolt is completely relieved, allowing it to slide out smoothly. Once the bolts are removed, carefully lower the old engine support mount out of the frame.
With the old mount removed, take the opportunity to inspect the frame tabs and the engine mounting holes. Use a bright light to check for stress cracks, elongation of the bolt holes, or rust. Clean the area thoroughly with a wire brush or a clean rag to remove accumulated road grime, grease, and debris, ensuring a clean mating surface for the new component.
Installing the New Engine Mount and Reassembly
Prepare the new engine support mount for installation. Check the manufacturer’s instructions regarding lubrication; while some rubber bushings are designed to be installed dry, metal-on-metal pivot points may require a thin coat of high-quality grease. If recommended by the manufacturer, apply a small amount of anti-seize compound or medium-strength threadlocker to the bolt threads to prevent future corrosion and loosening.
Carefully align the new engine support mount with the frame brackets and the engine block. Do not use pry bars or heavy hammers to force the mount into position, as this can damage the rubber bushings or bend the frame tabs. Instead, adjust the height of the hydraulic jack supporting the engine until the mounting holes align perfectly.
Insert the mounting bolts through the brackets and the new hanger assembly. Always thread the bolts in by hand for the first few turns. This ensures the threads are properly engaged and prevents cross-threading, which can easily ruin the threads in the aluminum engine casing or the frame nuts. If you encounter resistance early on, back the bolt out, realign the components, and try again.
Once all bolts are hand-tightened and the mount is fully seated, grab your calibrated torque wrench. Tighten the bolts in a progressive, alternating sequence rather than tightening one bolt fully before moving to the next. This ensures even clamping force across the entire assembly and prevents binding.
Refer to the official Honda Click V3 service manual to find the exact torque specifications for each bolt. Tighten every fastener to these precise values. Never rely on guesswork or estimation for structural components, as incorrect torque can lead to catastrophic failure of the engine mount while riding.
Post-Installation Checks and Test Ride
Before lowering the scooter from its stand, perform a thorough visual inspection of the entire work area. Ensure that all tools, rags, and loose hardware are accounted for and removed from the engine bay. Double-check that all electrical connectors, hoses, and cables are routed correctly and are not pinched or rubbing against moving parts.
Reinstall any components you removed for access, such as the exhaust system or rear shock absorber, ensuring their fasteners are also torqued to specification. Reconnect the negative battery terminal. Start the engine and let it idle on the center stand. Observe the engine block and handlebars closely; the idle vibration should feel significantly smoother and more controlled compared to the worn-out mount.
Listen carefully for any unusual noises, metallic rattles, or exhaust leaks near the cylinder head flange. If everything sounds normal, perform a low-speed test ride in a safe, enclosed area away from heavy traffic. Pay close attention to how the scooter handles when accelerating from a stop, cornering, and braking. The suspension should feel firm and responsive, with no shifting or swaying from the rear end.
After completing the initial test ride, park the scooter on a level surface and let the engine cool down completely. Use your torque wrench to re-check the tightness of all the newly installed engine mount bolts. It is common for components to settle slightly during the first few heat cycles and vibrations, and this quick check ensures that all fasteners remain securely torqued to factory specifications.
When to Stop and Seek Professional Help
While replacing an engine support mount is a manageable task for an experienced DIY mechanic, certain challenges require professional intervention. If you encounter severely seized, rusted, or stripped bolts that refuse to budge, do not risk snapping them off inside the engine casing. A professional mechanic at a local shop has specialized extraction tools, heat torches, and thread repair kits to resolve these issues safely.
If your visual inspection reveals structural cracks, severe corrosion, or physical deformation on the scooter’s frame tabs or the engine casing mounting points, stop immediately. These issues compromise the structural integrity of the vehicle and cannot be fixed by simply installing a new mount. Frame repairs require specialized welding equipment and alignment jigs that only a qualified professional should operate.
Additionally, if you do not own a calibrated torque wrench or feel unsure about aligning the heavy engine block safely, do not attempt this repair at home. Incorrect installation can lead to sudden engine misalignment, drive belt damage, or even a complete separation of the engine from the frame at high speeds. Prioritizing safety by taking your Honda Click V3 to an authorized service center ensures peace of mind and a road-legal, reliable ride.

Community discussion
Share your experience or ask a question. Comments are reviewed before publication.